

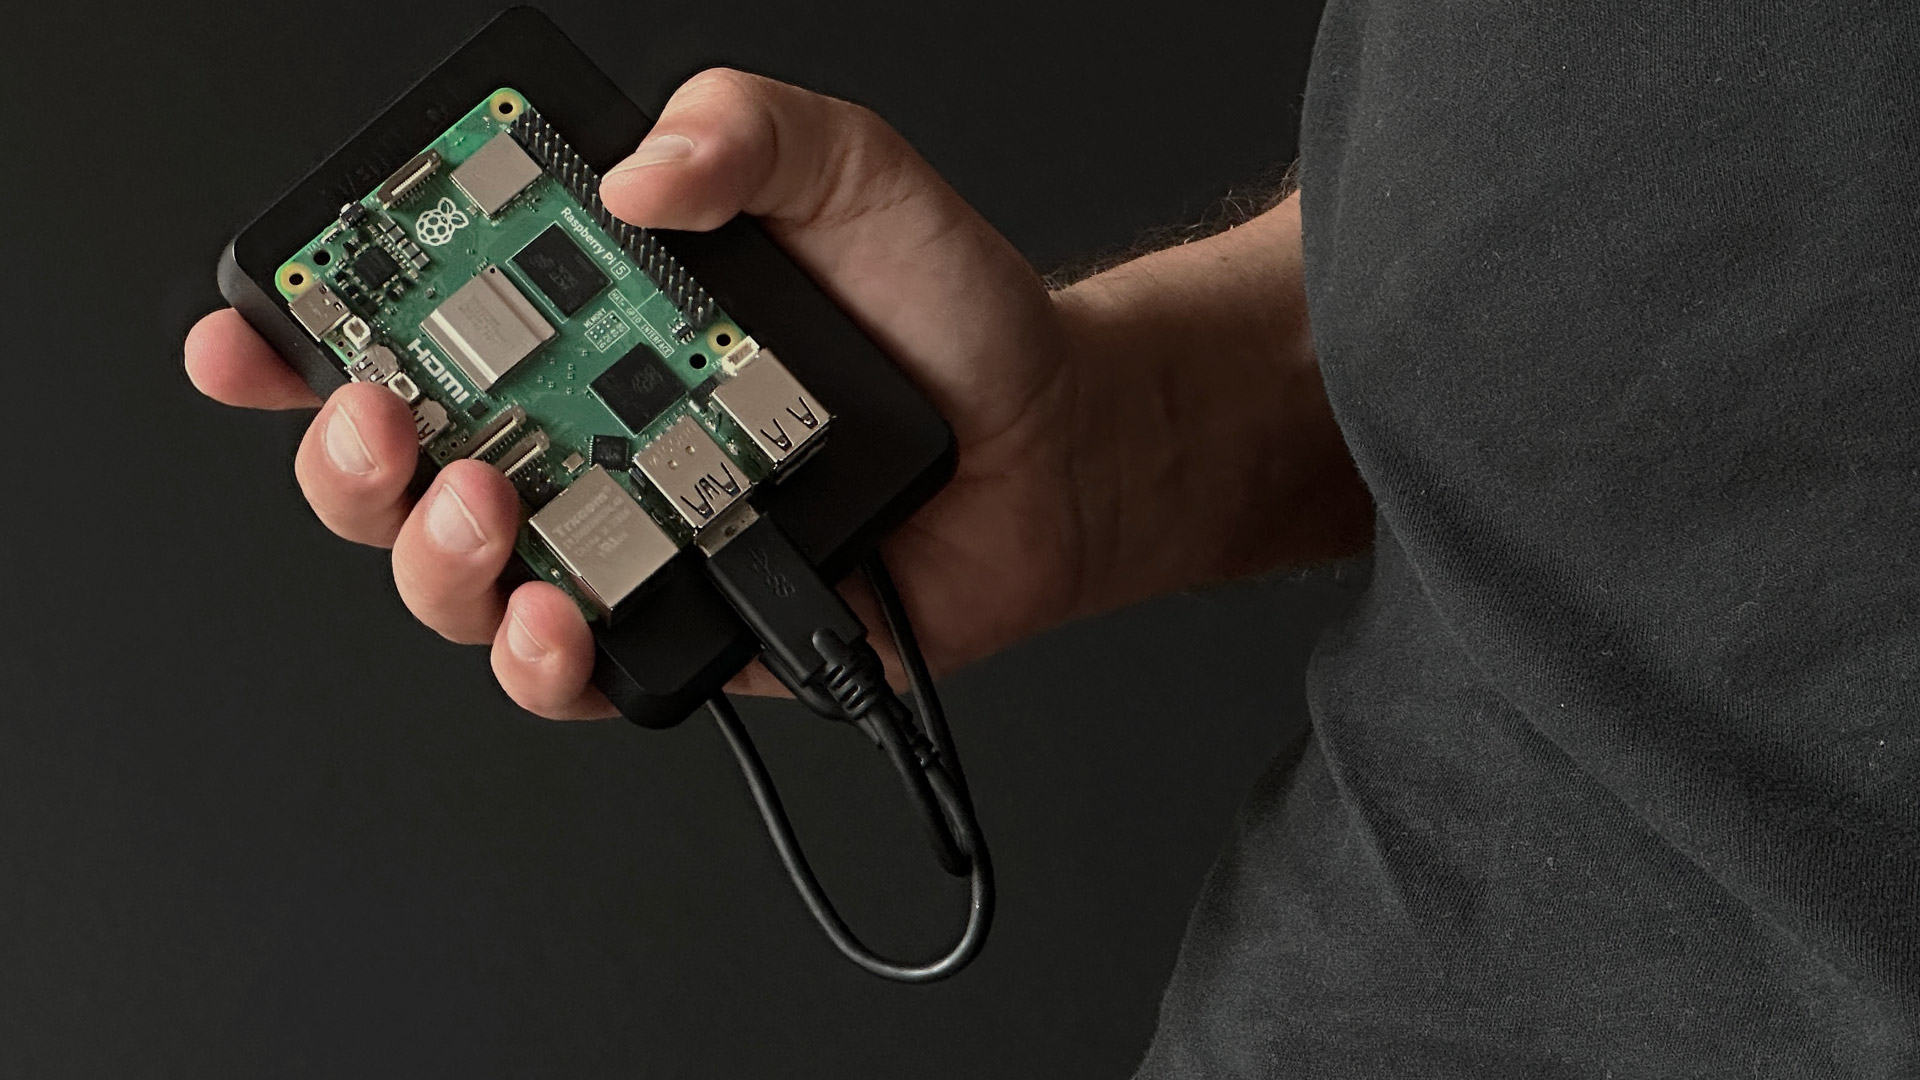
Building a Raspberry Pi NAS in 2026: An engineer’s guide to performance and reliability
There are a thousand tutorials online showing you how to install NAS software on a Raspberry Pi. But as hardware engineers at blackdevice, we know that running a few commands is only 10% of the battle. If you want a Network Attached Storage that doesn’t corrupt your data during a power spike, throttle under heavy I/O loads, or fail after a month of 24/7 uptime, you have to think about hardware constraints.
In this project, we’ll transform your Raspberry Pi into a budget‑friendly, high-performance NAS using OpenMediaVault (OMV). But more importantly, we’ll show you how to avoid the common hardware traps that most DIYers fall into. Ready? Let’s dive in.
Why build a Raspberry Pi NAS (The right way)?
- Centralized and private storage: Keep documents, photos, and videos in one easily accessible location, completely free from third‑party cloud fees or privacy concerns.
- Seamless local networking: Eliminate USB sticks. Share large files across your local network instantly.
- Automated backups: Schedule daily or weekly snapshots so your data stays safe.
- Media streaming: Stream high-bitrate movies and music to smart TVs without buffering.
What you’ll need (hardware checklist)
- Raspberry Pi (we’re using a Raspberry Pi 5 for the PCIe capabilities)
- Official power supply (Don’t skimp here, voltage drops equal data corruption)
- High-endurance MicroSD card (at least 16 GB) or an NVMe drive
- External storage: USB HDD or an SSD using a PCIe HAT
- Gigabit ethernet cable (Wi-Fi is not an option for a reliable NAS)
- Monitor and keyboard (for initial setup)
One of the most common reasons DIY NAS setups fail is power starvation. A Raspberry Pi 5 USB port can struggle to spin up multiple mechanical 3.5″ HDDs directly. If you are using mechanical drives, always use an externally powered USB hub or a dedicated SATA/PCIe carrier board. Voltage drops on the USB bus will lead to read/write errors and corrupted file systems.
Step‑by‑step software setup
-
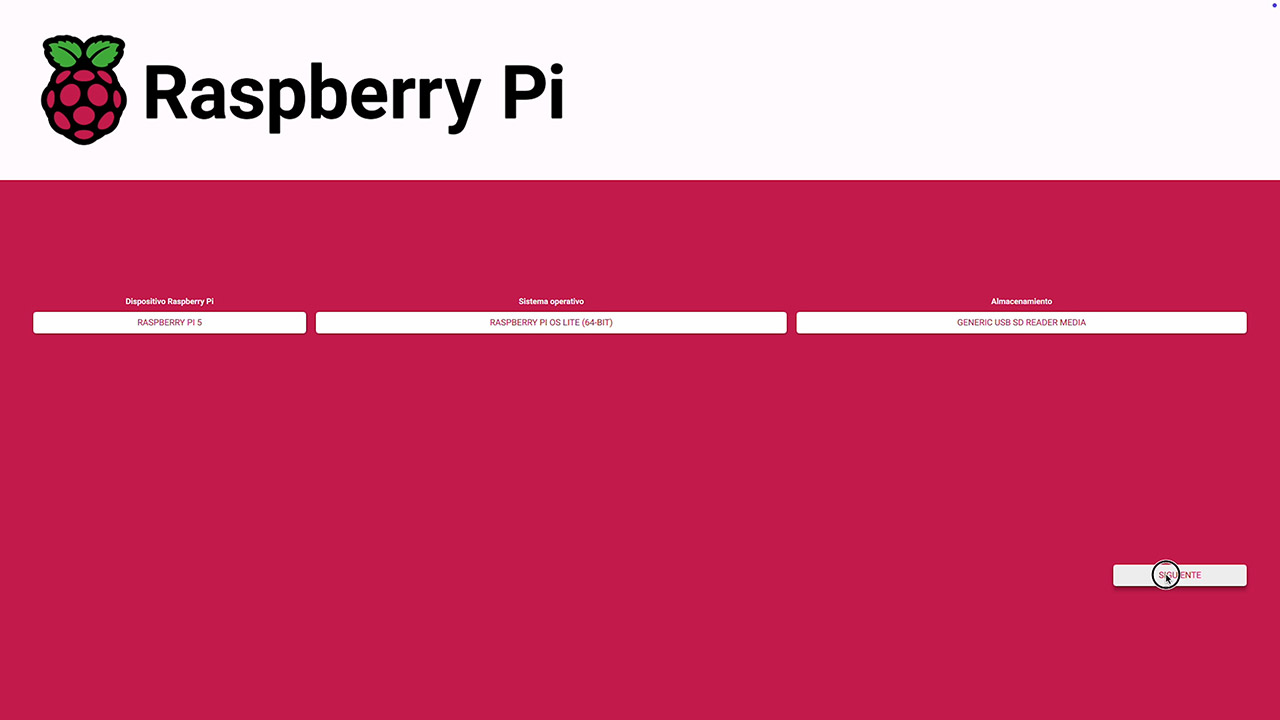
Flash the Raspberry Pi OS Lite
- Open Raspberry Pi Imager, choose Raspberry Pi OS Lite (64‑bit version is highly recommended for performance).
- Set up the custom settings (gear icon):
- Set a hostname (e.g.,
pi-nas) - Enable SSH (Crucial for headless operation)
- Pick your keyboard layout and timezone.
- Write the image and eject the card.
-
Boot and SSH in
- Insert the SD card, connect your storage drives, Ethernet, and finally the power.
- Log in using your credentials.
- Before installing anything, always upgrade your system’s package list:
sudo apt update && sudo apt upgrade -y
-
Install OpenMediaVault (OMV)
OMV is a lightweight, Debian-based NAS solution perfectly suited for ARM architecture. In your SSH terminal, run the official installation script:
wget -O - https://github.com/OpenMediaVault-Plugin-Developers/installScript/raw/master/install | sudo bashThis process takes a while. Sit back and let the Pi compile and install the necessary dependencies.
-
Log into the OMV Web UI
- On your computer, open a browser and type your Raspberry Pi’s IP address. (If you don’t know it, type
ip address showin your SSH console). - Log into OpenMediaVault with the default credentials (user: admin / password: openmediavault).
- Security warning: Immediately click the user icon and change your password to secure your network.
- On your computer, open a browser and type your Raspberry Pi’s IP address. (If you don’t know it, type
-
Assign a static IP to your NAS
- In OMV’s menu go to: Network ➔ Interfaces ➔ Add ➔ Ethernet
- Switch IPv4 to Static and enter your chosen IP (e.g., 192.168.1.200), Subnet mask (255.255.255.0), and your router’s IP as the Gateway.
- Save, apply the configuration, and reconnect using your new static IP.
-
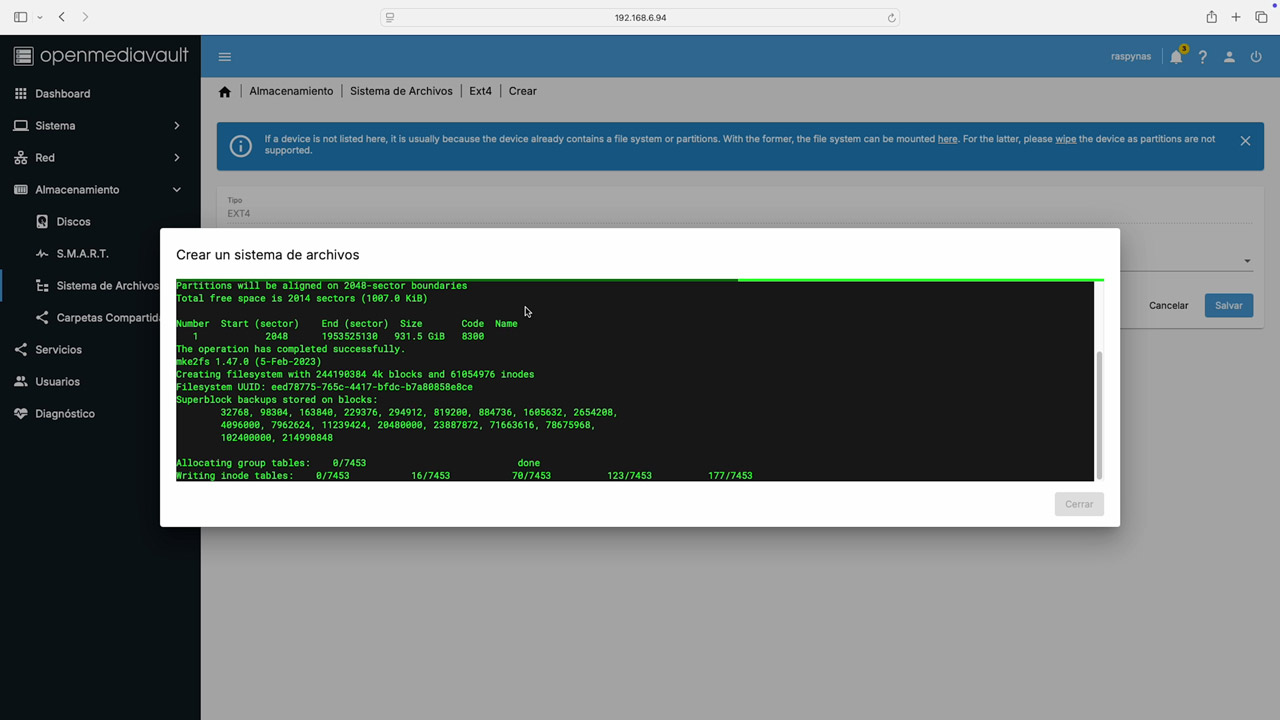
Prepare your storage drives
- Navigate to Storage ➔ Disks: select your connected drive and click the wipe (eraser) icon to clear old partitions.
- Go to File Systems ➔ Add ➔ EXT4 (or BTRFS if you want advanced snapshot capabilities): choose the disk, save, and mount it.
-
Create shares & users
- Shared folders ➔ Add: Name your share (e.g., «Backups» or «Media»), select your mounted volume, and save.
- Users ➔ Add: Create an individual account for each person or device that will access the NAS.
-
Enable SMB/CIFS for local access
- Go to Services ➔ SMB/CIFS ➔ Settings: Check “Enable,” and save.
- Go to the Shares tab: Add your previously created folder, and assign Read/Write permissions for your users.
Connecting to your NAS from your devices
Your hardware is running and the software is configured. To start moving files natively from your workstation:
- Windows: Right‑click “This PC” ➔ “Map network drive” ➔
\\192.168.X.XXX\(replace with your NAS IP address) - macOS: Finder ➔ Go ➔ “Connect to Server” ➔
smb://192.168.X.XXX\ - Linux: File Manager ➔ “Other Locations” ➔
smb://192.168.X.XXX\
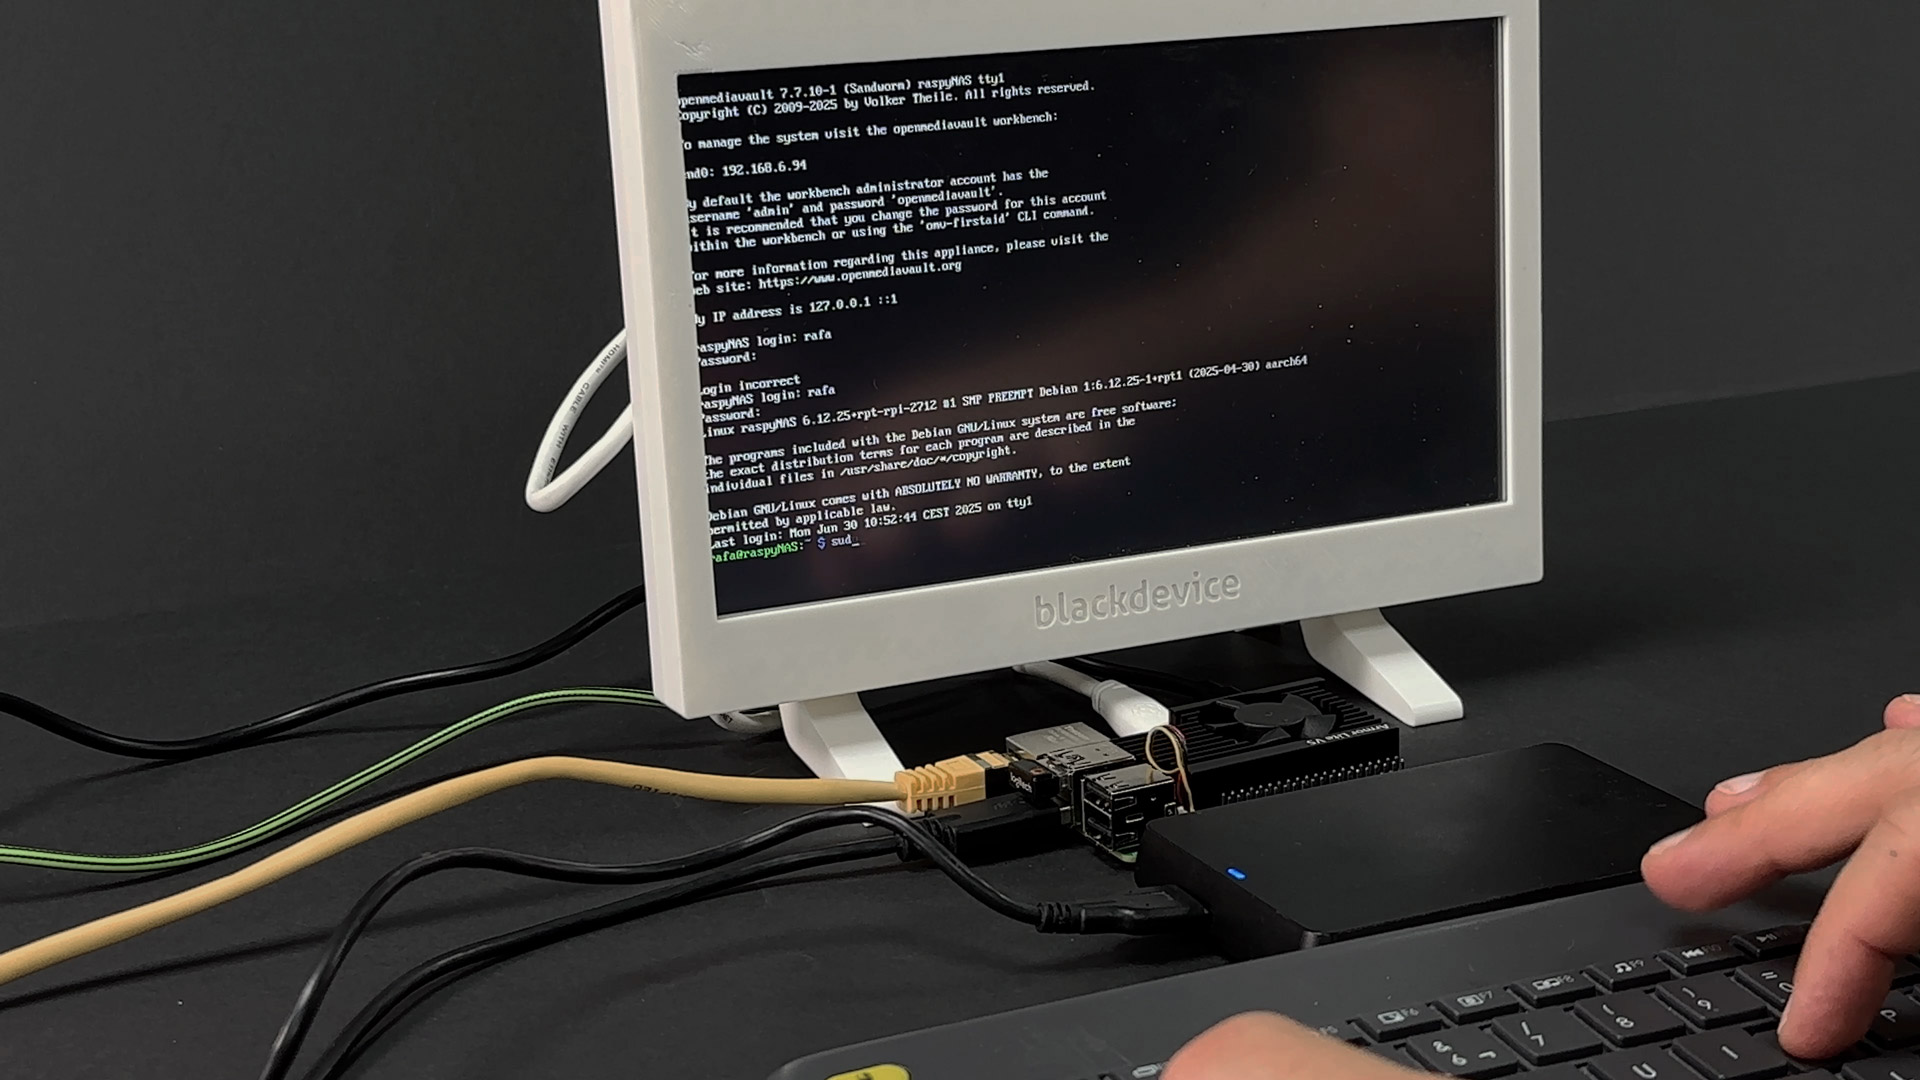
A NAS runs 24/7. When moving hundreds of gigabytes of data over Gigabit Ethernet, the Raspberry Pi CPU and network controller will get hot. If it hits 80°C, it will throttle its speed, bottlenecking your file transfers. We highly recommend using an active cooling solution (a fan case or heavy heatsink) for any Pi-based NAS.
Taking it to the next level: Beyond USB cables
Building a NAS with a standard Raspberry Pi 5 is a great entry point, but as you scale up, dealing with loose USB cables, bulky external drive power supplies, and SD card wear-and-tear becomes a real bottleneck for reliability.
That’s exactly why we designed Hive. We wanted the low-power efficiency of the ARM architecture, but with true industrial-grade reliability. Hive is a modular compute platform built around the Raspberry Pi Compute Module 5 (CM5), featuring native PCIe lanes, proper power distribution, and integrated thermal management—eliminating the «cable spaghetti» of standard Pi setups.
If you are serious about your homelab or edge computing infrastructure, Hive is launching soon on Kickstarter. → Join the early bird list here.
Found this guide useful? Visit our blog for more hands-on Raspberry Pi engineering projects, or head over to our YouTube channel for deep dives into hardware design. Don’t forget to subscribe!