TranslateGemma on Raspberry Pi. Local AI translation with Ollama
A few days ago, Google DeepMind announced the release of TranslateGemma, a new family of open translation models with support for 55 languages and availability in several model sizes. Shortly after that announcement, Ollama integrated TranslateGemma into its model library, making it very easy to run this new translator locally.
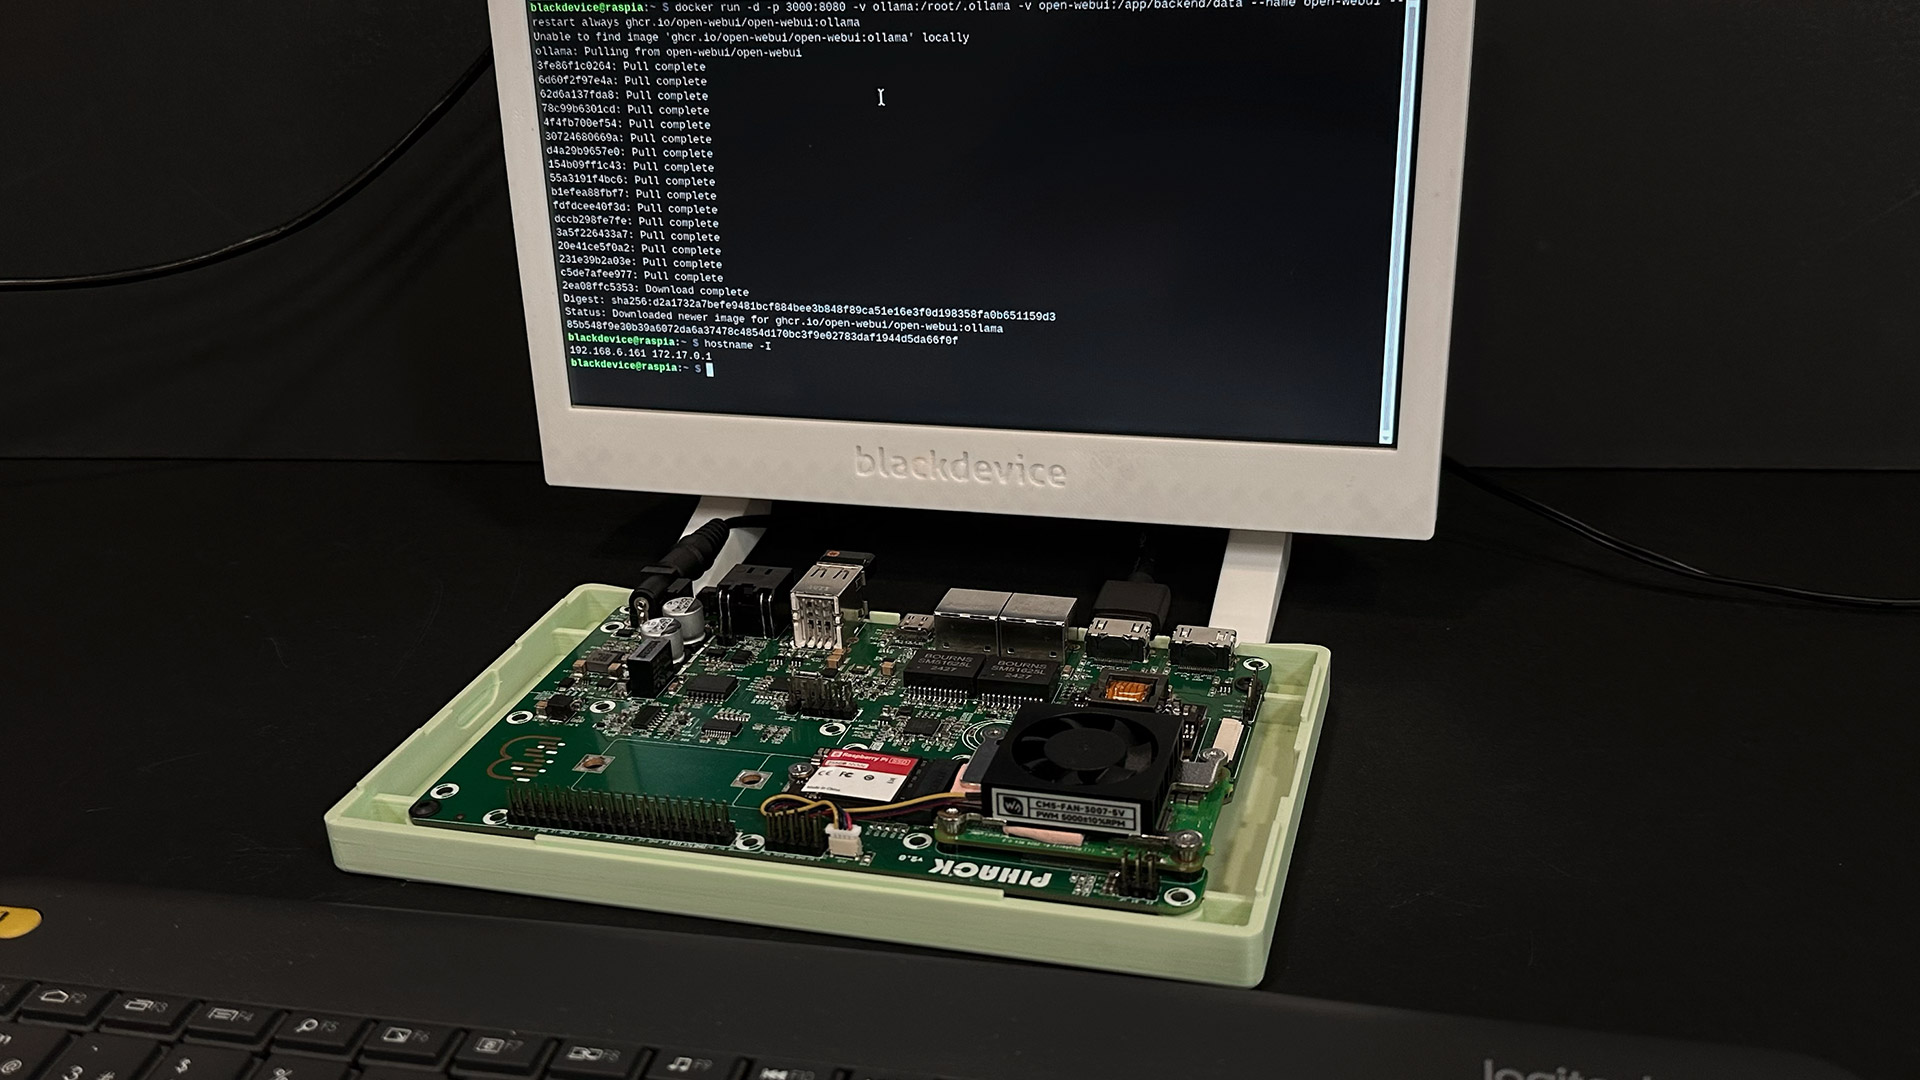
We decided to test it right away to see how it performs on a Raspberry Pi. For this setup, we are using our Pi Hack dev board, based on a Compute Module 5 with 8 GB of RAM and a 256 GB SSD.
Run Google DeepMind’s TranslateGemma locally on Raspberry Pi. No cloud, no data sharing
To make the experience more user-friendly, we also integrated Ollama with Open WebUI, allowing us to interact with the model through a ChatGPT-like interface. Everything runs fully locally, with no data sent to external servers, no subscriptions, and all information stored on our own disk.
In this guide, we explain step by step how to build this setup on your own Raspberry Pi and have a local AI translator always available when you need it.
What you’ll need
- Raspberry Pi 5 (at least 8GB RAM recommended)
- MicroSD or NVMe SSD
- Raspberry Pi OS (Desktop version if you want to use the built-in web browser)
- Docker
- Ollama
- Open WebUI
- TranslateGemma model
Step 1: install the operating system
First, install Raspberry Pi OS with Desktop. We use the desktop version so we can also access the web interface directly from the device itself, in addition to accessing it remotely from another computer.
Once the system is installed and running, open a terminal.
Step 2: update the system
Before installing anything else, make sure your system is fully up to date by running the following commands:
sudo apt update
sudo apt upgrade -y
Step 3: install Docker
We already have a detailed step‑by‑step guide explaining how to install and configure Docker on Raspberry Pi. We recommend following that guide first. Once Docker is installed and running correctly, return here to continue with the installation.
Step 5: install Ollama and Open WebUI
The next step is to install Ollama together with Open WebUI. There are several installation options available in the official Open WebUI GitHub repository, which also includes full documentation.
To keep things simple, we will use the bundle for CPUs without GPU acceleration. Run the following command:
docker run -d -p 3000:8080 -v ollama:/root/.ollama -v open-webui:/app/backend/data --name open-webui --restart always ghcr.io/open-webui/open-webui:Ollama
Wait a few moments while the container is downloaded and started.
Step 6: access Open WebUI in your browser
Once the installation is complete, you can access Ollama through your web browser by navigating to the IP address of your Raspberry Pi followed by port 3000.
In our case, we opened a browser window and connected to:
http://192.168.6.161:3000
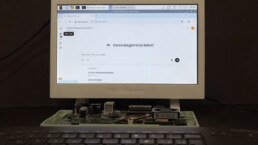
You will see a welcome screen where you need to create a local account. This account does not send any data anywhere; it is only used to identify you within your own system.
After logging in, you will have access to a familiar interface.

Step 7: download and run the TranslateGemma model
From the Open WebUI interface, the next step is to install and run the model you want to test. In this case, we select TranslateGemma.
Request the download from the Ollama model repository and wait until the process finishes. Ollama allows you to install multiple models and choose which one to use in each session. For this guide, we focus exclusively on the translator.
Once the model is downloaded, you can start writing your prompts.
Important: prompt format for TranslateGemma
According to the official TranslateGemma documentation, the prompt must follow a specific structure for the model to behave as a dedicated translator and strictly follow your instructions.
You can find the exact prompt format in the official Ollama library page.
When the prompt structure is correct, TranslateGemma returns a clean translation exactly as requested. If the prompt does not follow the recommended format, the model behaves more like a general model, offering multiple translation options instead. While this can be useful in some cases, it also makes the translation process slower and less direct.
Final thoughts
TranslateGemma is a very interesting addition to the local AI ecosystem, especially considering its language coverage and open availability. Running it locally on a Raspberry Pi using Ollama and Open WebUI proves that powerful translation tools do not need the cloud.
We hope this guide has been useful. For more DIY projects, tutorials, and step-by-step guides, take a look at our blog, subscribe to our mailing list, and for visual guides, follow our YouTube channel.