

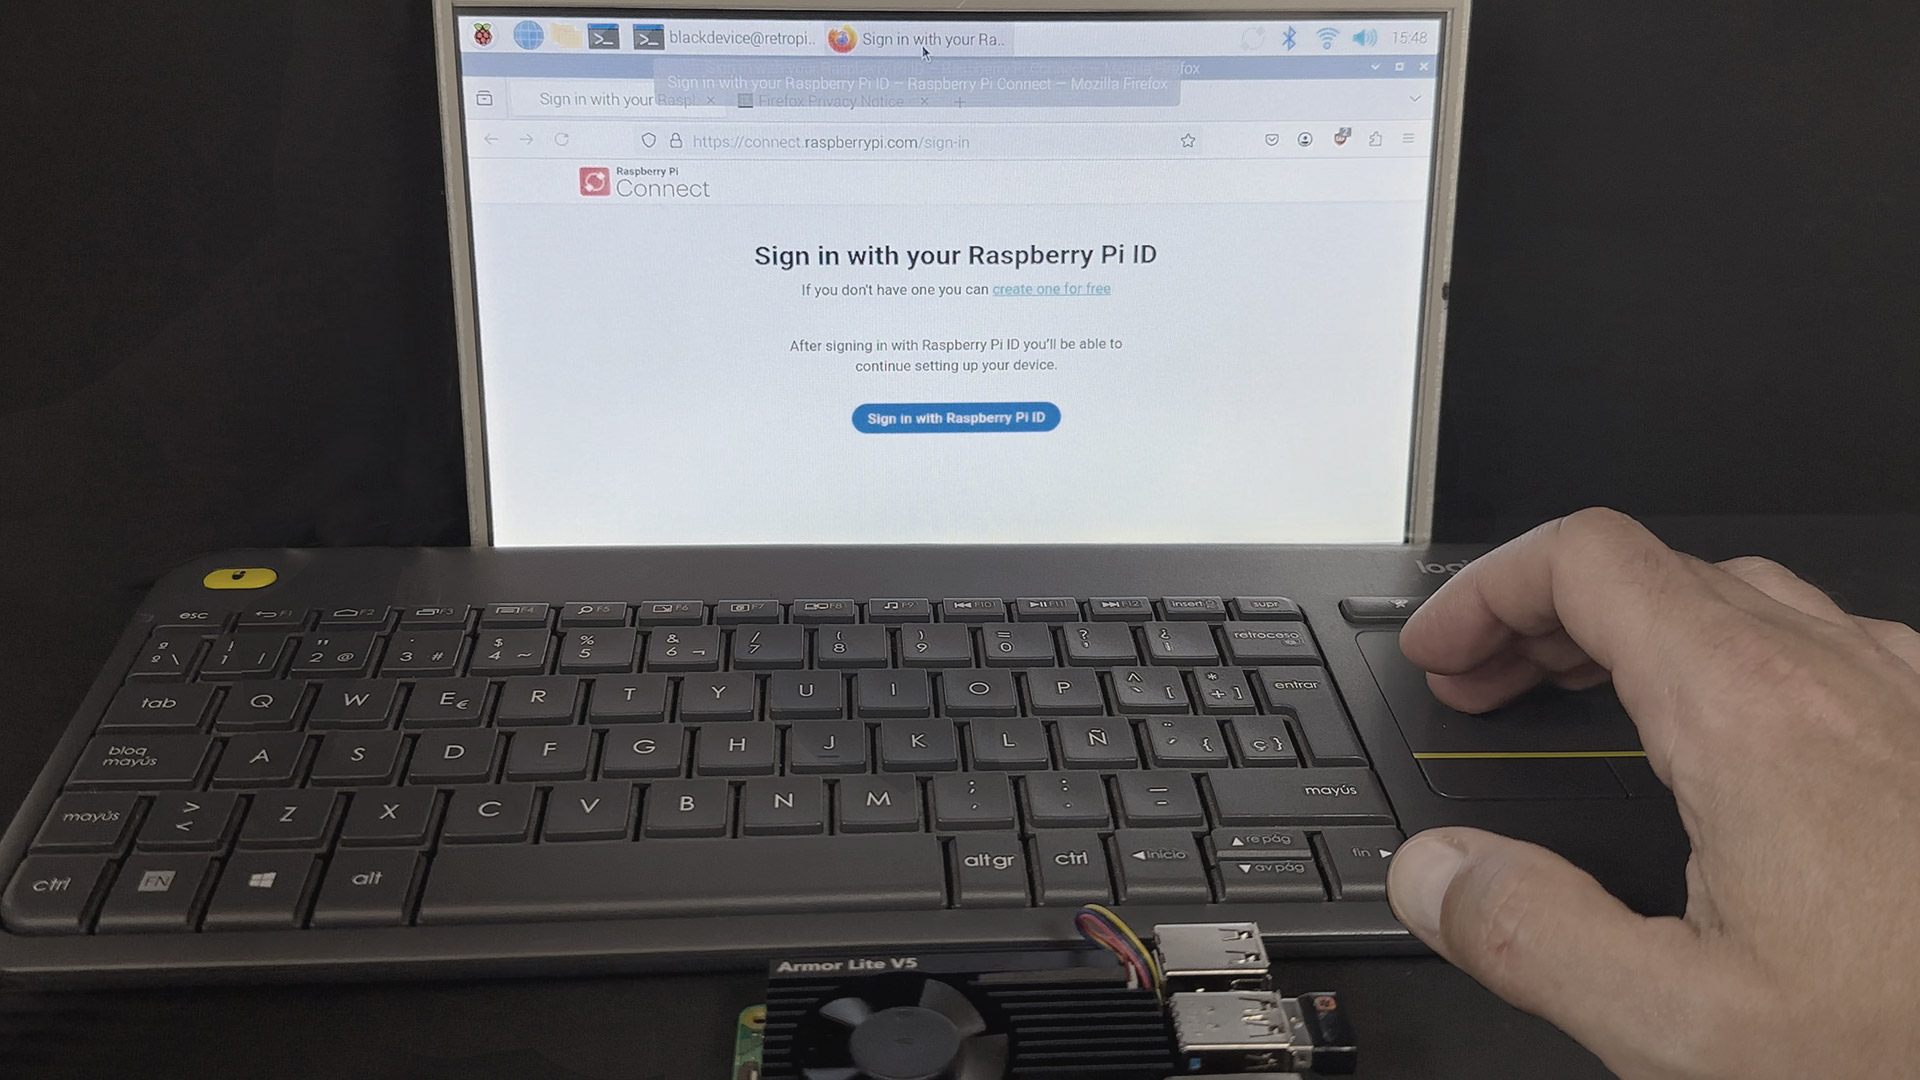
Raspberry Pi Connect guide (2026): Setup, security, and headless configuration
Connecting to your Raspberry Pi remotely has traditionally meant wrestling with port forwarding, dynamic DNS, or setting up complex VPNs like WireGuard. With the official release of Raspberry Pi Connect, that hassle is gone. But as hardware engineers at blackdevice, we know that ease of use often raises questions about security and performance.
In this guide, we won’t just show you how to install Raspberry Pi Connect. We will dive into how it securely bypasses your firewall, how to configure it for headless servers without wasting system resources, and how we manage remote access for IoT devices.
You don’t need to open any ports on your router to use Raspberry Pi Connect. It uses a secure, peer-to-peer WebRTC connection (the same technology used by Google Meet). It negotiates the connection via a secure tunnel, meaning it works flawlessly even if your Pi is trapped behind a strict corporate firewall or a CGNAT (Carrier-Grade NAT) connection.
Raspberry Pi Connect: Step-by-step configuration
1. Update your Raspberry Pi environment
Before installing network-facing services, your system packages and kernel must be fully up to date. From an SSH session on your Pi, run:
sudo apt update && sudo apt full-upgrade -y
Note: Using full-upgrade instead of a standard upgrade ensures that any dependencies required by the latest network daemons are correctly handled.
2. Choose your Installation: Full vs. Lite
This is where many users make a mistake. You need to choose the right package depending on your use case:
- For Desktop users (Screen Share + Shell): If your Pi is connected to a monitor and you want remote desktop GUI access, install the standard package:
sudo apt install rpi-connect - For Headless Servers (Shell only): If your Pi is running as a headless NAS, web server, or cluster node, do not install the GUI dependencies. Use the lite version to save RAM and CPU:
sudo apt install rpi-connect-lite
Once installed, start the daemon service with:
rpi-connect on
3. Link your device to your Raspberry Pi ID
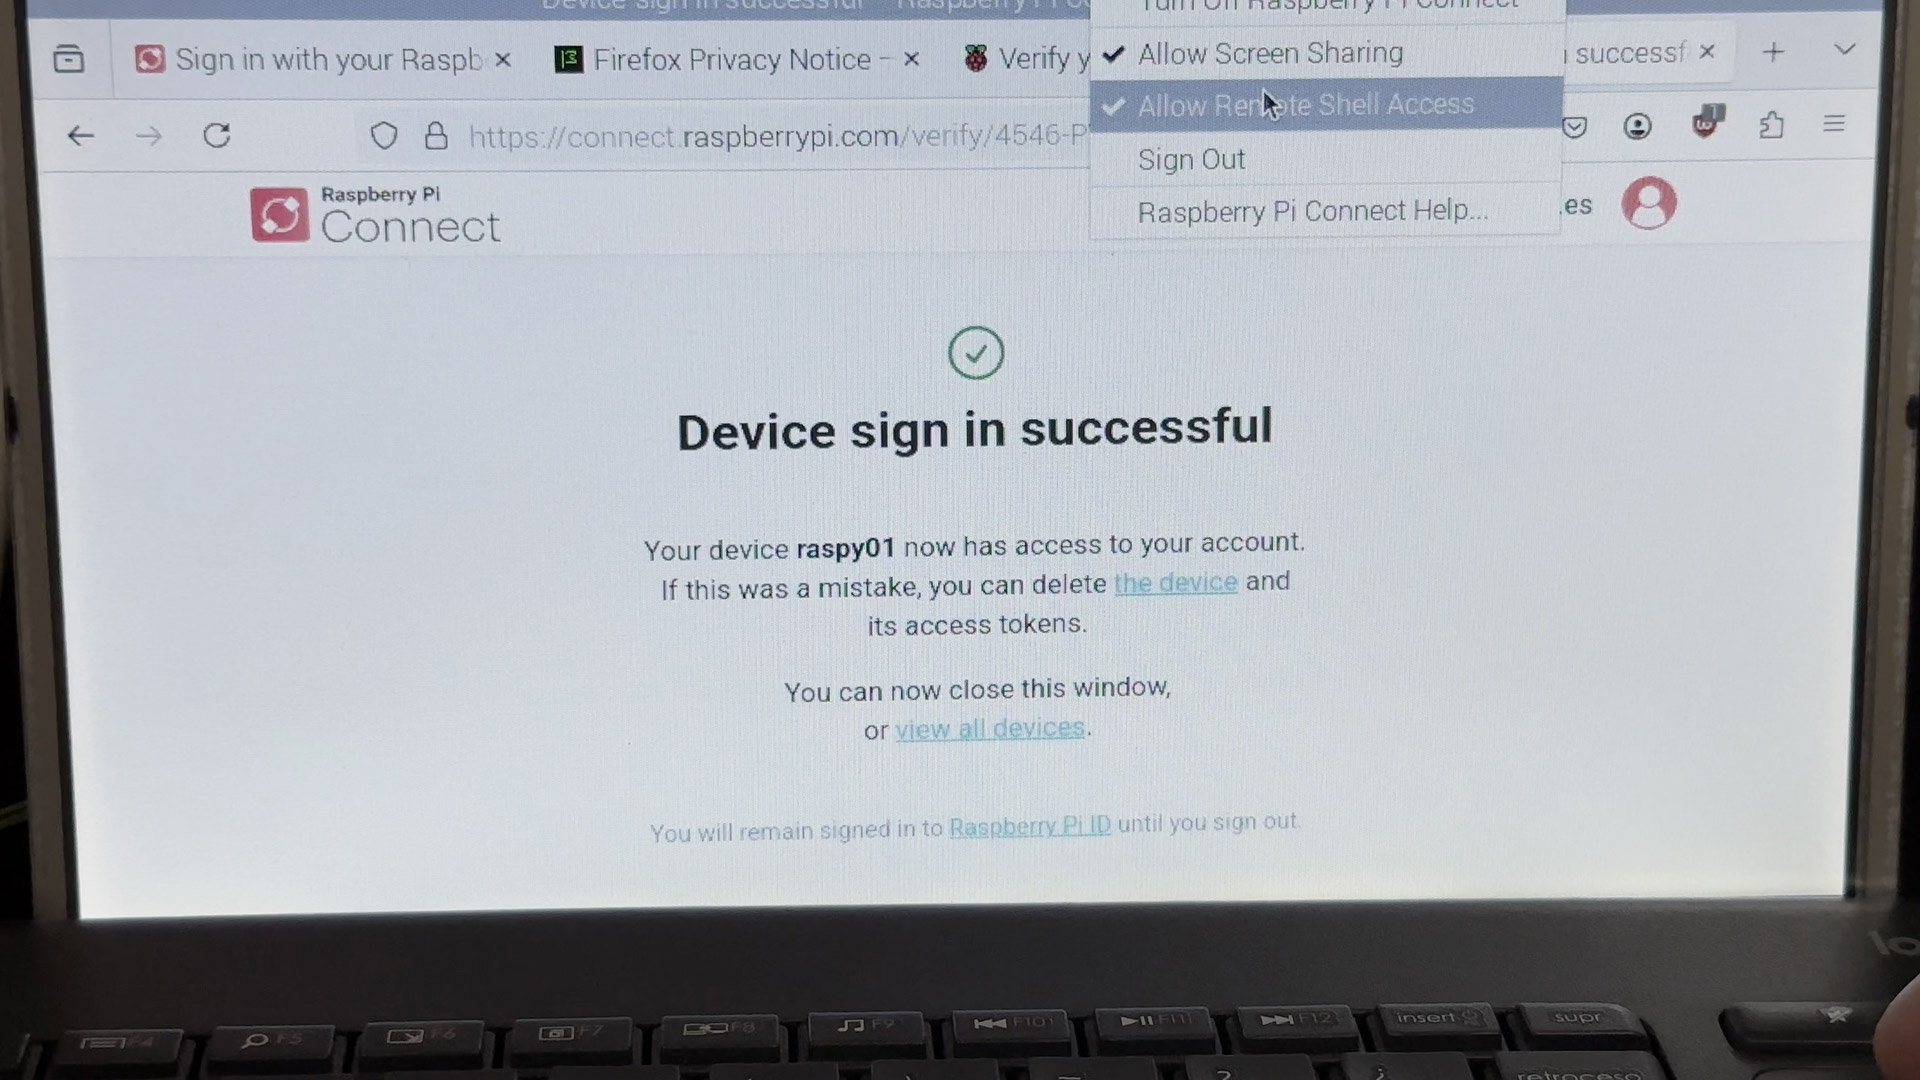
To manage your Pi remotely, you need to securely link it to your Raspberry Pi ID account. The most reliable way for headless setups is via SSH:
- Type the command:
rpi-connect signin - You’ll receive a unique verification URL in the terminal.
- Visit that URL on your smartphone or computer, authenticate with your Raspberry Pi ID, and assign a recognizable hostname to your Pi.
Once linked, your Raspberry Pi appears in your secure account dashboard.
Remote access in action: Screen share vs. remote shell
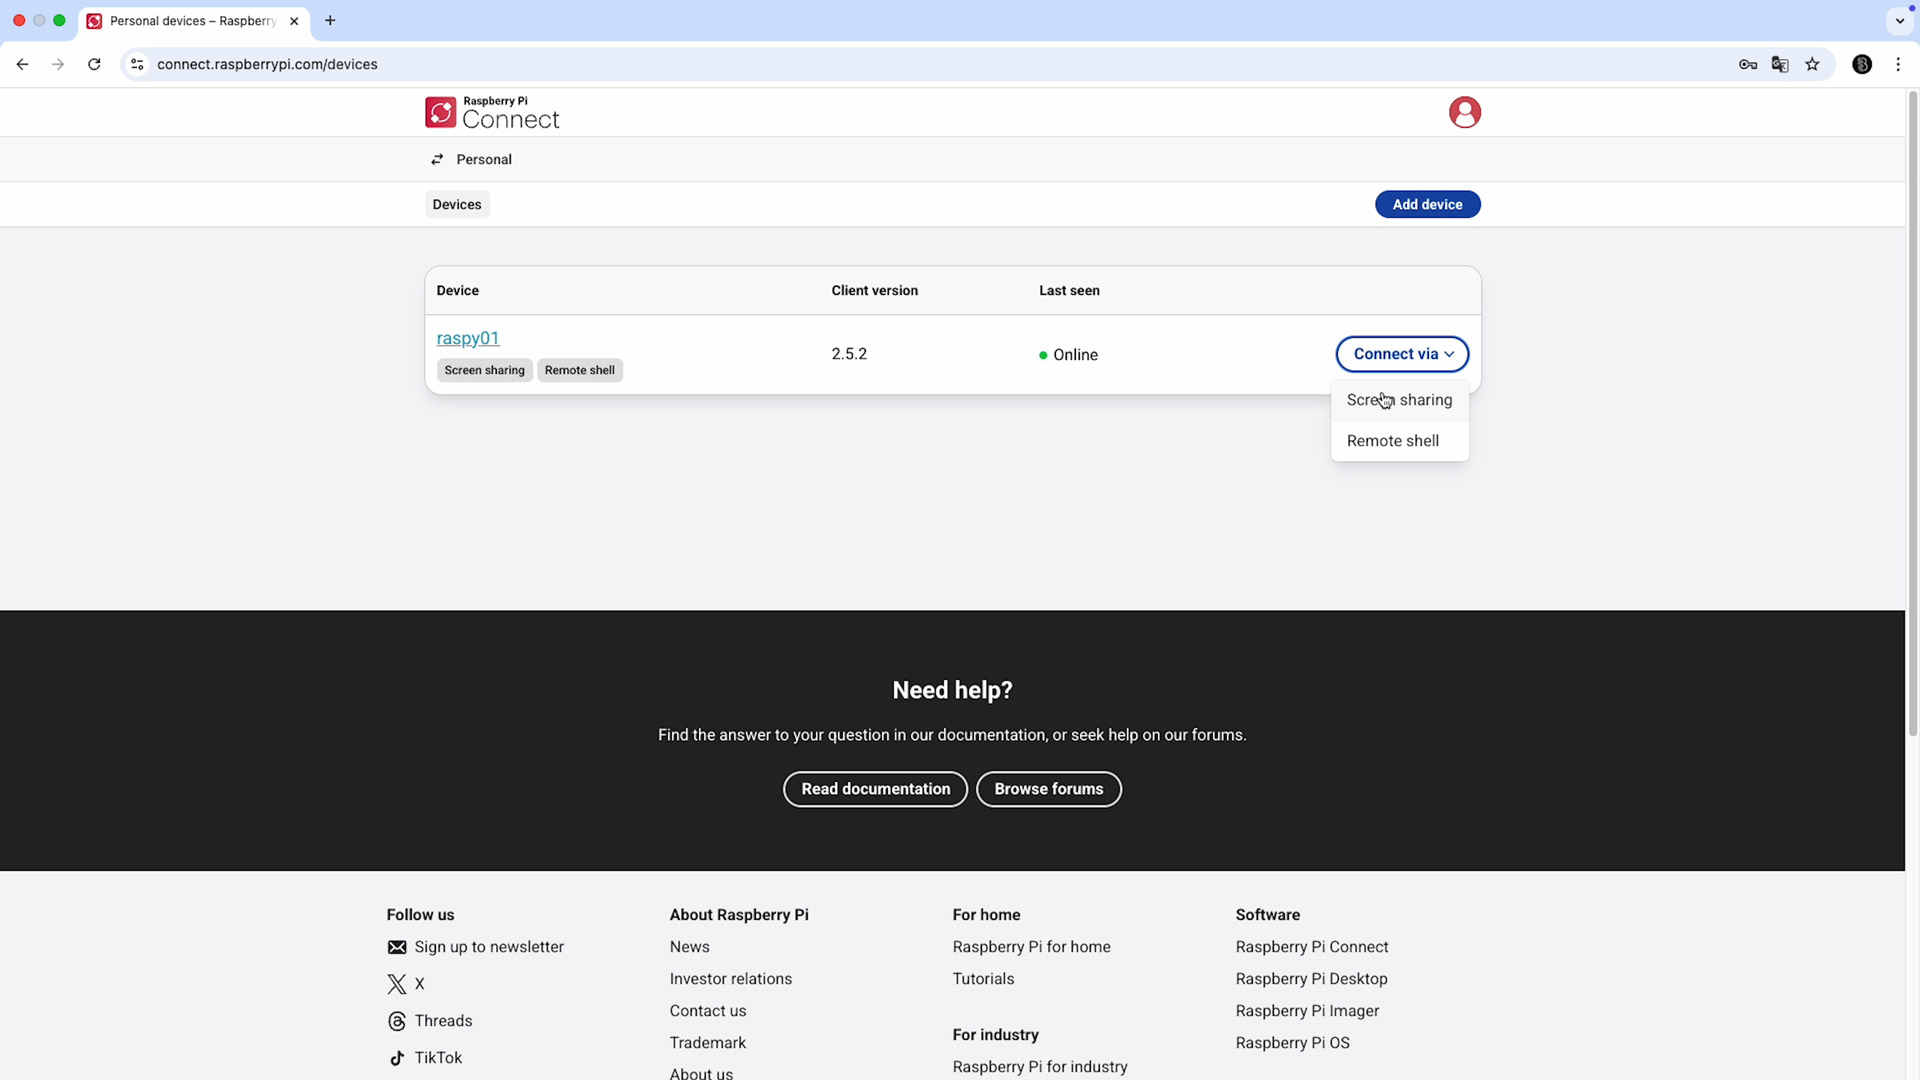
Head to connect.raspberrypi.com, sign in, and choose your connection method:
- Screen share (Requires full install): Launches a browser‑based remote desktop (WayVNC). It’s surprisingly responsive, but keep in mind that rendering a GUI over WebRTC will consume CPU cycles on your Pi.
- Remote Shell (Highly Recommended): Opens a pristine SSH terminal directly in your browser. This is perfect for executing commands, monitoring
htop, or pulling Docker containers remotely with virtually zero latency or overhead.
Raspberry Pi Connect is fantastic for individual devices. But what happens when you need to manage an entire array of compute modules?At blackdevice, we are building Hive, a modular compute system built around the Raspberry Pi CM5. When you deploy multiple nodes for edge computing or homelab clusters, relying on browser-based logins per device isn’t enough. Hive is designed with native hardware integration to make managing ARM clusters at scale a breeze. → Join the Hive early bird list on Kickstarter!
Video guide & further resources
We’ve also put together a hands-on video version of this guide in our lab. Check it out below:
Conclusion
Raspberry Pi Connect has successfully bridged the gap between complex network engineering and user-friendly remote access. Whether you’re maintaining a headless home‑lab server with the lite version, or controlling IoT sensors from afar, it empowers you to stay in control securely without exposing your router to the public internet.
For more detailed documentation, including advanced STUN/TURN server configurations, you can always visit the official Raspberry Pi documentation.
If you enjoy pushing the limits of your hardware, check out our engineering blog or head over to our YouTube channel for more DIY tech projects and deep dives into the Raspberry Pi ecosystem.