A comprehensive guide to flashing the Compute Module 3 eMMC
The Raspberry Pi is a series of compact, affordable single-board computers designed to make computer science accessible to everyone. Although simple at first glance, these devices are incredibly versatile and are used in everything from education and DIY projects to complex industrial systems. In this guide, we dive into the basics of the Raspberry Pi and provide a detailed, step-by-step walkthrough on flashing the Compute Module 3 eMMC—making it easy for beginners and experts alike to get started.
Understanding the Raspberry Pi and its Compute Module
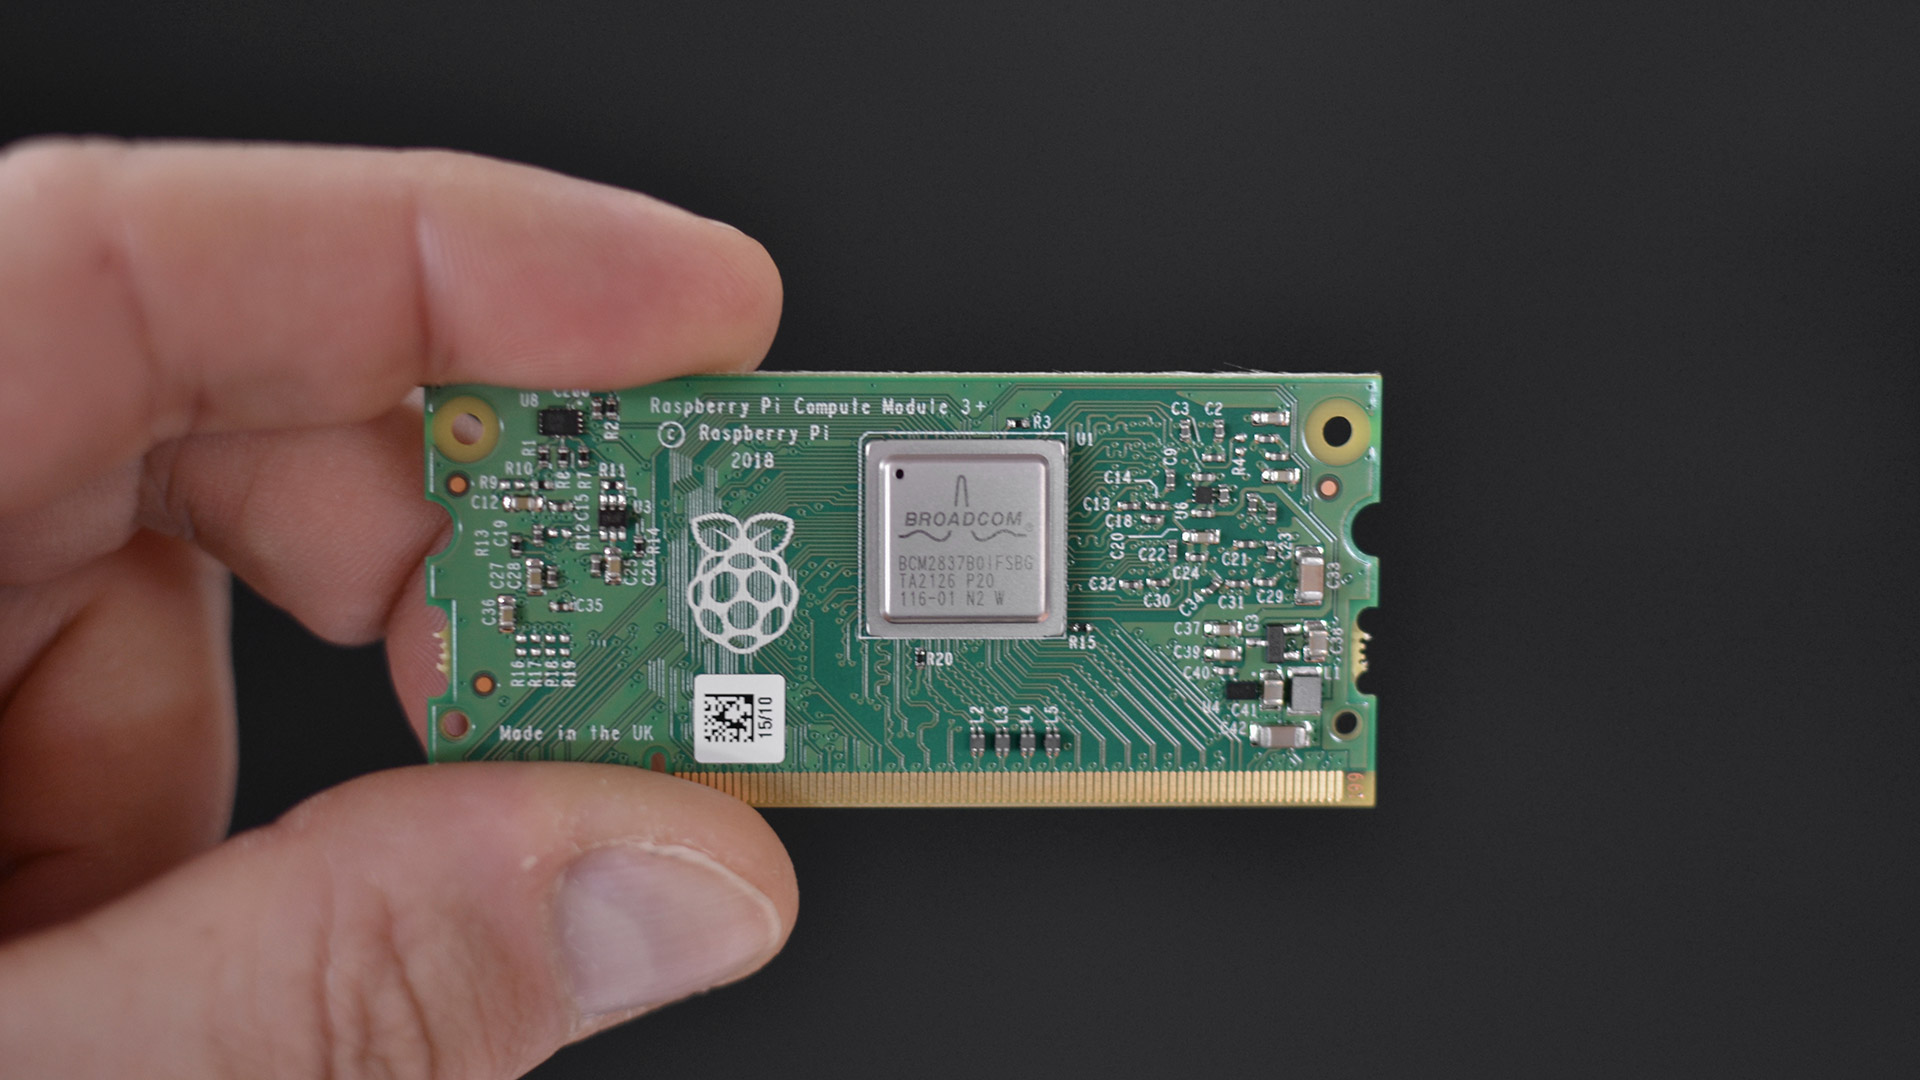
Originally created to promote learning, the Raspberry Pi has evolved into a crucial component in many innovative projects. The Compute Module variant, equipped with on-board eMMC storage, lets you install custom operating systems and software with ease. Flashing this storage device is key to unlocking the full potential of your Compute Module.
Step-by-step guide: how to flash the Compute Module 3 eMMC
The flashing process is done using a Compute Module IO (CMIO) board. Follow these detailed steps for both Windows and Linux systems:
Required components
Before beginning the flashing process, ensure you have the following components:
- Raspberry Pi Compute Module (CM3)
- Compute Module IO (CMIO) Board
- Micro USB Cable: essential for connecting the CMIO board to your host device.
- Host PC: a computer running Windows (preferably Windows 7/10) or a Linux distribution (such as Ubuntu) for running the flashing tools.
For Windows users
- Download the Windows Installer
- Obtain the Windows installer package from the official Raspberry Pi website. This installer automatically sets up the necessary drivers and boot tool.
- Set up the hardware
- Connect your host PC’s USB cable to the CMIO board’s USB SLAVE port.
- Ensure that the jumper (J4) on the board is set to the «EN» (enable) position.
- Do not power the board until the cable is connected.
- Power up and install drivers
- Apply power to the CMIO board.
- Windows should detect the board and install drivers automatically. Monitor the notification area to confirm the installation completes successfully.
- Run the boot tool
- Launch the
RPiBoot.exetool that was installed. - The tool will initialize and, after a few seconds, the Compute Module eMMC should appear as a new USB mass storage device.
- Launch the
- Flash the OS image
- Use a tool such as Win32DiskImager to write your desired OS image to the new drive.
- Once completed, ensure to set J4 back to «disabled» (if required) and disconnect any additional USB devices before rebooting the board.
For Linux users
- Prepare Your System
- Ensure Git and libusb are installed. On a Debian-based system, you can run:
sudo apt update

sudo apt install git libusb-1.0-0-dev
- Ensure Git and libusb are installed. On a Debian-based system, you can run:
- Clone the usbboot repository
- Use the following command to clone the repository:
git clone --depth=1 https://github.com/raspberrypi/usbboot

cd usbboot
- Use the following command to clone the repository:
- Build the boot tool
- Compile the tool by running:
make
- Compile the tool by running:
- Run the usbboot tool
- Execute the tool with:
sudo ./rpiboot
- The tool will start and wait for a connection.
- Execute the tool with:
- Connect and flash the Compute Module
- Plug the USB cable from your host machine into the CMIO board’s USB slave port (J15) and power on the board.
- The
rpiboottool will detect the Compute Module and transfer the boot code. - Once the device appears (often as
/dev/sdaor/dev/sdb), flash your OS image using a command like:sudo dd if=your_os_image.img of=/dev/sdX bs=4MiB status=progress
Replace/dev/sdXwith the correct device identifier.
- Finalizing the process
- After writing the image, disconnect and reconnect the USB cable.
- Check that the new partitions (e.g.,
/dev/sdX1and/dev/sdX2) appear. - Set J4 to the disabled position if needed and power cycle the board to boot from eMMC.
Troubleshooting and tips
- Driver installation:
Ensure no other USB devices are interfering during driver installation on Windows. - Device identification:
On Linux, check/dev/or uselsblkto correctly identify the new device before flashing. - Timing issues:
For Linux, ensure your system clock is set correctly to avoid Git-related errors.
Conclusion
This guide has provided a thorough walkthrough of flashing the Compute Module eMMC—from understanding the basics of the Raspberry Pi to detailed steps for both Windows and Linux systems. Whether you are a newbie or an experienced developer, these instructions are designed to make the process straightforward. If you enjoyed this post, we have an entire series dedicated to Raspberry Pi with DIY projects and tutorials, be sure to follow us and visit our blog regularly. Join our community of tech enthusiasts and keep innovating with blackdevice!