What’s a Raspberry Pi: A beginner’s guide
In this article we’ll explain what a Raspberry Pi is, how it works, and why it’s become one of the most popular tools in technology, education, and DIY projects.
At blackdevice we’re passionate about making technology accessible by creating innovative tech products and using various high-quality components from renowned suppliers and Raspberry Pi is one of our most trusted partners. Whether you’re a student, a hobbyist, or a professional, we believe that this little device can open a world of possibilities without requiring extensive technical expertise.
What is a Raspberry Pi?
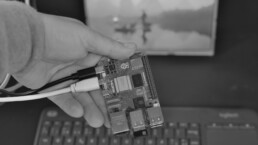
The Raspberry Pi is a credit-card-sized computer designed to introduce users to programming and electronics in an affordable, user-friendly package. It uses a microSD card for storage and can be connected to a monitor, keyboard, and mouse just like a regular PC. Its incredible versatility has made it a favorite among students, electronics enthusiasts, and professionals alike.
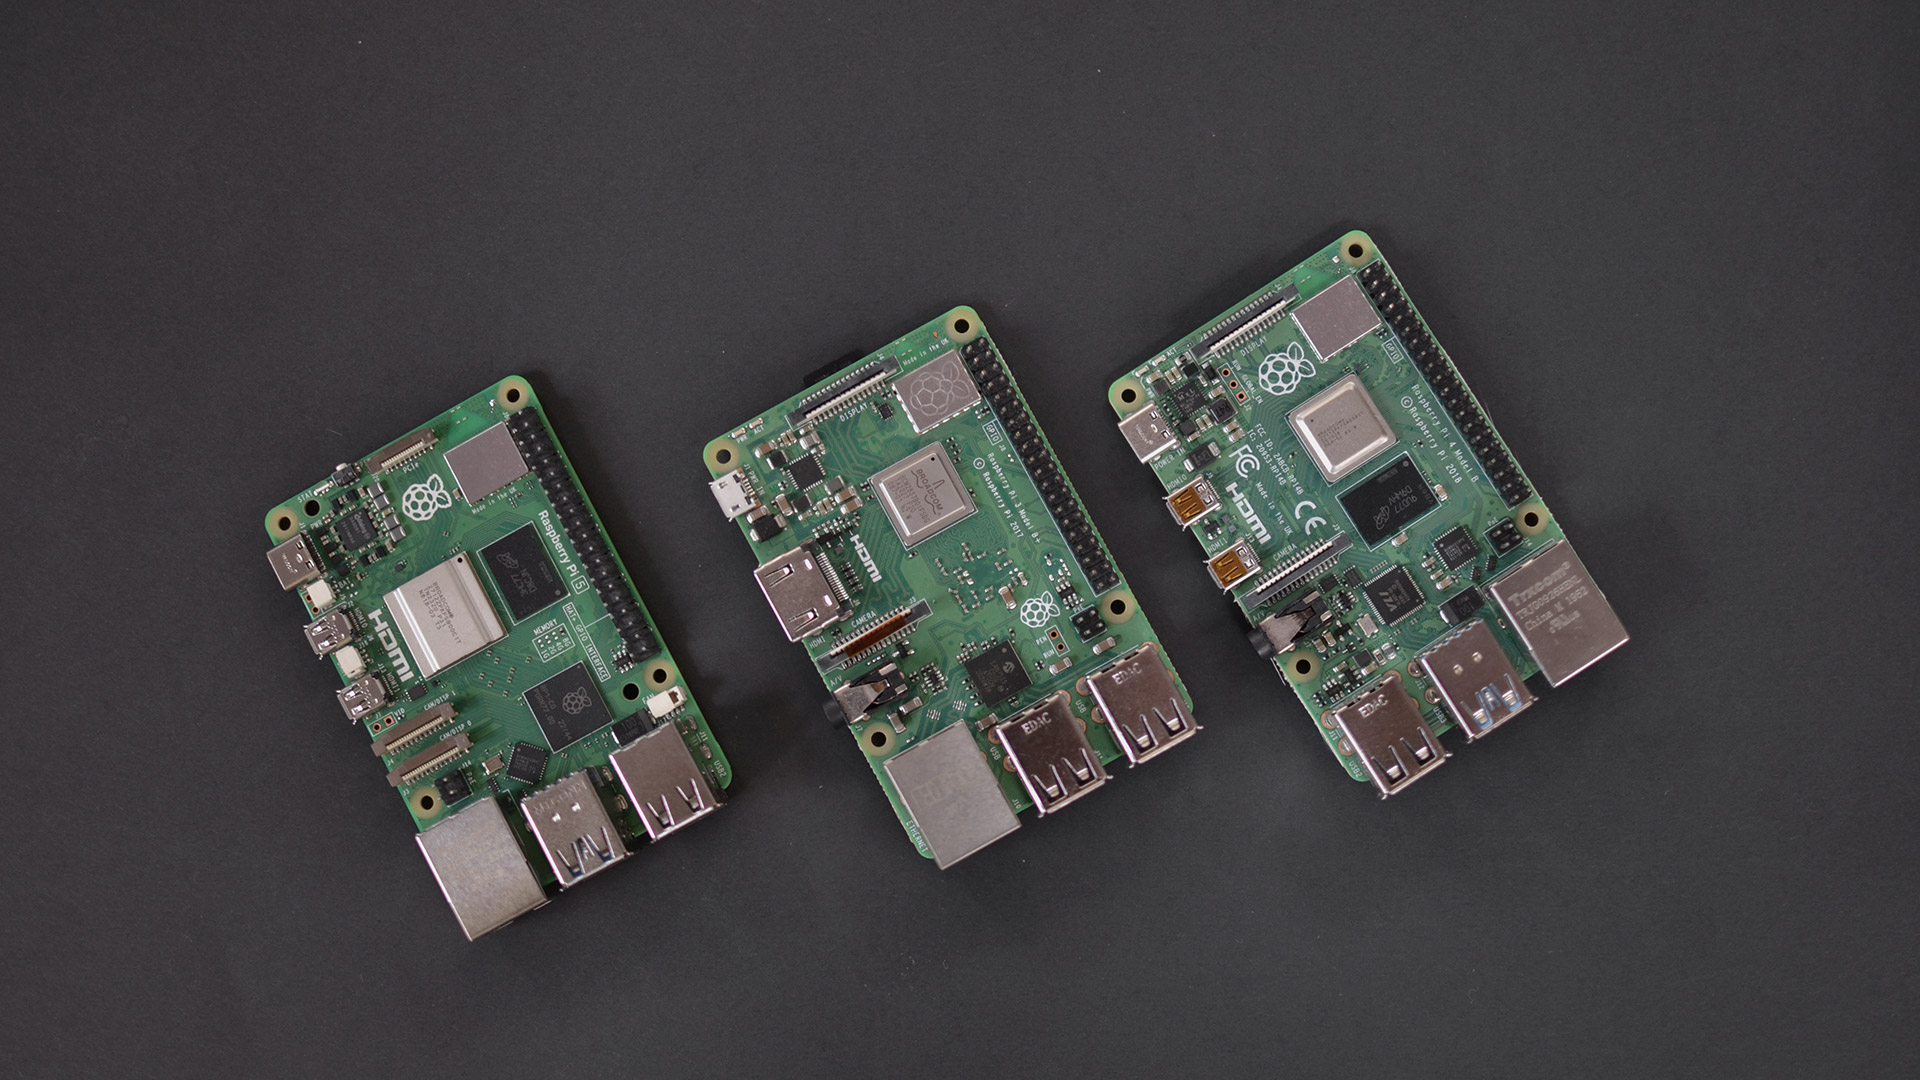
The versatile Raspberry Pi models
Although the variety of Raspberry Pi products and accessories is extensive, in this video we will focus on the single board computers—specifically, models 3, 4, and 5. Each model serves its own purpose: while the Pi 5 and Pi 4 are ideal as mini PCs or for more resource-intensive projects, models like the Pi 3 are perfect for beginners or simpler applications.
- Raspberry Pi 5 (2023 – Present)
- Powered by a Broadcom BCM2712 Quad-Core 2.4 GHz processor.
- Comes with up to 8GB of RAM, offering top performance.
- Features USB 3.0 ports, dual micro HDMI outputs, and a PCIe slot.
- Supports advanced graphics and M.2 SSDs with an adapter for faster storage.
- Raspberry Pi 4 Model B
- A great option for advanced projects and mini PC usage.
- Available in 2GB, 4GB, or 8GB RAM configurations.
- Features a Quad-Core 1.5 GHz processor, Wi-Fi, Bluetooth, USB 3.0 connectivity, and dual HDMI outputs.
- Raspberry Pi 3 Model B+
- Perfect for beginners and simple projects.
- Equipped with a Quad-Core 1.4 GHz processor and 1GB of RAM.
- Includes integrated Wi-Fi and Bluetooth, though it has a single HDMI port.
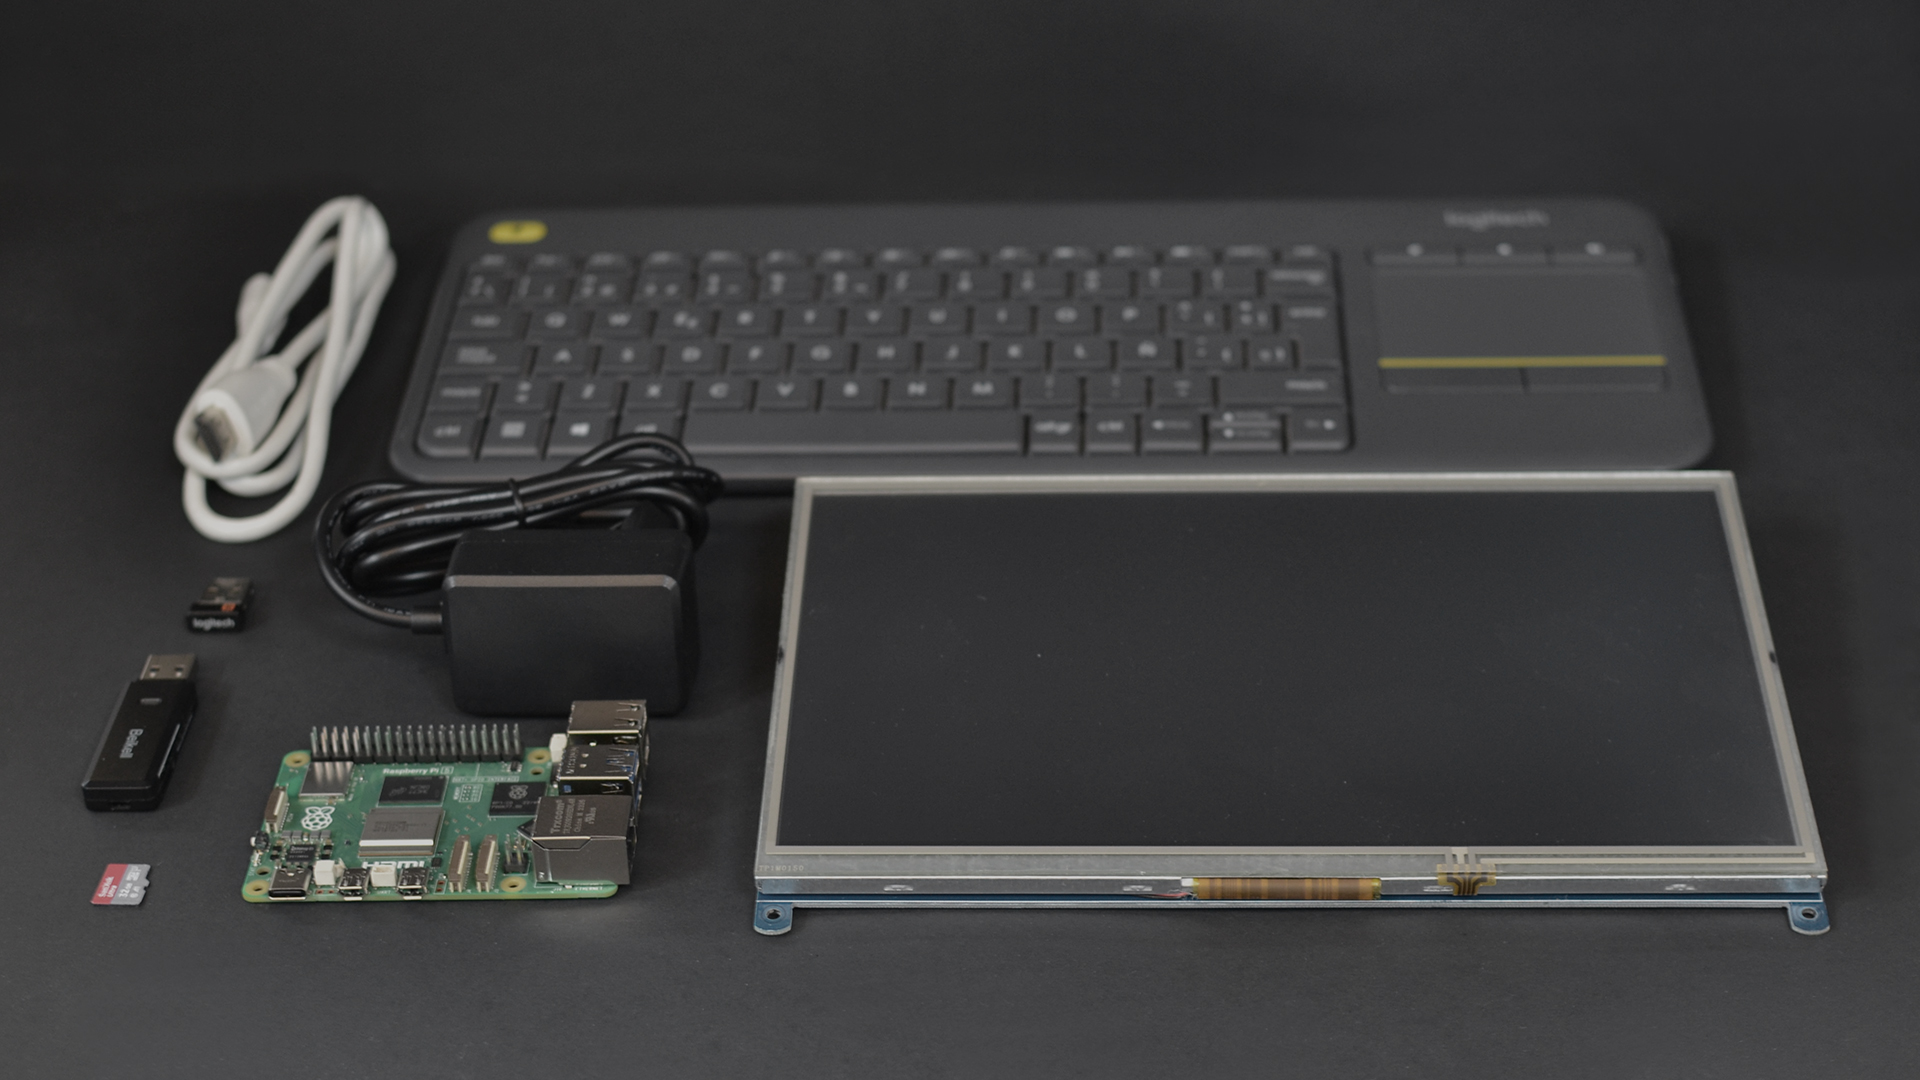 Raspberry Pi. What’s in the box and how to get started
When you purchase a Raspberry Pi 5, the package comes with just the board unless you purchase a desktop kit. This means you’ll need a few additional components:
- A microSD card (minimum 16 GB, though 32 GB or more is recommended) to store your operating system.
- A USB-C power supply (at least 5V and 5A) for stable performance.
- A micro HDMI to HDMI cable to connect to your monitor.
- A USB keyboard and mouse for user input.
Let’s take a quick look at the main parts of the Raspberry Pi 5
- Processor: A powerful Broadcom BCM2712 Quad-Core 2.4 GHz chip that outperforms previous models.
- Memory: Available in2GB, 4GB, 8GB or 16GB options depending on your configuration.
- MicroSD Slot: To host the operating system.
- USB & Video Connectivity: Offers two USB 3.0 and two USB 2.0 ports, along with dual micro HDMI outputs capable of 4K resolution.
- Ethernet Port: Provides reliable wired internet connectivity.
- Wireless Connectivity: Built-in Wi-Fi and Bluetooth for easy connections.
- Additional Features: A USB-C power connector, a 40-pin GPIO for electronics projects, a PCIe port for expansion, and even a dedicated fan connector for cooling.
Getting started is simple
Once you have all your components, kick-starting your Raspberry Pi 5 is straightforward:
- Download the Raspberry Pi OS from the official site.
- Use the Raspberry Pi Imager tool to install the OS on your microSD card.
- Insert the microSD card into your board.
- Connect your monitor, keyboard, mouse, and power supply.
- Power on your Raspberry Pi and follow the on-screen setup instructions.
Exciting projects and practical uses
After you’ve set up your Raspberry Pi 5, the possibilities are endless. You can basically use it as a personal mini computer for browsing the web, streaming videos, and handling everyday tasks and so much more! For example:
- Create a retro gaming console to enjoy classic video games.
- Set up a multimedia center to stream movies and series.
- Explore educational projects—learn coding with Scratch or Python.
- Build practical projects like a home server, weather station, or smart home controller with just basic components.
The Raspberry Pi community is vast, with countless projects shared online—from robotics and home automation to creative DIY gadgets. And if you’re looking to personalize your device, there are many accessories available such as extensions, add-ons, custom cases, touch screens, sensors, and more.
Conclusion
The Raspberry Pi opens a world of technological possibilities with its compact size, affordability, and ease of use. Whether you’re stepping into the realm of programming, embarking on your first electronics project, or simply exploring new ways to enhance your everyday tech experience, the Raspberry Pi is the perfect starting point.
We’re also including a video version of this beginner’s guide, hope you find it useful!
If you enjoyed this post and are interested in the Raspberry Pi community and DIY tech projects, you’re in luck—this is just the first installment of a series where we’ll dive deeper into this world. Check out our blog and YouTube channel too!