
Turning your Raspberry Pi into an affordable NAS server
In this project, we’ll transform your Raspberry Pi into a budget‑friendly NAS (Network Attached Storage). You’ll get centralized backups, effortless file sharing, and even private multimedia streaming without splurging on commercial hardware. Ready? Let’s dive in, but first..
Why build a Raspberry Pi NAS?
- Centralized storage
- Keep documents, photos, videos, and more in one easily accessible location.
- Seamless file sharing. Eliminate USB sticks and hefty email attachments—share large files across your local network with ease.
- Automated backups.
- Schedule daily or weekly backups so your data stays safe without lifting a finger.
- Private cloud. Host your own secure cloud service, free from third‑party fees or privacy concerns.
- Media streaming. Stream movies, music, and photos to smart TVs or media players on your network.
Whether you’re a DIY enthusiast or running a compact office, a Pi‑powered NAS gives you total control over your data—without breaking the bank.
What you’ll need
- Raspberry Pi (we’re using a Raspberry Pi 5)
- Power supply
- MicroSD card (at least 16 GB)
- External USB HDD (or SSD using a Raspberry Pi add-on)
- Ethernet Cable (required)
- Monitor & keyboard (for initial setup)
Step‑by‑step setup
-
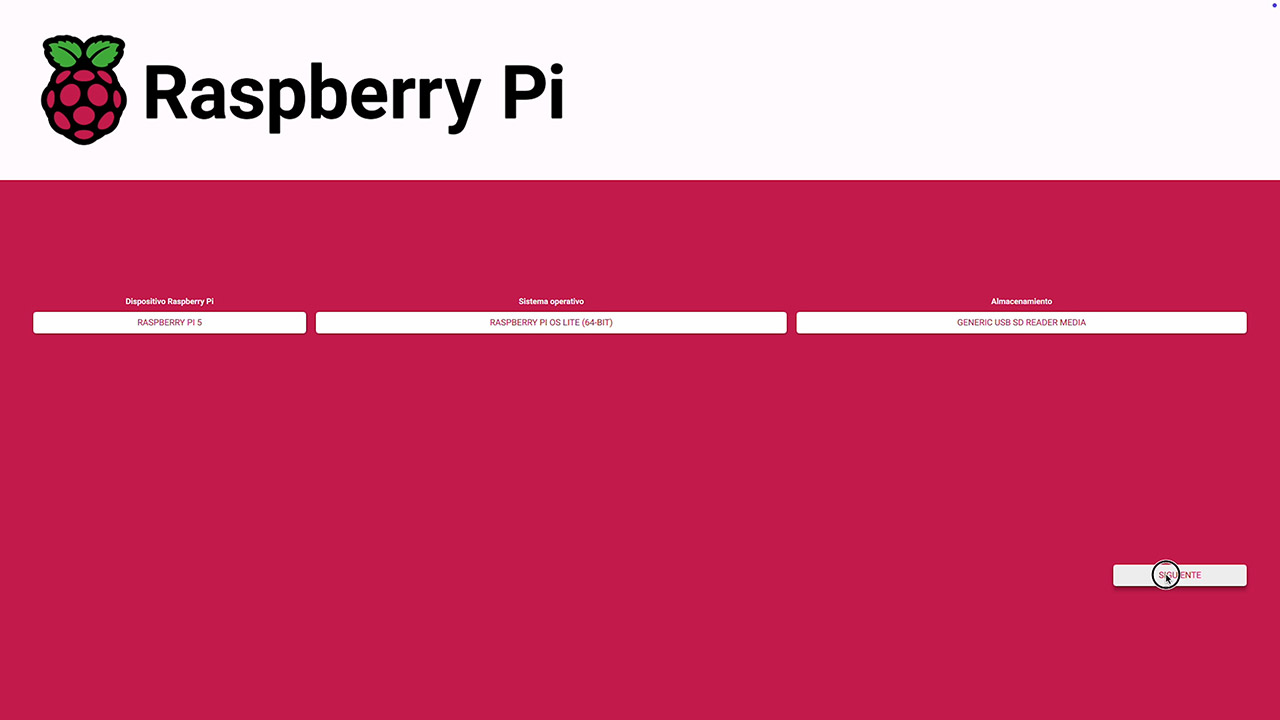
Flash theRaspberry Pi Lite OS
- Open Raspberry Pi Imager, choose Raspberry Pi OS Lite (in our case, the 64‑bit version)
- Set up the custom settings
- Set a hostname (e.g. pi-nas)
- Enable SSH
- Preload your Wi‑Fi credentials (we’ll switch to Ethernet later)
- Pick your keyboard layout and timezone
- Write the image and eject the card when it’s ready.
-
Boot and SSH in
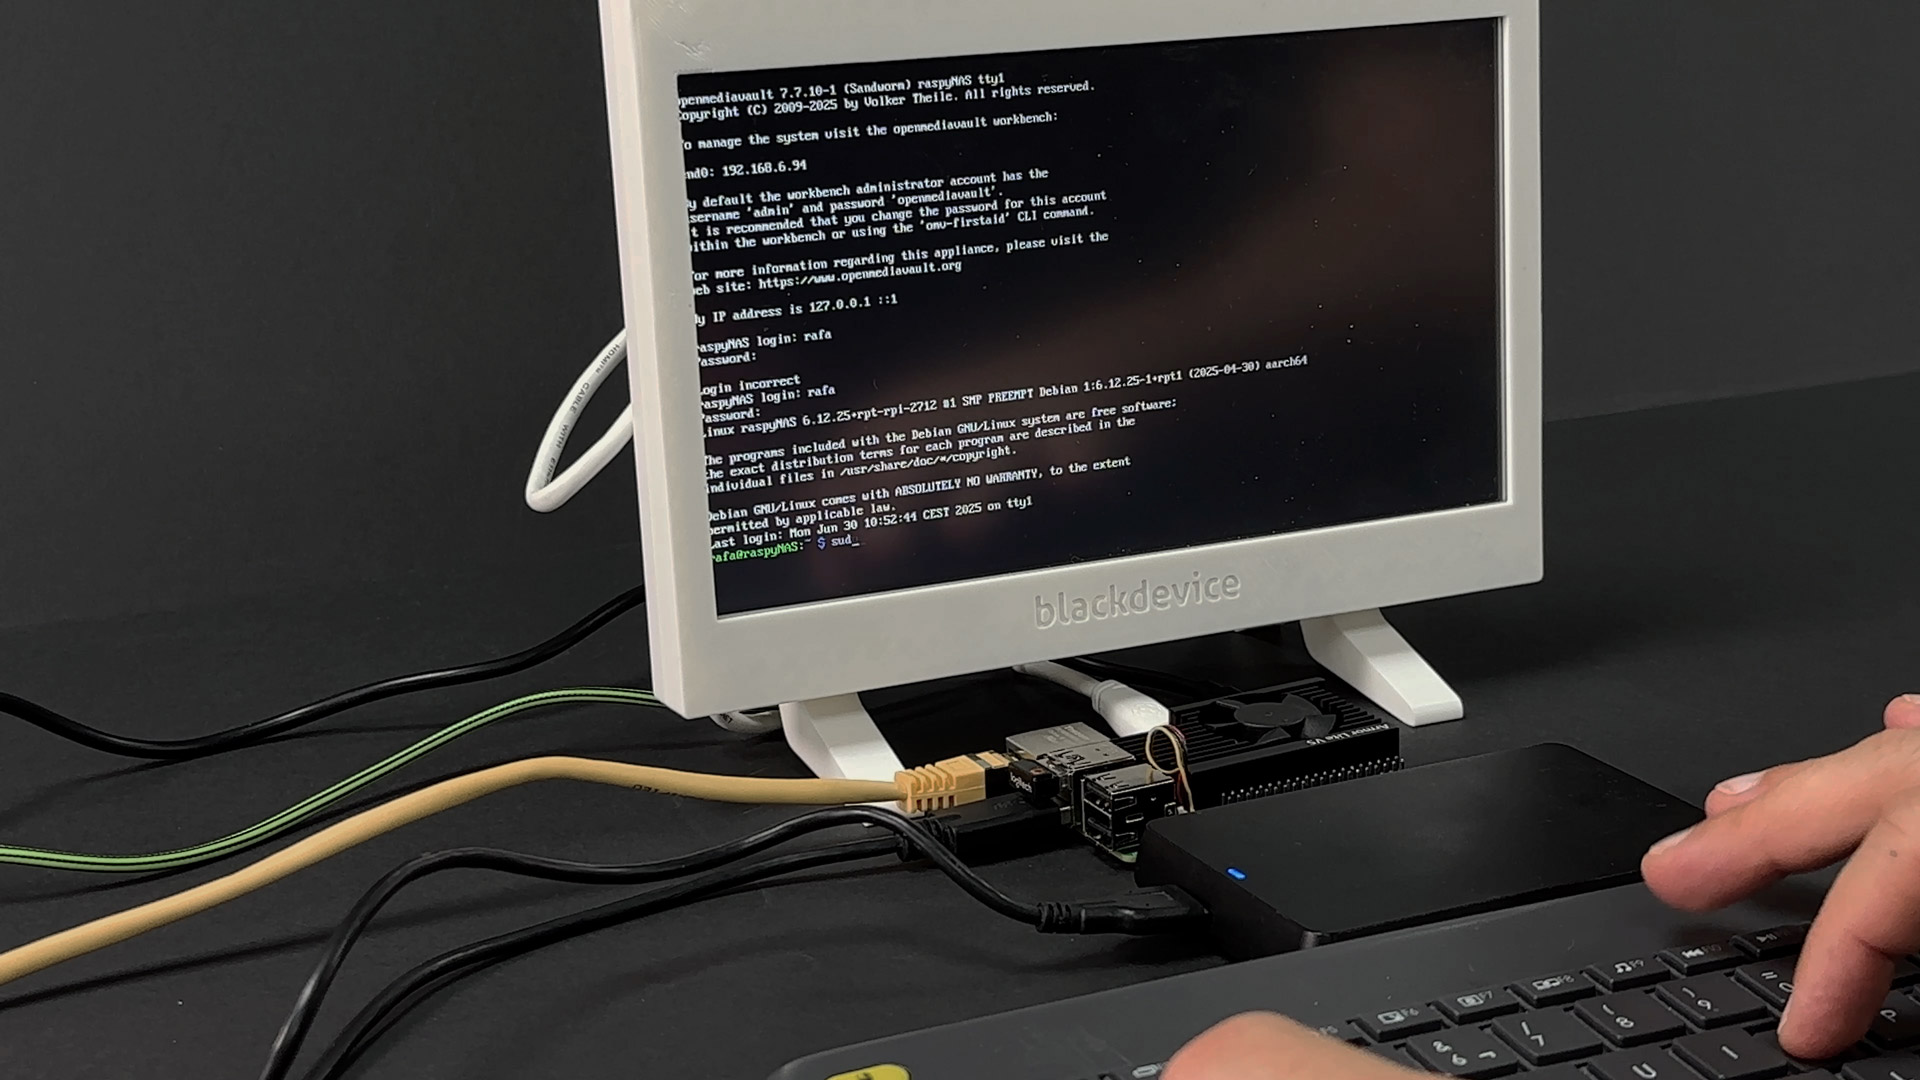
- Insert the SD card into the Pi, connect power, keyboard, screen and Ethernet.
- Login using your user and raspberry pi password.
- check for updates and upgrade your system by running the commands:
sudo apt update
sudo apt upgrade -y
-
Install OpenMediaVault
OMV turns your Pi into a polished NAS interface. In the SSH terminal, write the following command:
wget -O - https://github.com/OpenMediaVault-Plugin-Developers/installScript/raw/master/install | sudo bash
Sit back and sip a coffee while it installs. -
Log into the OMV Web UI
- On your computer open a browser tab, type and connect to your Raspberry Pi’s IP address. If you don’t know your Pi’s IP address, type
ip address showin your SSH console. Your Pi’s IP should look something like 192.168.X.XXX - Log in OpenMediaVault with the default credentials, user: admin / password: openmediavault, then immediately click the user icon and change your password for obvious reasons.
- On your computer open a browser tab, type and connect to your Raspberry Pi’s IP address. If you don’t know your Pi’s IP address, type
-
Assign a Static IP to your NAS
- In OMV’s menu: Network ➔ Interfaces ➔ Add ➔ Ethernet
- Switch IPv4 to Static and enter:
- Your chosen IP (e.g. 192.168.1.200)
- Subnet mask (255.255.255.0)
- Gateway (your router’s IP)
- DNS: 8.8.8.8
- Save, apply, and reconnect to the new IP.
-
Prepare your drive
- Storage ➔ Disks: select your USB drive and click the wipe (eraser) icon.
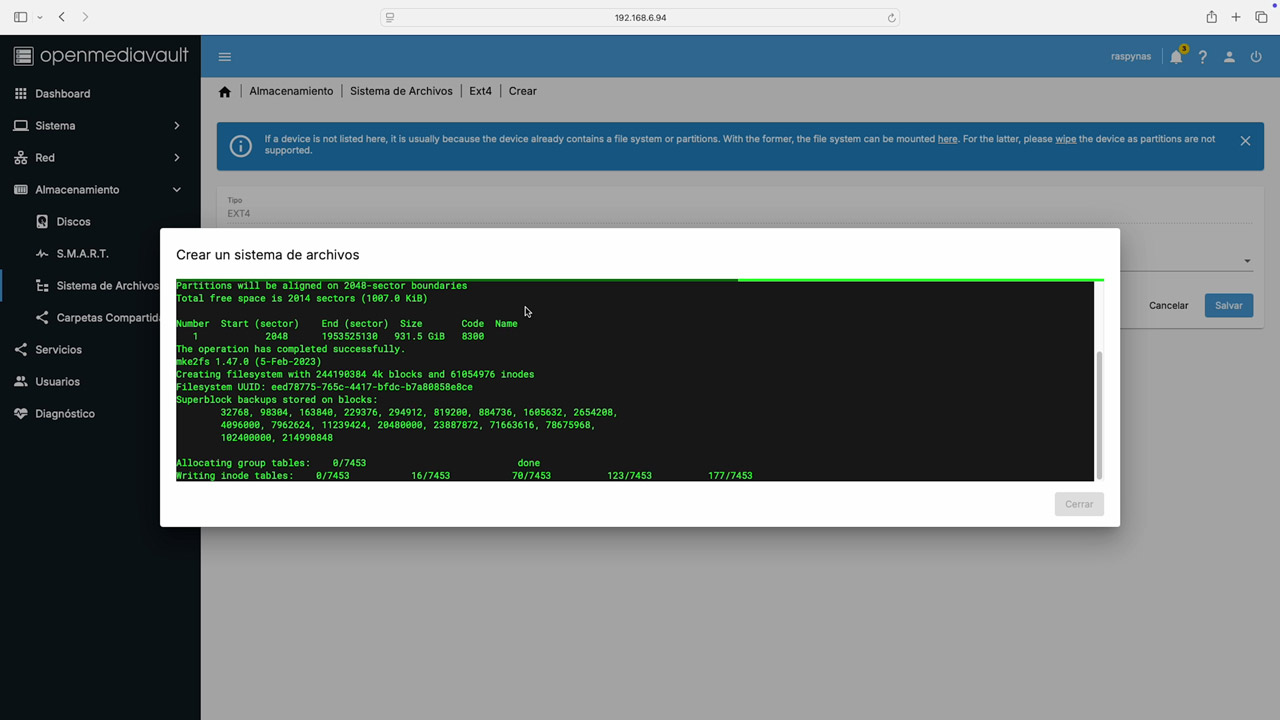
- File Systems ➔ Add ➔ EXT4: choose the same disk, save, and mount.
-
Create Shares & Users
- Shared Folders ➔ Add: name it (e.g. backups), pick your EXT4 volume, and save.
- Users ➔ Add: make an account for each person who’ll access the NAS.
-
Enable SMB/CIFS
- Services ➔ SMB/CIFS ➔ Settings: check “Enable,” then save.
- Shares ➔ Add: select your folder, assign permissions (read/write) for your new users.
Connect to your NAS server from your devices
Now you are ready to use your NAS. In order to connect to it, using your computer, you have to find and connect to your NAS in your local network. depending on your computer OS, follow the instructions below:
- Windows: Right‑click “This PC” ➔ “Map network drive” ➔ \\192.168.X.XXX\ (replace with your NAS IP address)
- macOS: Finder ➔ Go ➔ “Connect to Server” ➔ smb://192.168.X.XXX\ (replace with your NAS IP address)
- Linux: File Manager ➔ “Other Locations” ➔ smb://192.168.X.XXX\ (replace with your NAS IP address)
Tips & extras
- Use multiple drives: Attach more USB drives or get a Pi HAT for SSD bays—great for larger backups or simple RAID setups.
- 3D printed enclosures: Check Thingiverse or Makerworld for sleek Raspberry Pi NAS cases to keep everything neat and dust free.
- Energy savings: Underclock your Pi or schedule it to sleep overnight if you don’t need 24/7 uptime.
- Automated backups: On your PC or Mac, use cron jobs or backup software (e.g., rsync) to push daily snapshots to your NAS.
Conclusions
You’ve just given your Raspberry Pi a great job as a fully functional NAS—perfect for backups, file sharing, and streaming within your home or small office. And the best part? It costs only a fraction of a commercial solution.
Found this guide useful? Visit our blog for more hands on Raspberry Pi projects, or head over to our YouTube channel for more content! Don’t forget to subscribe and ring the bell so you never miss an update!
Happy building, and see you in the next project!