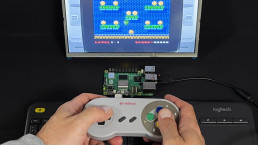
Retro gaming emulation platform with Raspberry Pi. DIY project
In this guide, you’ll learn how to transform a Raspberry Pi into a retro gaming platform using RetroPie or Recalbox. We’ll compare the two leading emulation platforms and cover everything from gathering hardware, flashing via Raspberry Pi Imager, and configuring your platform—plus a detailed step-by-step install guide via SSH on the Pi 5. Whether you choose the turnkey experience of Recalbox or the modular flexibility of RetroPie, you’ll be playing classic titles in no time.
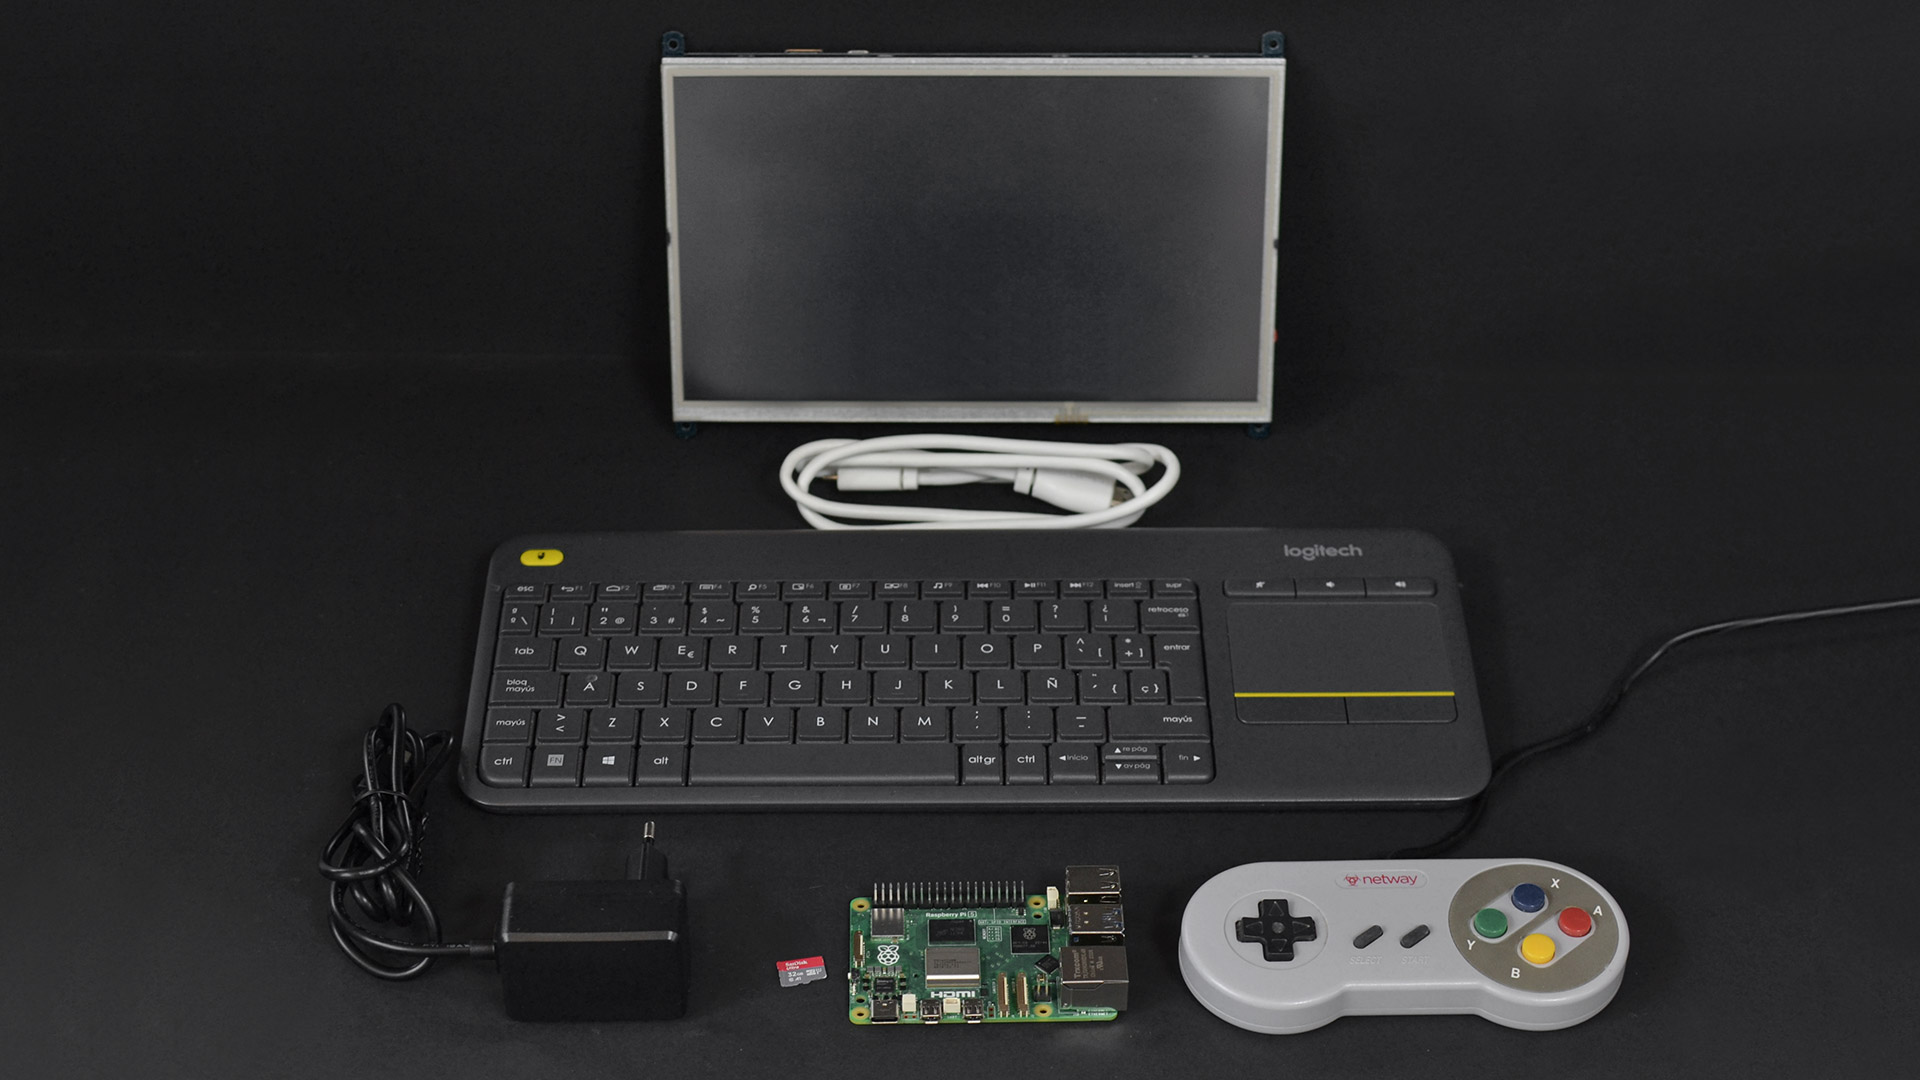
What you need to turn your Raspberry Pi into a retro gaming platform
Before you begin, make sure you have:
- Raspberry Pi (Models 4 or 5 recommended)
- microSD card (8 GB or larger) and a card reader
- USB power supply (5 V, ≥2.5 A)
- HDMI‑capable monitor and HDMI (or Micro HDMI) cable
- USB keyboard & mouse for initial setup
- (Optional)USB or bluetooth gamepad for an authentic retro gamer experience
Software options: RetroPie vs. Recalbox
RetroPie is a Raspberry Pi OS–based emulation suite built on top of RetroArch, offering flexible core selection but no pre‑loaded games. Recalbox delivers a turnkey experience with dozens of emulators, Kodi media center integration, and scraper tools—all pre‑configured in a single image plus it comes with some pre-installed games.
Both platforms install via the Emulation and game OS menu in Raspberry Pi Imager, but only Recalbox currently offers a native Pi 5 image. RetroPie on Pi 5 requires a manual, SSH‑based approach.
Hardware recommendations
For smooth performance across 8‑bit to 32‑bit titles (and many 64‑bit systems), we recommend you to use a Raspberry Pi 4 or Raspberry Pi 5. Both provide ample CPU/GPU headroom and memory for high performance and flawless emulation.
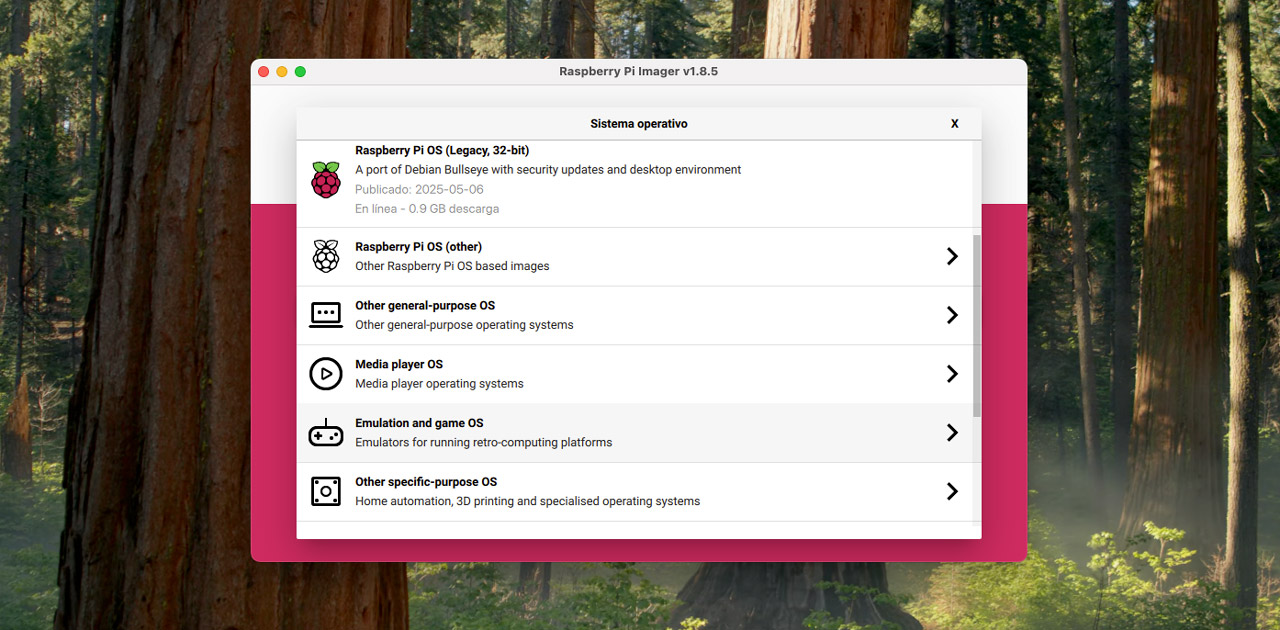
Installing via Raspberry Pi imager
- Download & launch Raspberry Pi Imager on Windows, macOS, or Linux from the official Raspberry Pi website.
- Choose OS: select Emulation and game OS, then pick RetroPie or Recalbox
- Select storage: choose your microSD card.
- Write & verify: click Write, wait for flashing and verification, then eject the card
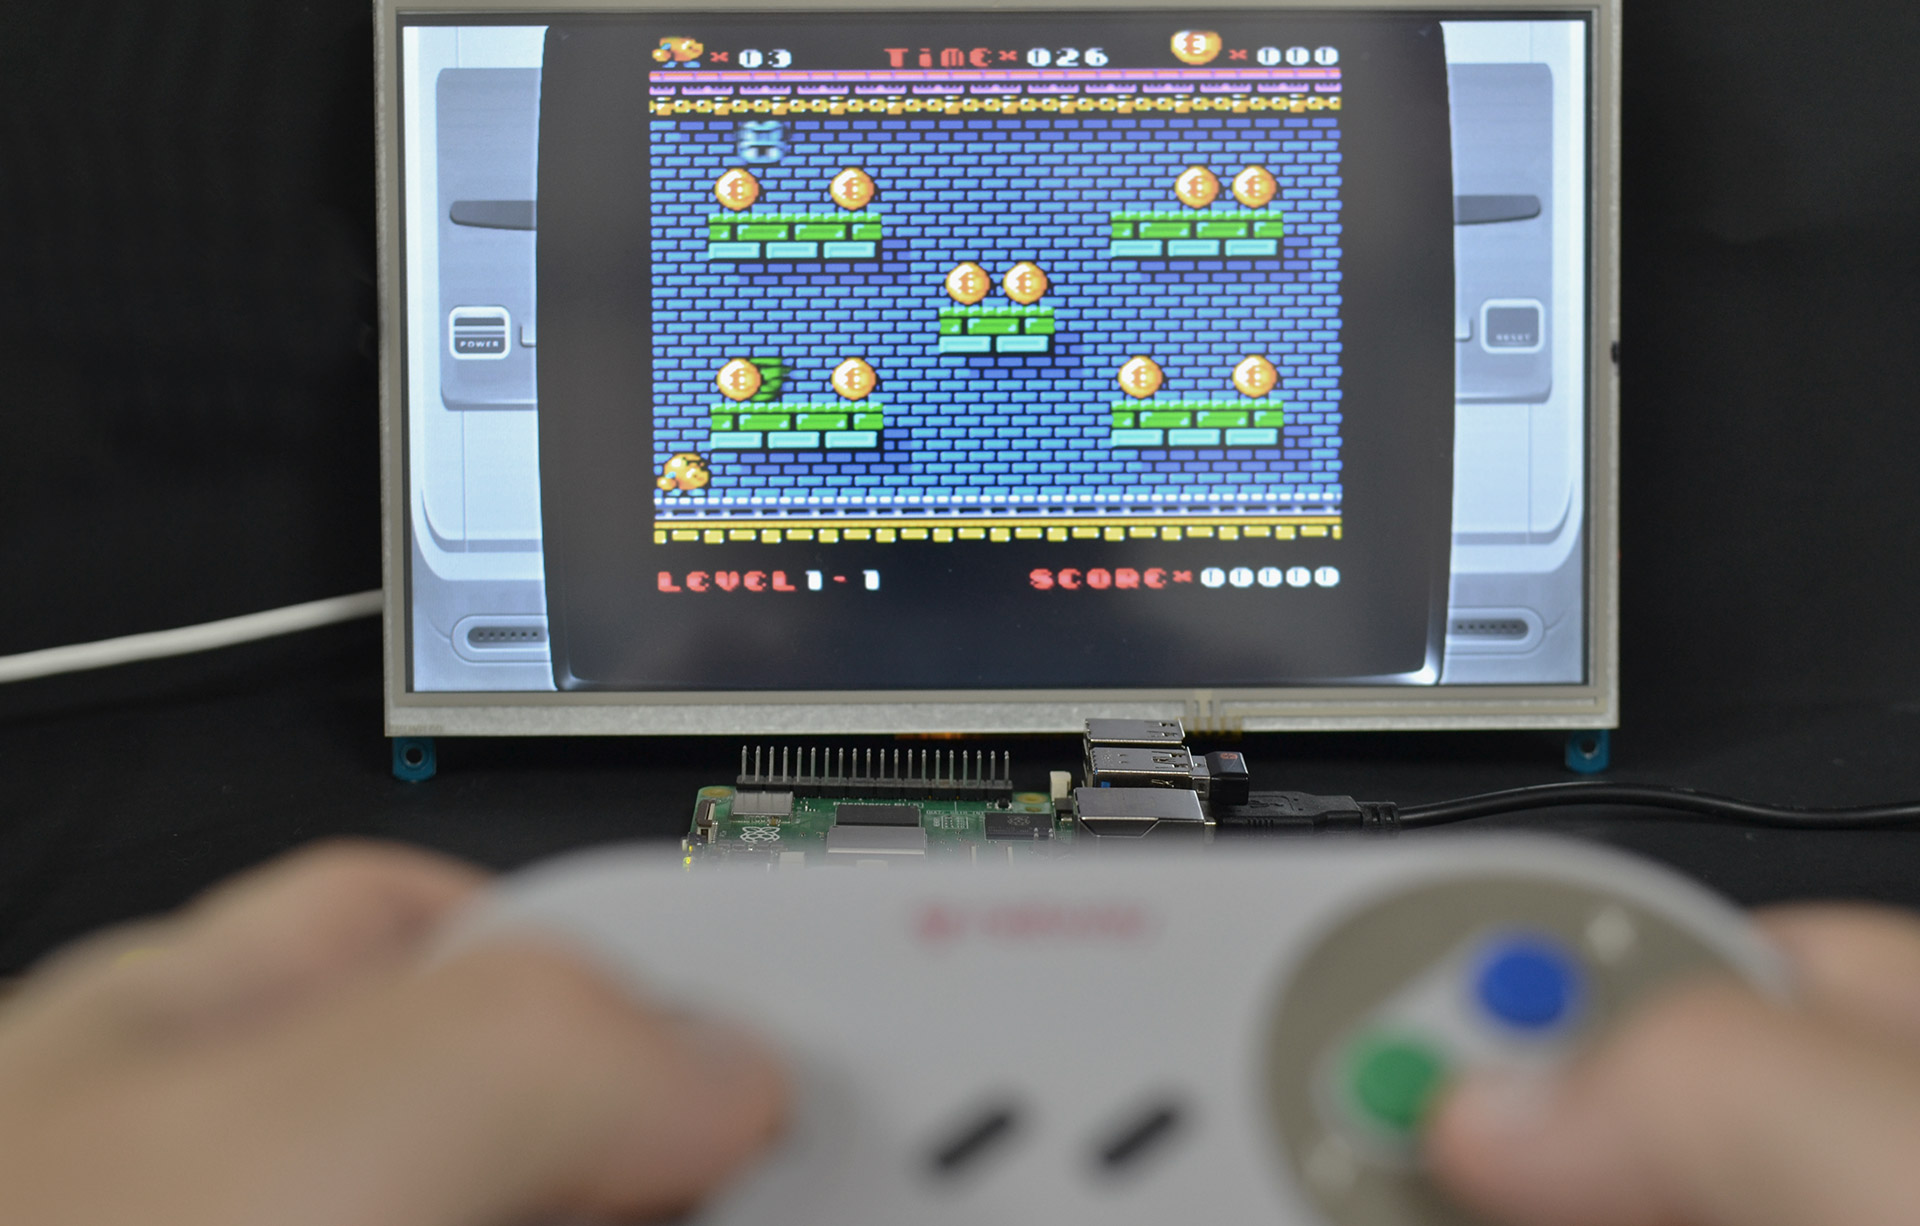
Quick start on Raspberry Pi 4
- Insert the flashed microSD in your Raspberry Pi. Connect the required components and power on. You’ll boot directly into EmulationStation or the Recalbox frontend
- Complete language, controller setup and a few initial configurations then browse pre‑installed emulators (only on Recalbox) or prepare to load your own ROMs (RetroPie).
Manual RetroPie installation on Raspberry Pi 5
Since RetroPie hasn’t released a native Raspberry Pi 5 image, you’ll need to follow these SSH steps to install it:
- Flash Raspberry Pi OS: Use Raspberry Pi Imager to write the Raspbian OS to your microSD
- Boot & SSH in: Insert the card in your Raspberry Pi, power the Pi and set up Raspbian OS, connect the Raspberry to internet and then open the SSH console.
Check the system is updated typing the command:
sudo apt update
If it’t not, type the following command to update the system:
sudo apt upgrade -y
Install git:
sudo apt install git
Download and install the RetroPie package following these steps:
git clone https://github.com/RetroPie/RetroPie-Setup.git

cd RetroPie-Setup

chmod +x retropie_setup.sh

sudo ./retropie_setup.sh
- Choose Basic Install and wait. Be patient, it might take a while
- Enable autostart: In the setup script’s Configuration / tools > autostart, select Start EmulationStation at boot
- Reboot:
sudo reboot
On restart, EmulationStation launches—configure your controller when prompted.
Post‑install configuration
- Wi‑Fi & locale: Use raspi-config or the RetroPie menu to set up Wi‑Fi, timezone, and keyboard layout.
- ROM management: Transfer your ROMs via USB stick, SFTP, or Samba shares. For detailed step-by-step guides checkout the official docs.
- Themes & scrapers: Customize your menu with themes and metadata scrapers through built‑in settings.
Customizations and community projects
The retro‑gaming community around Raspberry Pi is incredibly active, and it’s easy to find DIY projects that take your builds even further—whether you want to hook your Pi up to an old CRT television, outfit it with a NES‑inspired case, or build and assemble your very own arcade cabinet. On the official RetroPie and Recalbox websites you’ll find extensive documentation, and the community forums are bustling with ideas and support, so getting help and inspiration is never a challenge.
Conclusion. Choosing your platform
At the time of writing, we recommend Recalbox for its immediate, pre‑loaded games and active development— you can start playing right away and tap into a vibrant community for tips, customization projects, builds, etc.
Check out the forums and social networks and see for yourself! Retro gaming is well alive!
We’ve also included a video version of this guide. We hope you find it useful!
With your Raspberry Pi transformed into a retro emulation powerhouse—whether by the simplicity of Recalbox or the versatility of RetroPie—you’re ready to relive gaming’s golden age. Happy retro gaming!
For more DIY projects and Raspberry Pi content, take a look at our blog and subscribe to our YouTube channel!