Build a self-hosted photo & video server with Immich on a single board computer
In this tutorial we’ll install Immich — a high-performance, open-source photo and video manager — on single-board computers, Orange Pi 5 Plus and Raspberry Pi 5. Immich offers automatic mobile backups, face recognition, search by place/date and album sharing — all running on hardware you control.
This guide covers hardware choices, installing the OS, preparing the system, Docker installation, deploying Immich via Docker Compose, and basic remote access options.
Why Immich on a Pi?
- Privacy and control — keep your photos on your own server, not a third-party cloud.
- Feature rich — automatic backups, face recognition, maps, mobile apps for iOS and Android.
- Affordable and energy efficient — Raspberry Pi 5 or Orange Pi 5 Plus make great, low-cost hosts.
Hardware and storage recommendations
- Orange Pi 5 Plus — useful if you already have an eMMC module (we used 256 GB eMMC in our test). Linux images are available and well-supported for Orange Pi boards, we’ll be using Ubuntu for this project. Quick tip: For reliability and larger libraries, attach an external NVMe/SSD (Orange Pi 5 Plus can accept an SSD on its underside).
- Raspberry Pi 5 — a compact, well-supported board (use Raspberry Pi OS 64-bit Lite for headless servers). For durable storage, use an external SSD (you can use a USB-attached SSD or, even better, a compatible HAT).
- Backup plan — follow a 3-2-1 backup approach: at least one offsite copy plus local backups.
Step 1 — prepare the OS
Orange Pi 5 Plus (Ubuntu)
- Download the Ubuntu image suitable for Orange Pi 5 Plus from the official website
- Flash the image to your eMMC flash unit following Orange Pi’s official documentation.
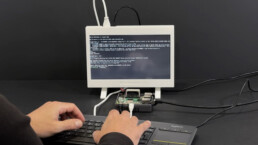
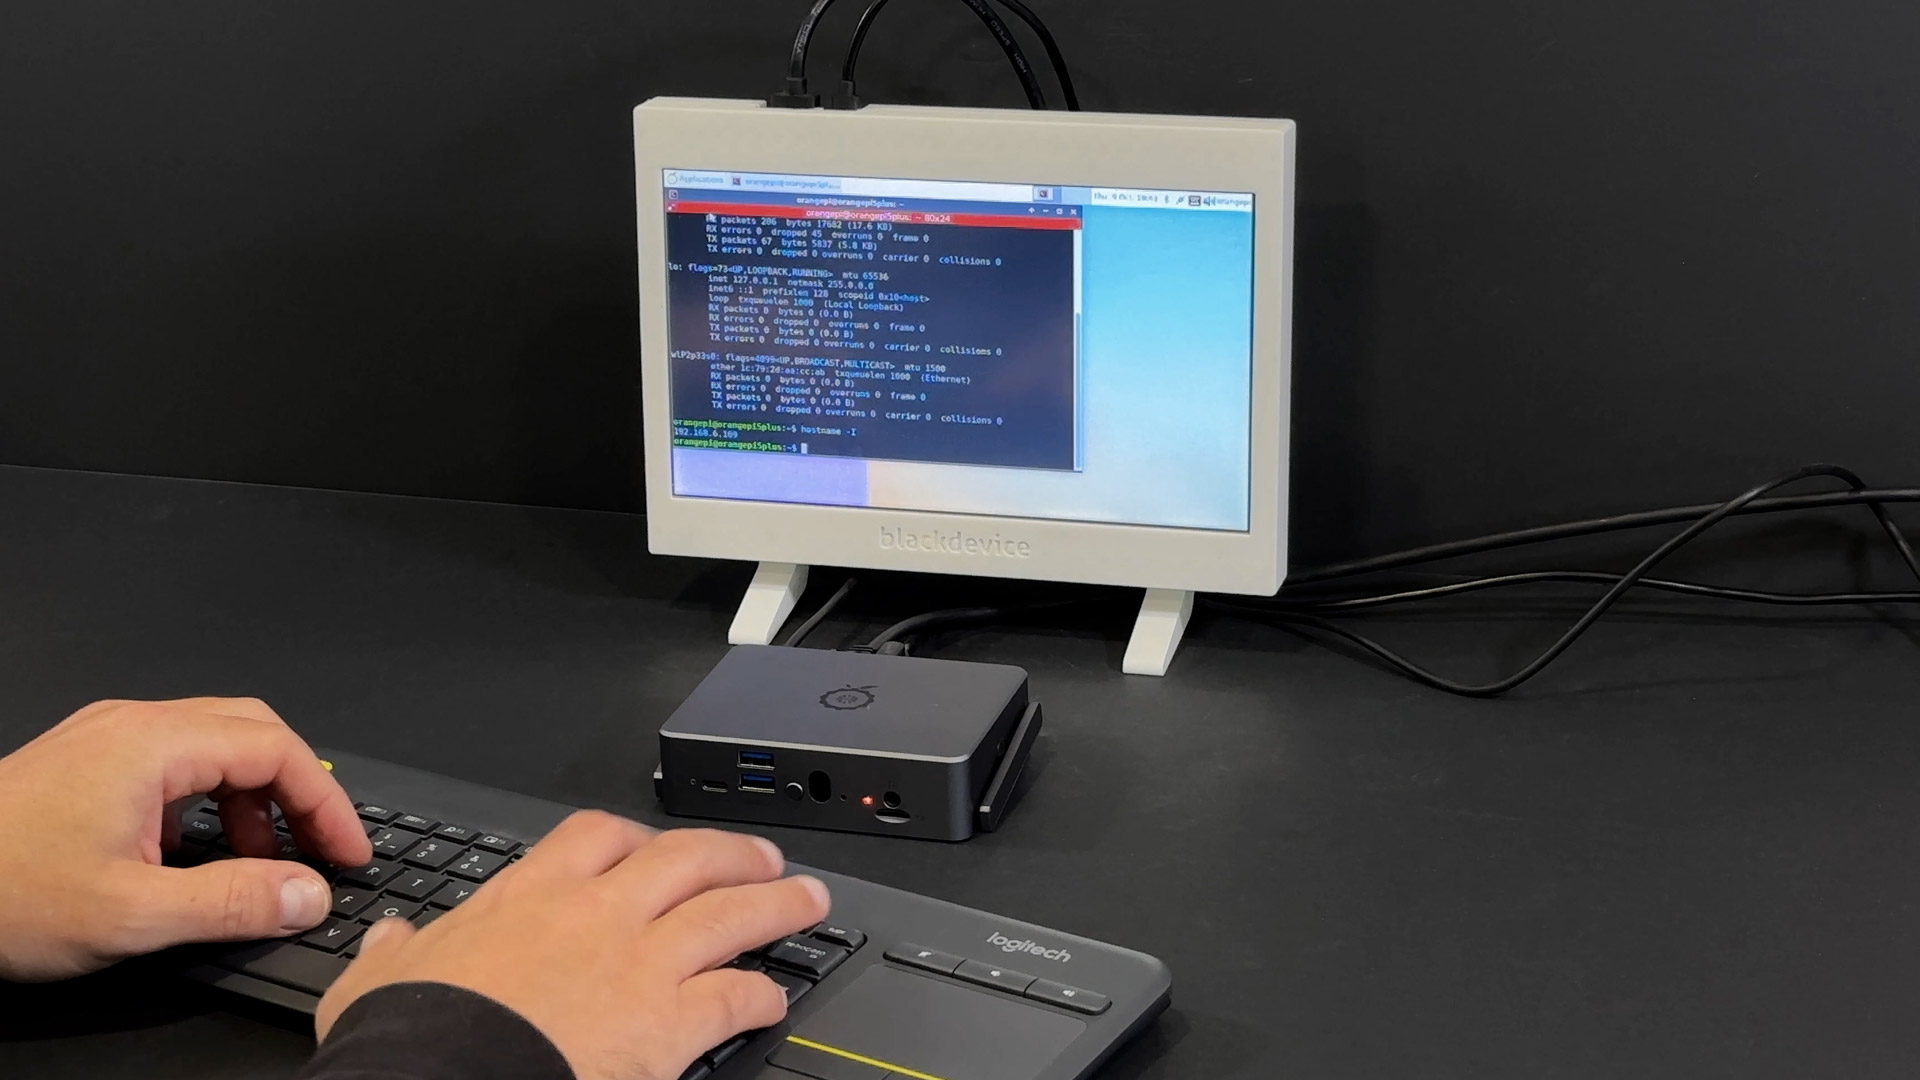
- Connect keyboard, monitor (or use headless SSH over ethernet), power and complete the initial setup.
Raspberry Pi 5 (Raspberry Pi OS Lite 64-bit)
- Use Raspberry Pi Imager to install Raspberry Pi OS (64-bit) Lite on a microSD card.
- Insert the microSD, connect network and power. Complete firstboot or configure headless SSH as desired.
Step 3 — install Docker & Docker Compose
Why Docker? Immich runs as a set of services in containers; Docker + Docker Compose is the recommended deployment method.
We already have a detailed step‑by‑step guide explaining how to install and configure Docker on Raspberry Pi. We recommend following that guide first. Once Docker is installed and running correctly, return here to continue with the installation.
Step 4 — Create Immich directory and download files
Create a working folder and download the official Immich Docker Compose file and example .env from the Immich releases page:
Create a folder for your Immich server mkdir ./immich-app
Enter the new folder cd ./immich-app
# download docker-compose and example env
wget -O docker-compose.yml https://github.com/immich-app/immich/releases/latest/download/docker-compose.yml
wget -O .>env https://github.com/immich-app/immich/releases/latest/download/example.env
These are the standard files recommended by Immich for Docker Compose deployments. Edit .env to adjust storage locations, ports and passwords before starting.
Check out the Immich Quick start guide for more details.
Step 5 — Start Immich with Docker Compose
From your ./immich-app directory:
docker compose up -d
This will download and start Immich’s services in the background.
When finished, Immich’s web UI will be available on the configured port (default 2283), and the first account you register becomes the admin.
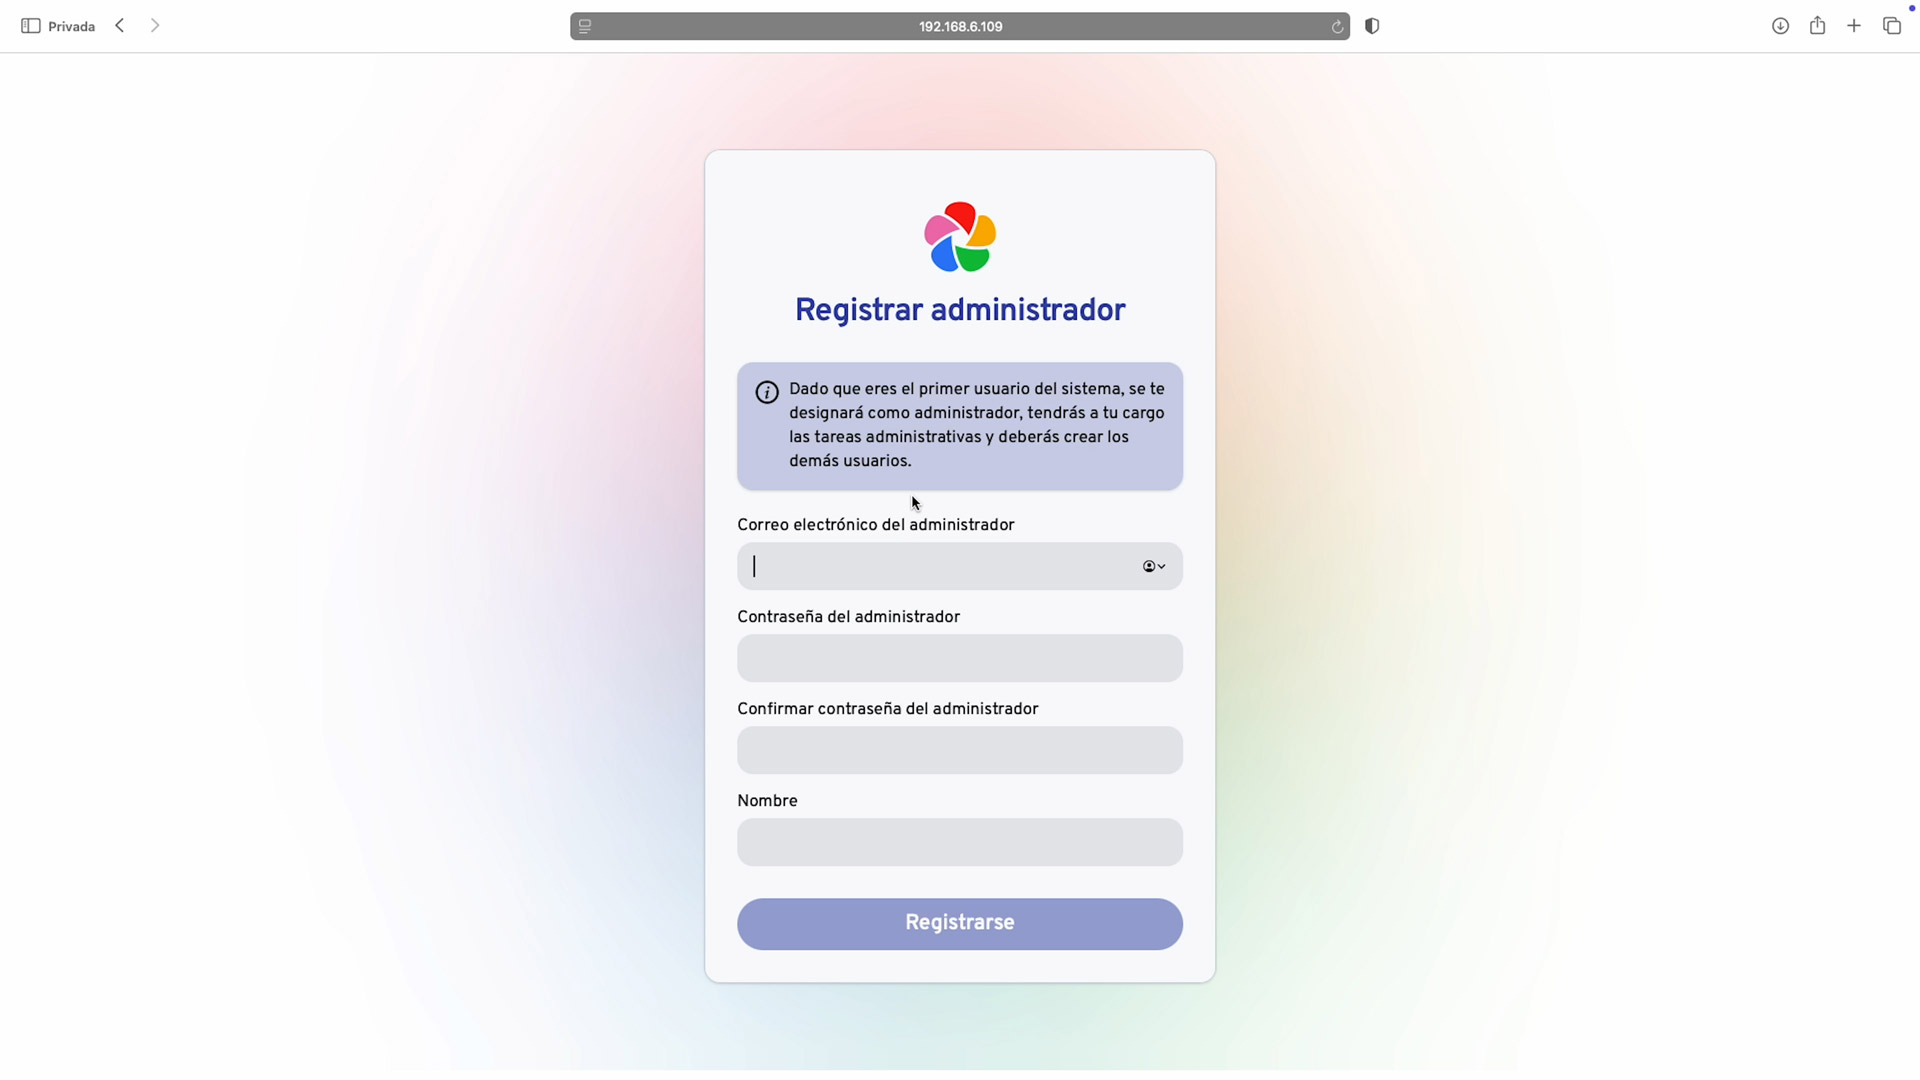
Step 6 — Try the web and mobile apps
- Open
http://<your-device-ip>:2283on your computer and click Getting Started to register the admin account. The admin user can add additional users and configure settings. - You can download Immich mobile apps from the official links on the Immich site to test automatic backup and uploads.
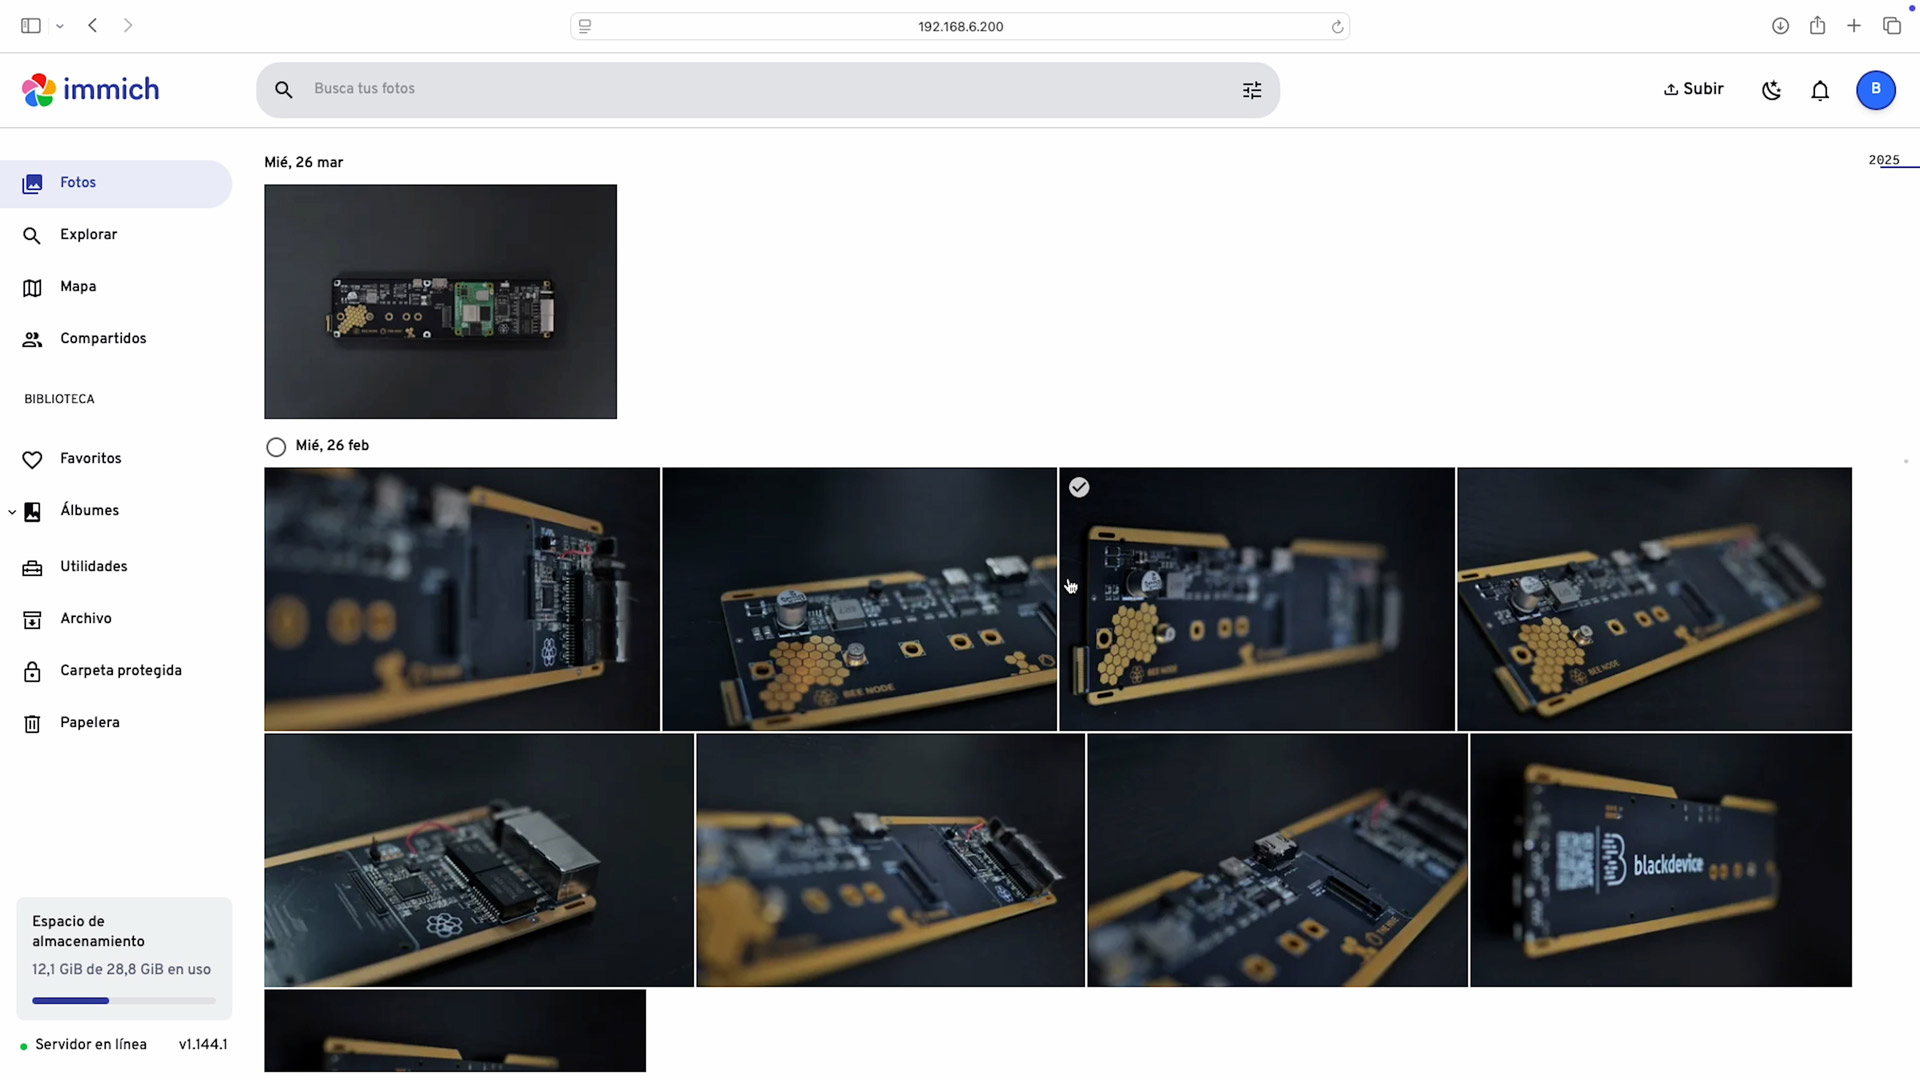
- Browse the different sections of your new server’s control panel to configure and customize your services. Create albums, add users and assign them permissions, manage your files, and organize your galleries however you like.
Step 7 — optional: Make Immich accessible from outside your LAN (basic pointers)
Immich docs warn not to expose port 2283 directly without protections. Recommended options for remote access are listed in their official guide:
- Use a reverse proxy (nginx / Nginx Proxy Manager) with HTTPS and a valid certificate (Let’s Encrypt).
- Use a secure tunnel or VPN (Cloudflare Tunnel, Tailscale, WireGuard) to avoid opening ports.
- Follow this community guide to configure a custom domain safely.
Post-install tips & maintenance
- Storage: Use an external SSD for the photo library (better reliability than microSD/eMMC).
- Backups: Export DB backups regularly and back up your
UPLOAD_LOCATIONto another storage or cloud. - Updates: Update Immich by pulling new release
docker-compose.ymland recreating containers (read release notes on GitHub). - Security: Put Immich behind TLS, enable a reverse proxy with rate limiting and consider fail2ban for login protection. See Immich remote access recommendations first.
In this tutorial we’ve covered the essentials to create and share a private multimedia server for storing and organising your photos and videos — whether it’s for personal use or to share with family and friends.
We encourage you to explore the official Immich documentation and community projects: they offer plenty of ideas and tools to customize your setup, connect to your private cloud from anywhere, and extend your server’s capabilities. Experiment, backup often, and adapt the system to match how you manage and protect your memories.
If you enjoyed this guide and want more hands-on projects, read more DIY project posts on our blog, follow us on social media, watch our step-by-step videos on YouTube, and subscribe to our newsletter for new tutorials, release alerts and exclusive tips. Join our community — stay up to date, ask questions, and show us what you build!