
Monitor your network with a Raspberry Pi: testing NEMS and NTOP
If you’ve ever wondered whether your internet is acting up, or just want to keep an eye on the devices connected to your home or office network, a Raspberry Pi can help — a lot.
In this article, we’ll show you how to set up a network monitoring system using a Raspberry Pi, testing two open-source tools: NEMS Linux and NTOP. Both are powerful, free, and surprisingly easy to get up and running, even if you’re new to Raspberry Pi.
What you’ll need to set up a network monitor with your Raspberry Pi
- Raspberry Pi 3B or newer
- MicroSD card + card reader
- Ethernet cable
- Power supply for your Pi
- Your computer
- (Optional) Keyboard & monitor for NTOP
💡 Note: For NEMS, you don’t need a keyboard or monitor — everything is managed through your browser.
Option 1: NEMS Linux
NEMS Linux is a 64-bit monitoring distro based on Nagios, tailored for Raspberry Pi and other SBCs. It’s perfect for setting up an easy-to-manage network monitoring server.
✅ Compatible Raspberry Pi models:
- Raspberry Pi 5
- Raspberry Pi 400
- Raspberry Pi 4 Model B
- Raspberry Pi 3 Model B+
- Raspberry Pi 3 Model B
🔧 Installation steps:
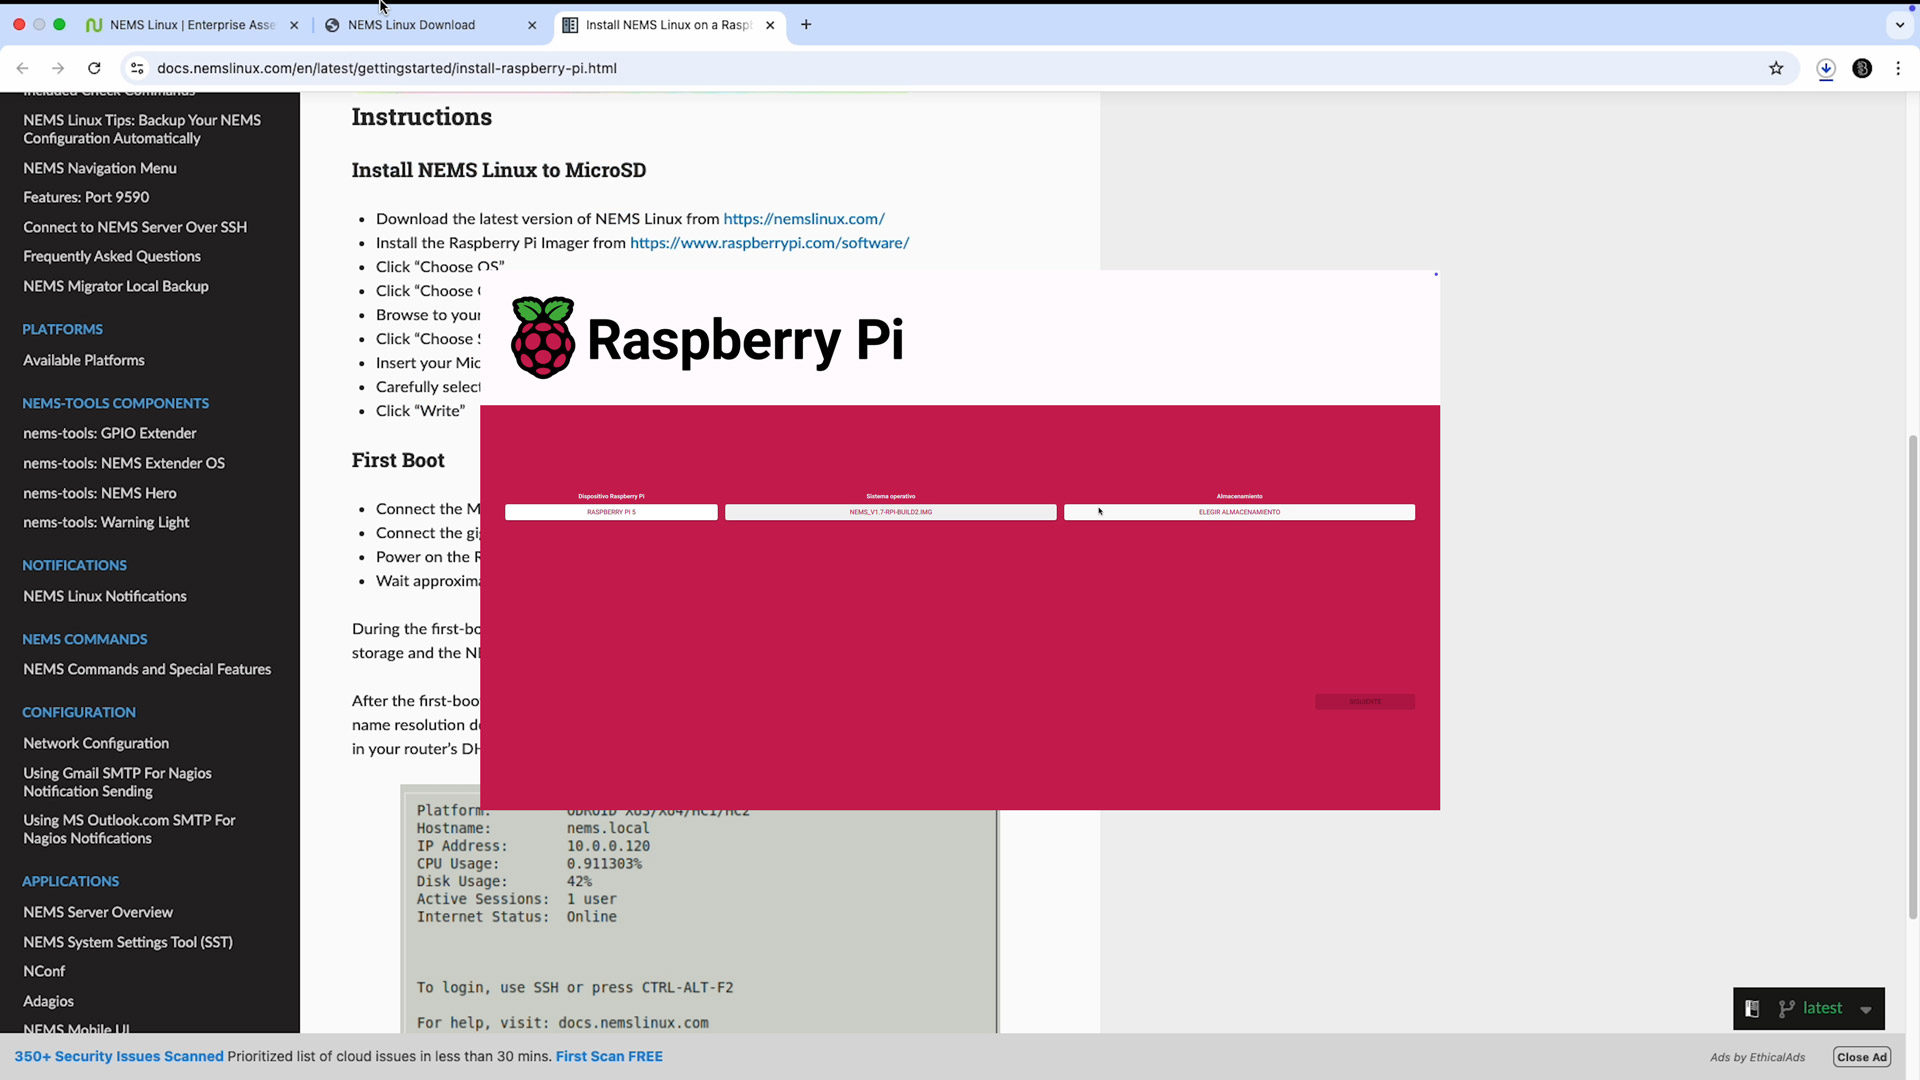
- Head over to the NEMS download page and download the latest image.
- Use Raspberry Pi Imager and choose OS «Use custom» to flash the NEMS image onto your MicroSD.
- Insert the MicroSD into your Raspberry Pi, connect the Ethernet cable and power — no keyboard or monitor needed.
- Wait for the green LED to stop blinking — that means installation is complete.
🌐 First access
Make sure your computer is on the same network as your Pi. Then, in your browser, go to:
https://nemshostname.local/ (or use your Pi’s IP address if the hostname doesn’t work)
Log in with default credentials:
Username: nemsadmin
Password: nemsadmin
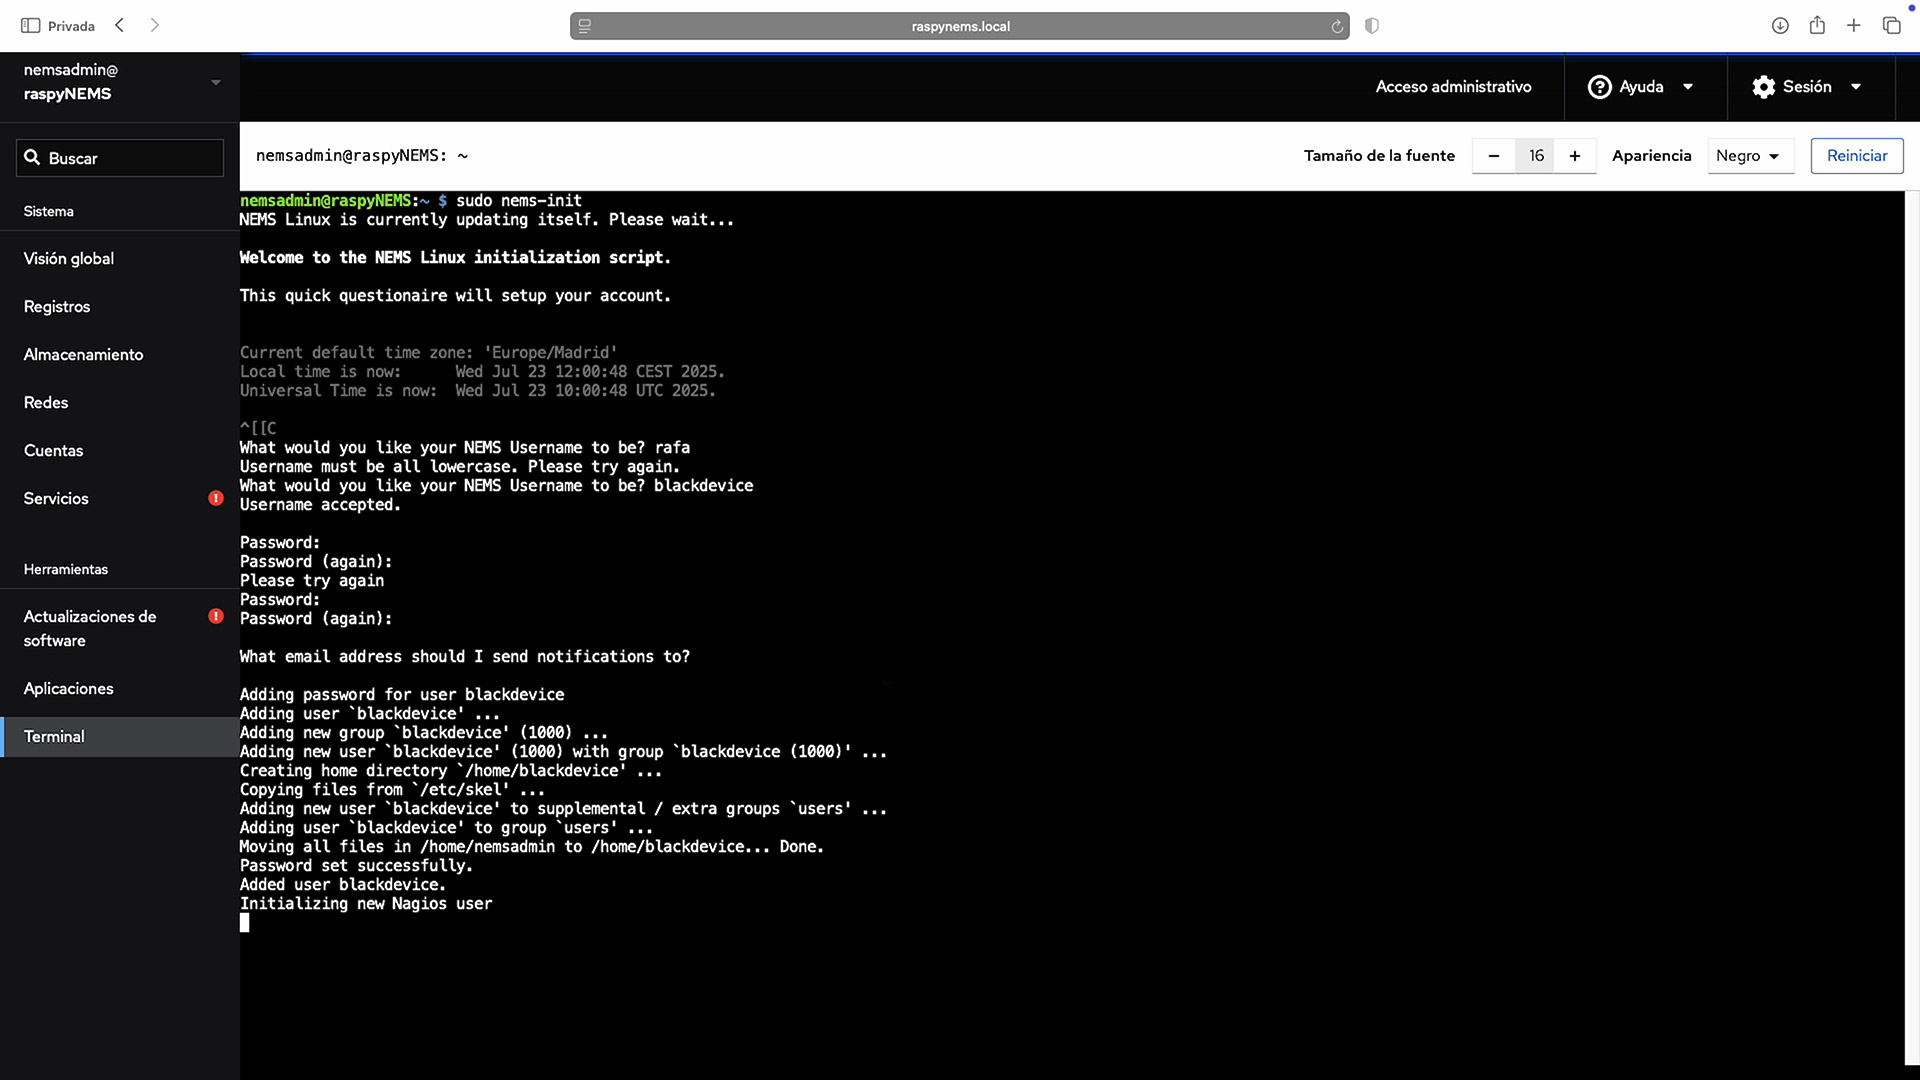
🛠 Initial configuration
Once you enter the NEMs dashboard you’ll land on the terminal and you’ll be asked to change your username and password and set an email address for alerts.. Once that’s done type the command:
sudo nems-init
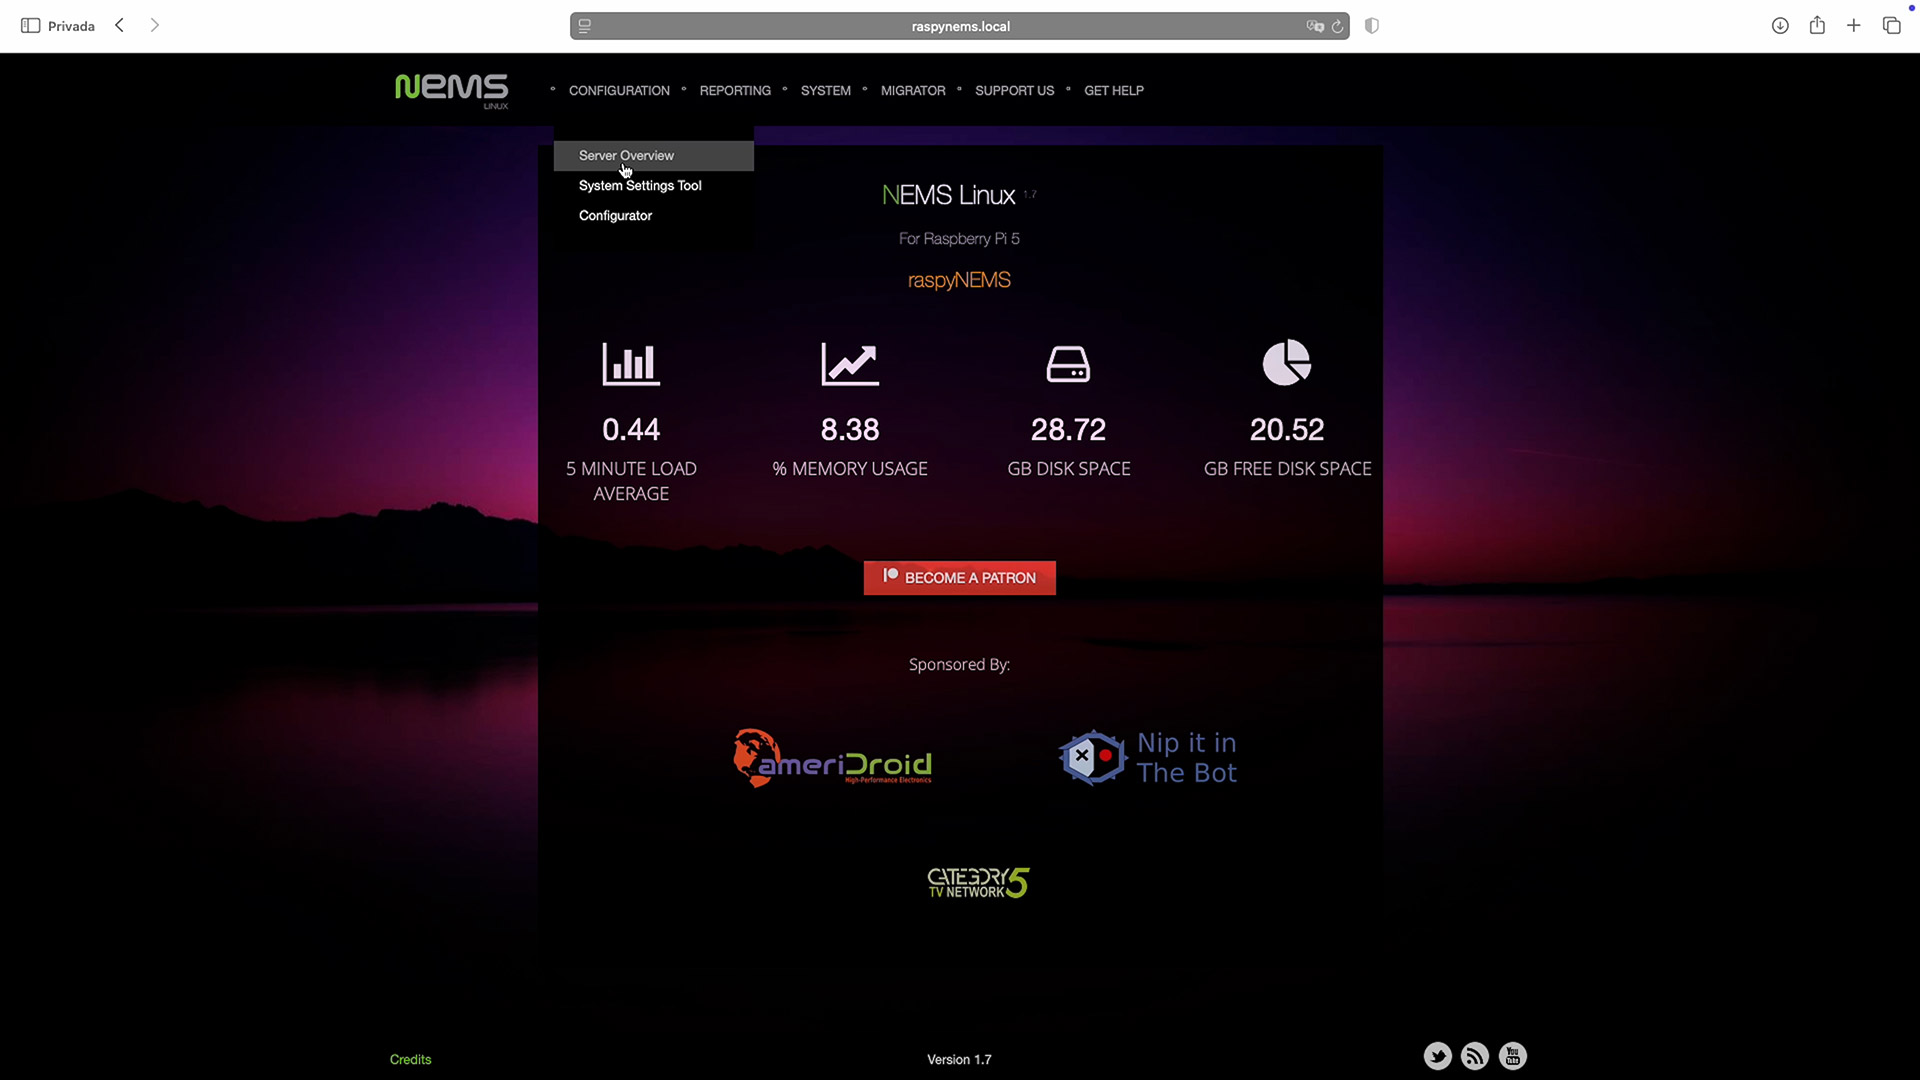
Your NEMs is now live! You’ll see system stats and be able to configure your monitored devices (called hosts in NEMS).
✉️ Enable email alerts
Follow this detailed guide SMTP setup guide to config email alerts.
📡 Assign a static IP
Set a static IP for your Pi. Here’s how to do it.
🖥 Add devices to monitor
Follow the official host configuration guide to add and customize what devices you want to keep an eye on.
After following this basic steps you’ll be monitoring the status of your network and devices connected to it. This is a very complete piece of software with a wide range of features, so if you want to dive deeper, we recommend exploring its full documentation to get the most out of the service.
Option 2: NTOP (NTOPNG)
NTOPNG is another powerful network monitoring tool, focused on real-time traffic analytics. It’s also free and open-source.
🔧 Installation steps:
- Flash Raspberry Pi OS onto your SD card using Raspberry Pi Imager.
- Boot your Pi and open the SSH console.
- Run these commands to install NTOP:
sudo wget http://packages.ntop.org/RaspberryPI/apt-ntop.deb

sudo apt install ./apt-ntop.deb

sudo apt update

sudo apt install ntopng nprobe n2n
- Verify that NTOP is running:
systemctl status ntopng.service - Check which ports are in use:
ss -tunelp | grep ntop
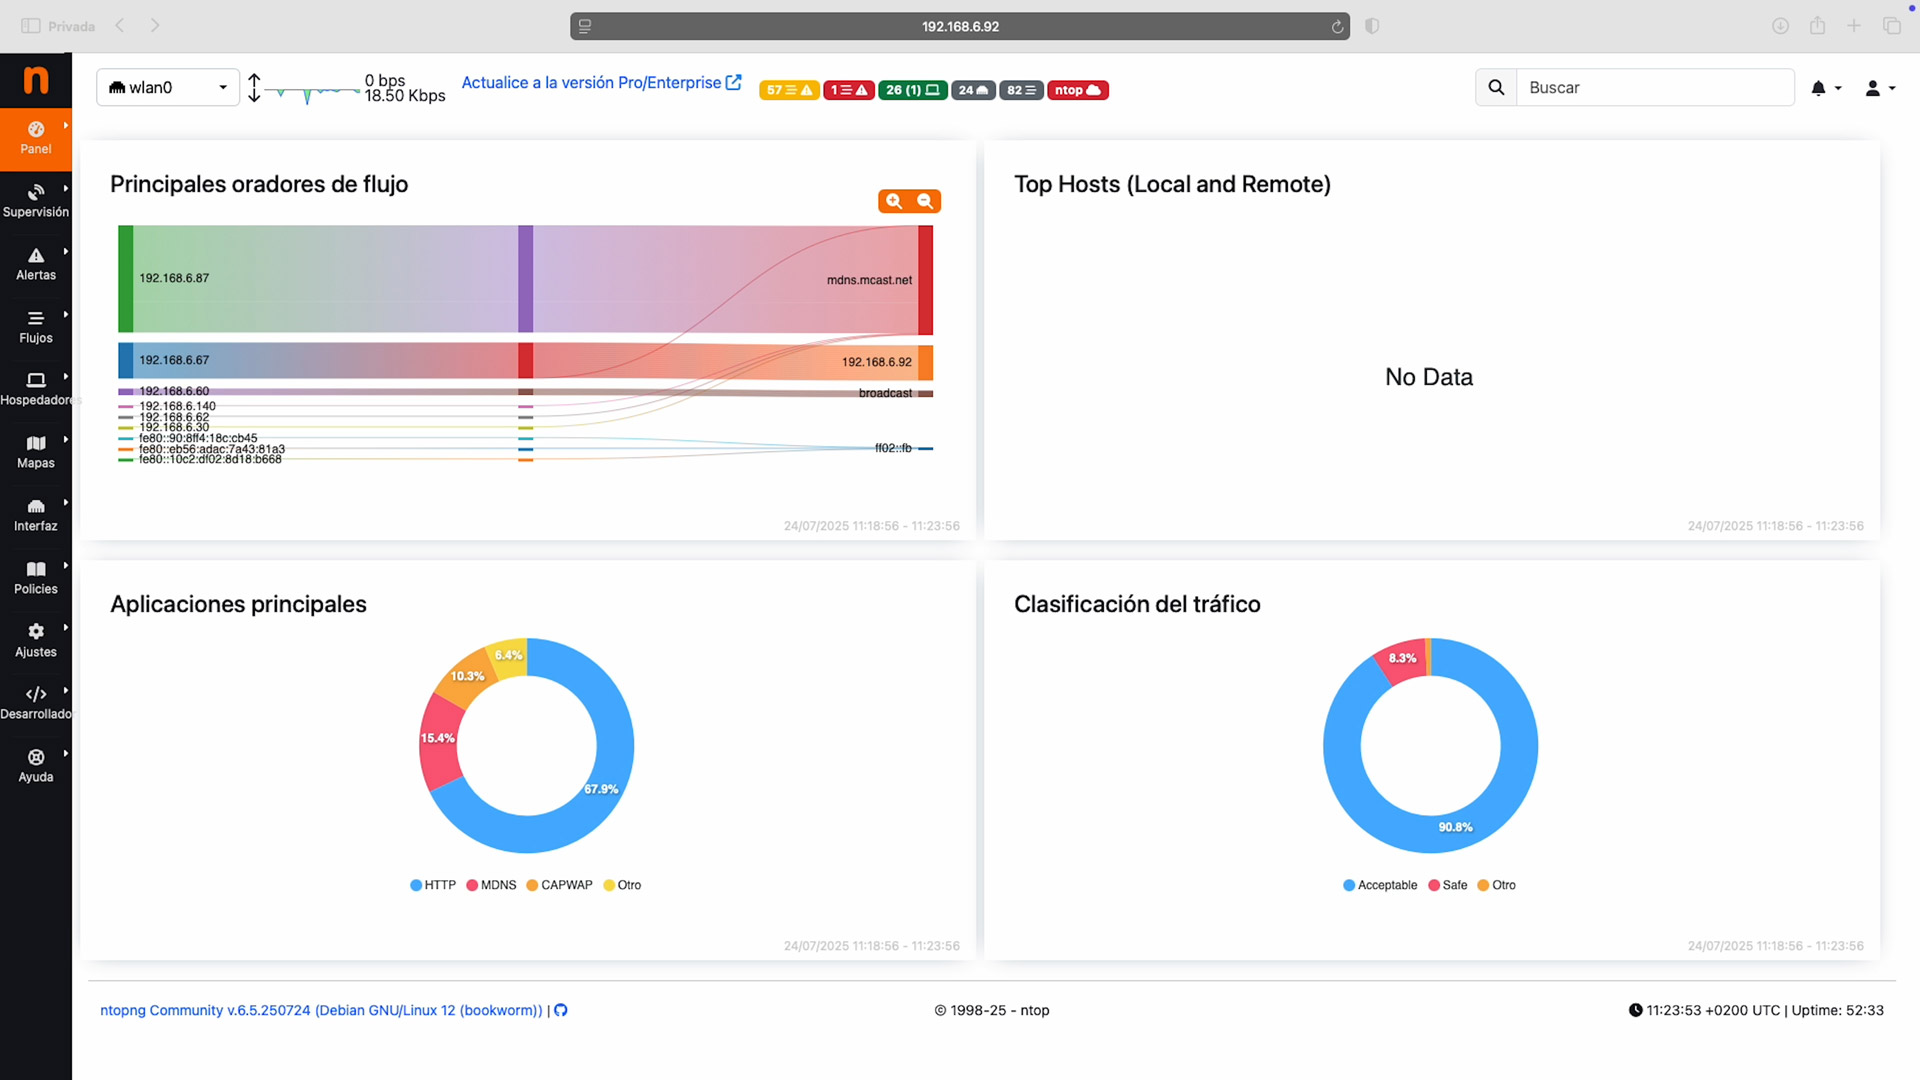
🌐 Access NTOP dashboard
On your browser, visit:
https://<your-pi-ip>:3000
Default credentials:
Username: admin
Password: admin
(You’ll be prompted to change it after first login.)
From there, you’ll get real-time traffic stats, device info, and more.
Just like with NEMS, ntop offers many more features, so we encourage you to try it out and explore its documentation to make the most of it for your specific needs.
NEMS vs. NTOP – Which should you choose?
| Feature | NEMS Linux | NTOPNG |
|---|---|---|
| Setup complexity | Medium | Easy |
| Real-time traffic | Basic | Advanced |
| Notification alerts | Yes (email, SNMP, etc.) | Limited |
| Web dashboard | Yes | Yes |
| Best for | Server & infrastructure admins | Network traffic monitoring |
Conclusion
Both tools let you turn your Raspberry Pi into a powerful DIY network monitor. If you’re looking to track uptime, device health, and alerts, go for NEMS. If you need traffic stats and network analytics, try NTOP.
Whichever you choose, you’ll gain better visibility into your network — at home, in your office, or for your next project.
Looking for more DIY and Raspberry Pi projects?
Check out our DIY Projects category on the blog, where we share more Raspberry Pi builds, tutorials, and smart tech ideas. You can also explore our YouTube channel for hands-on videos, tips, and behind-the-scenes of our latest creations.