Understanding ESP32 microcrontroller. First steps in smart DIY electronics
In this post, we’ll dive into the ESP32 microcontroller—what it is, its main components, and how you can start using it in DIY smart electronics projects even if you’re new to embedded development. You’ll see how it stacks up against classic Arduino boards and learn step‑by‑step how to install the ESP32 add‑on in Arduino IDE, connect your board, and upload your first programs.
What is the ESP32 microcontroller?
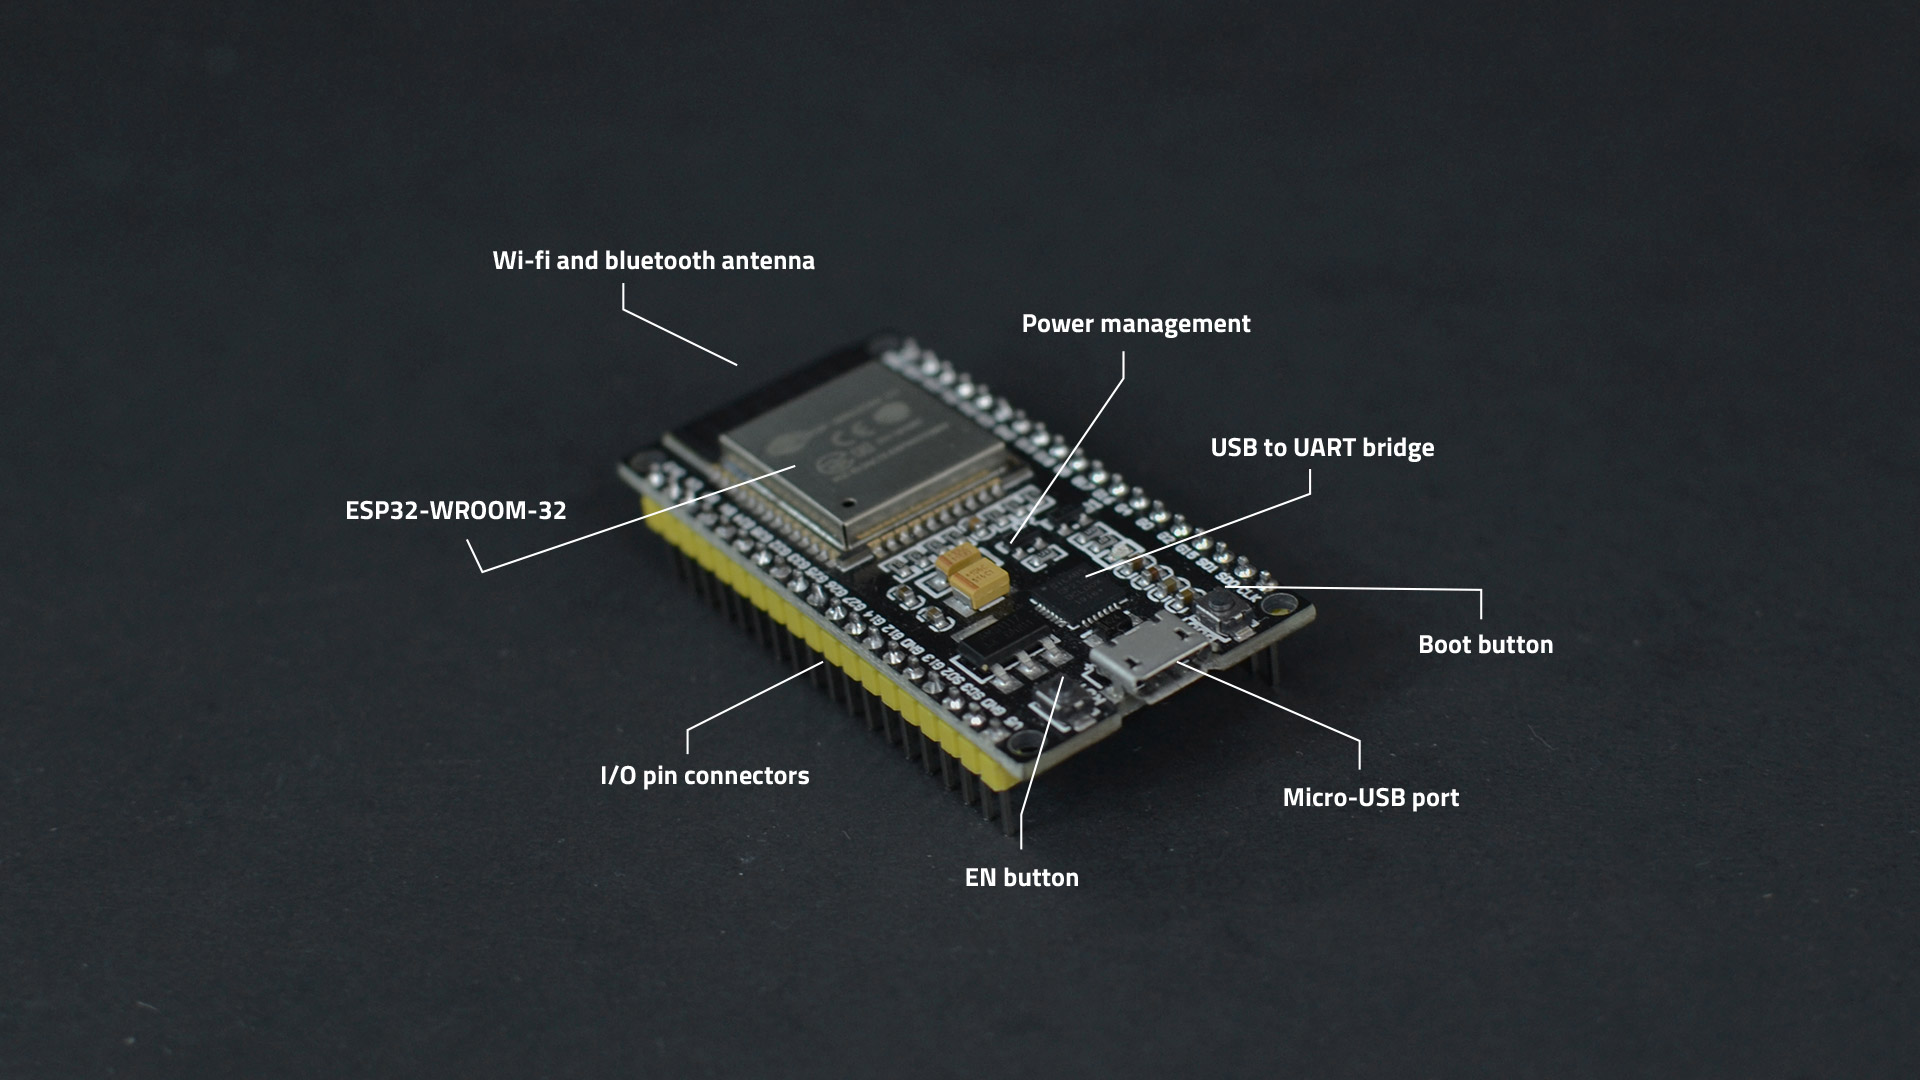
The ESP32 is a low‑cost, energy‑efficient microcontroller System‑on‑Chip (SoC) from Espressif that includes a powerful dual‑core processor, built‑in RAM, flash storage, and integrated Wi‑Fi and Bluetooth—all on a single chip. Its on‑chip peripherals let you interface with a huge range of sensors and actuators directly.
Thanks to its combination of connectivity and performance, the ESP32 is ideal for projects ranging from simple LED‑and‑button demos to full‑blown IoT servers that monitor air quality or control home automation devices remotely.
Do you need to be a tech expert?
Not at all. If you’ve used Arduino before, you can jump right in—ESP32 boards can be programmed in C/C++ through the familiar Arduino IDE. And if you prefer Python, you can flash the chip with MicroPython firmware and code in Python too.
ESP32 vs. Arduino
While Arduino boards, like the Uno, are great for learning, the ESP32 offers significantly more processing power, on‑board wireless, and advanced peripherals at a similar or lower price point.
- Processing: Dual‑core Tensilica Xtensa LX6 @ 240 MHz (vs single‑core ATmega328P @ 16 MHz)
- Connectivity: Built‑in Wi‑Fi (802.11 b/g/n) and Bluetooth 4.2 / BLE (vs none)
- Cost: ESP32 modules start around $5–$10, similar to many Arduino boards
This makes the ESP32 microcontroller a natural upgrade when you need wireless control, sensor networks, or lightweight edge computing.
What you need to get started with your ESP32
Essentials for firmware installation
- Your ESP32 development board
- USB to USB-micro cable for power and programming
- Computer with Arduino IDE installed
Optional components for your projects
- Breadboard for quick circuit prototyping without soldering
- Jumper Wires (male‑to‑male, male‑to‑female, female‑to‑female) to hook up sensors and modules
- Basic Electronics (LEDs, resistors—220 Ω & 10 kΩ, push‑buttons) for initial tests and indicators
- Common Sensors & Modules such as DHT11 (temp/humidity), relay boards, OLED/LCD displays or LoRa transceivers for advanced features
- Stable 3.3 V Power Source (via USB or an external regulator delivering ≥500 mA) to keep Wi‑Fi and Bluetooth running smoothly
Setting up your ESP32 in Arduino IDE
Follow these steps to install the ESP32 board support and get your first sketch running:
- Open the Boards Manager. In Arduino IDE, click Tools → Board → Boards Manager…
This opens a sidebar where you’ll add and manage third‑party board definitions. - Search for “ESP32”. In the Boards Manager sidebar, type ESP32 into the search field. The list will filter down to “ESP32 by Espressif Systems.”
- Install the ESP32 Package. Find “ESP32 by Espressif Systems” in the list and click <strong»>Install. Wait a minute while the IDE downloads and installs all necessary toolchains, libraries, and board files.
- Select Your ESP32 Board. Once installed, close the Boards Manager. Go back to Tools → Board and scroll down to the new ESP32 Arduino section. Choose “ESP32 Dev Module” (or the exact model of your development board).
- Connect Your ESP32. Plug the board into your computer’s USB port using a data‑capable USB cable. The onboard USB‑to‑serial converter will enumerate, and Arduino IDE will auto‑detect the COM (or tty) port.
- Verify Port Selection. Under Tools → Port, ensure the newly listed port (e.g., COM3, /dev/ttyUSB0) is selected. This confirms the IDE is ready to upload code to your ESP32.
Testing your ESP32
- Load the ASCII Table Sketch. In Arduino IDE, go to File → Examples → 02.Digital → ASCII Table. This sketch sends the full ASCII character set over the serial connection.
- Select the Correct Port and Upload. Confirm under Tools → Port that your ESP32’s COM (or tty) port is selected. Click Upload again to flash the ASCII Table firmware to your ESP32.
- Open the Serial Monitor. With the board still connected, click the Serial Monitor icon (magnifier in the top‑right) or go to Tools → Serial Monitor. Press the Reset button on your ESP32 board.
- Verify Output and Baud Rate. You should see the ASCII characters scrolling in the console. Ensure the baud rate in the Serial Monitor matches the sketch’s setting (usually 9600 baud). If you see garbled text, try switching to 115200 baud, as some ESP32 examples default to that speed.
With these steps, you’ll not only have your ESP32 board recognized and programmable but also running a firmware that prints the entire ASCII table—proving that your toolchain, board connection, and serial communications are all working perfectly.
Practical DIY project ideas
Once you’re set up, you can try these popular ESP32 applications:
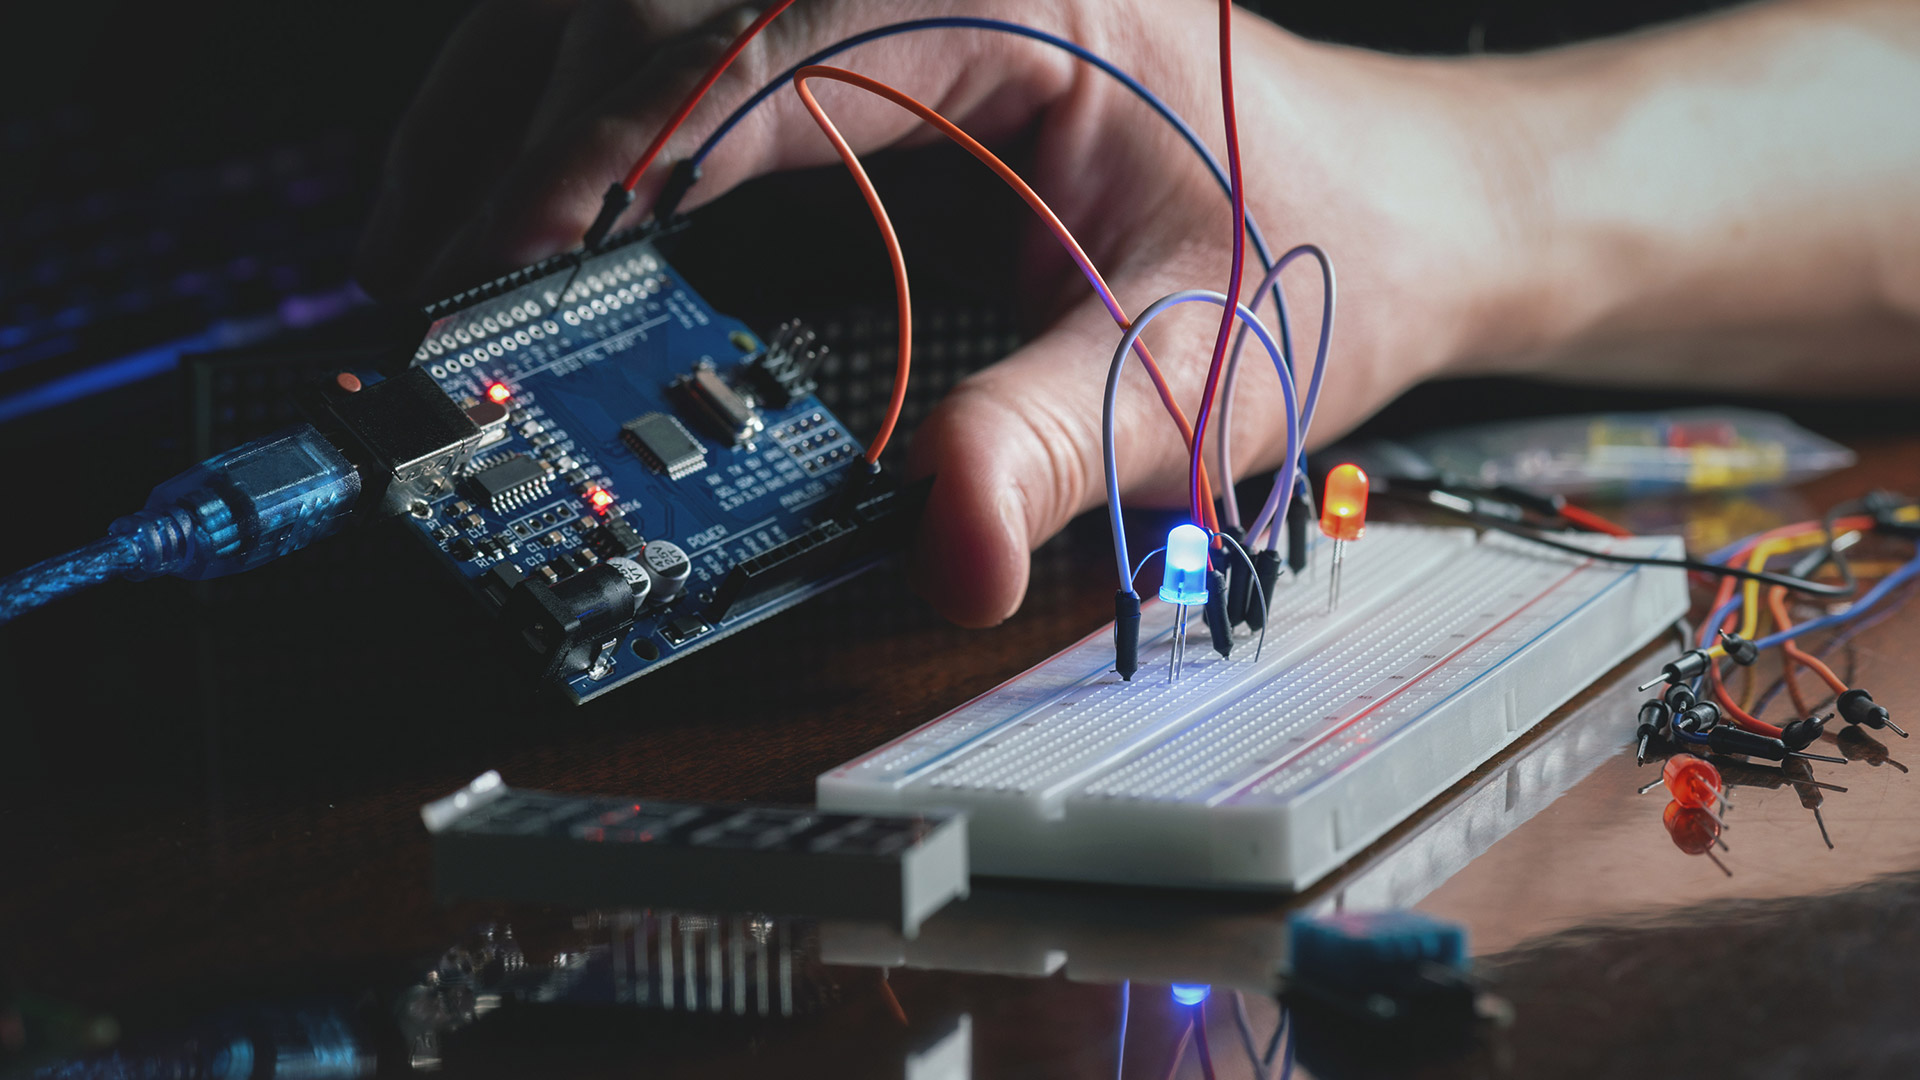
- LED and button control: Read a push‑button on a GPIO to toggle an LED—perfect for beginners.
- Smart relay tutorial: Follow our step‑by‑step blog guide on creating a Wi‑Fi–enabled smart relay with ESP32 to turn your devices on and off remotely.
- Voice assistant integration: Connect relays to Google Home or Alexa to control lights and appliances by voice.
With a vibrant maker community and countless tutorials—including our smart relay DIY—you’ll find code examples and libraries for every use case.
Conclusion
The ESP32 microcontroller combines power, connectivity, and affordability into one tiny package, making it a standout choice for both beginners and seasoned developers in the smart electronics space. By leveraging Arduino IDE or MicroPython, you can bring your DIY projects online, add voice control, or create custom IoT solutions with minimal hassle.
Thank you for reading until the end. We invite you to explore more detailed DIY projects in our DIY Projects category and subscribe to our YouTube channel for more tutorials and tech insights. Let’s continue to make our homes smarter, one project at a time!
[…] (SoC) from Espressif. If you want to know more about it, you should read our Understanding ESP32 microcrontroller. First steps in smart DIY electronics blog […]