Build your own Open source Mute button for video calls
Who hasn’t been in a video call where someone forgets to mute, or tries to speak while their mic is off?
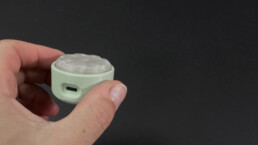
During the pandemic, when remote work and endless group calls became the new normal, these situations quickly turned into common frustrations. Video calls are here to stay, and so are these small but disruptive problems. That’s why we created the Mute button: an open-source project designed to notify you of your microphone status and give you precise control over its volume. With this device, you’ll never be that person in a meeting (again).
In our YouTube video, we explain our project in detail. In this post, and in our Github repository, you’ll find everything you need to build your own mute button, customize it, and even improve it with new features.
Open source Mute button project overview
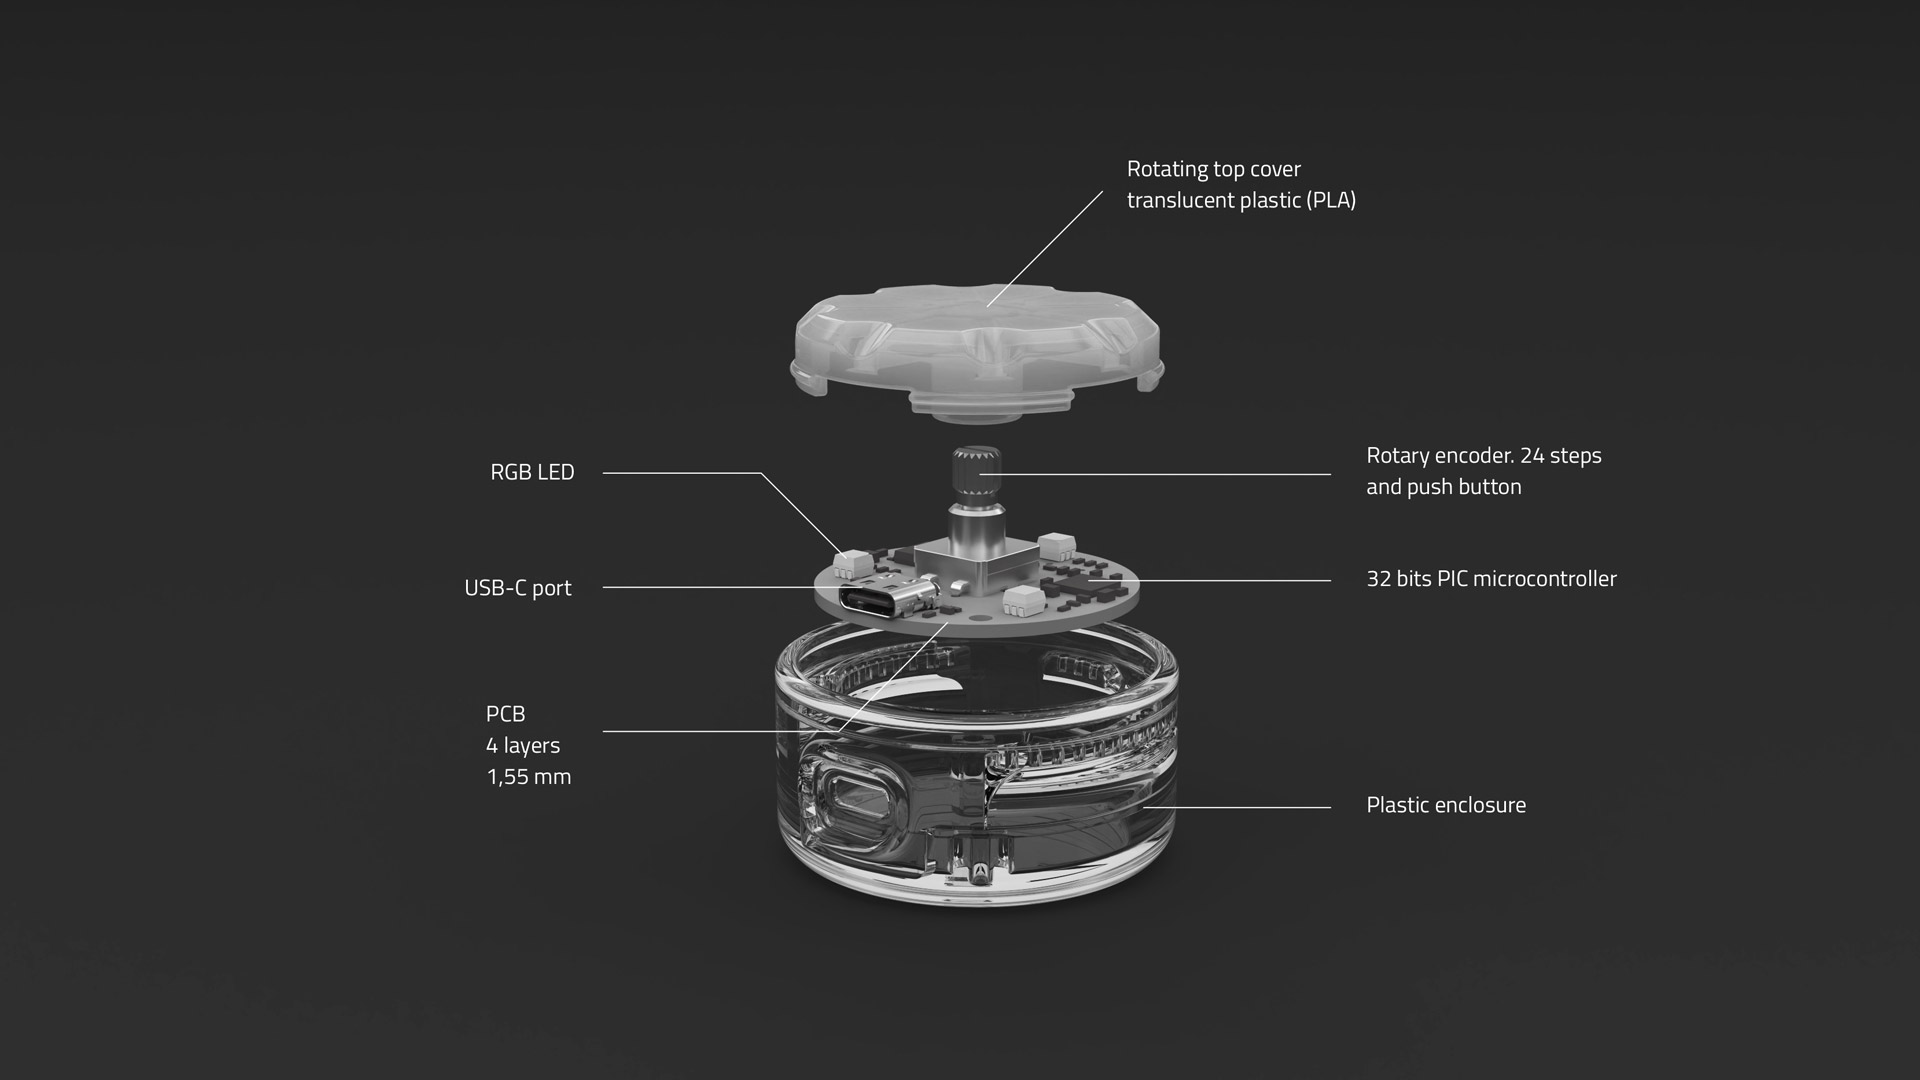
The mute button combines three main parts: firmware, hardware and a 3D-printed enclosure. All files are available in our Github repository, so you can build, customize or upgrade the device freely.
1. firmware & software
The firmware is written in C and runs on the PIC microcontroller. To make your computer recognize and communicate with the mute button, you’ll also need to install a small Python application (driver) on your computer.
- Precompiled firmware (
.hex) ready to flash. - Python-based driver (
mute-btn-systray_1.0.0.exe) to install on your computer. - Editable source code if you want to modify functionality.
2. hardware & electronics
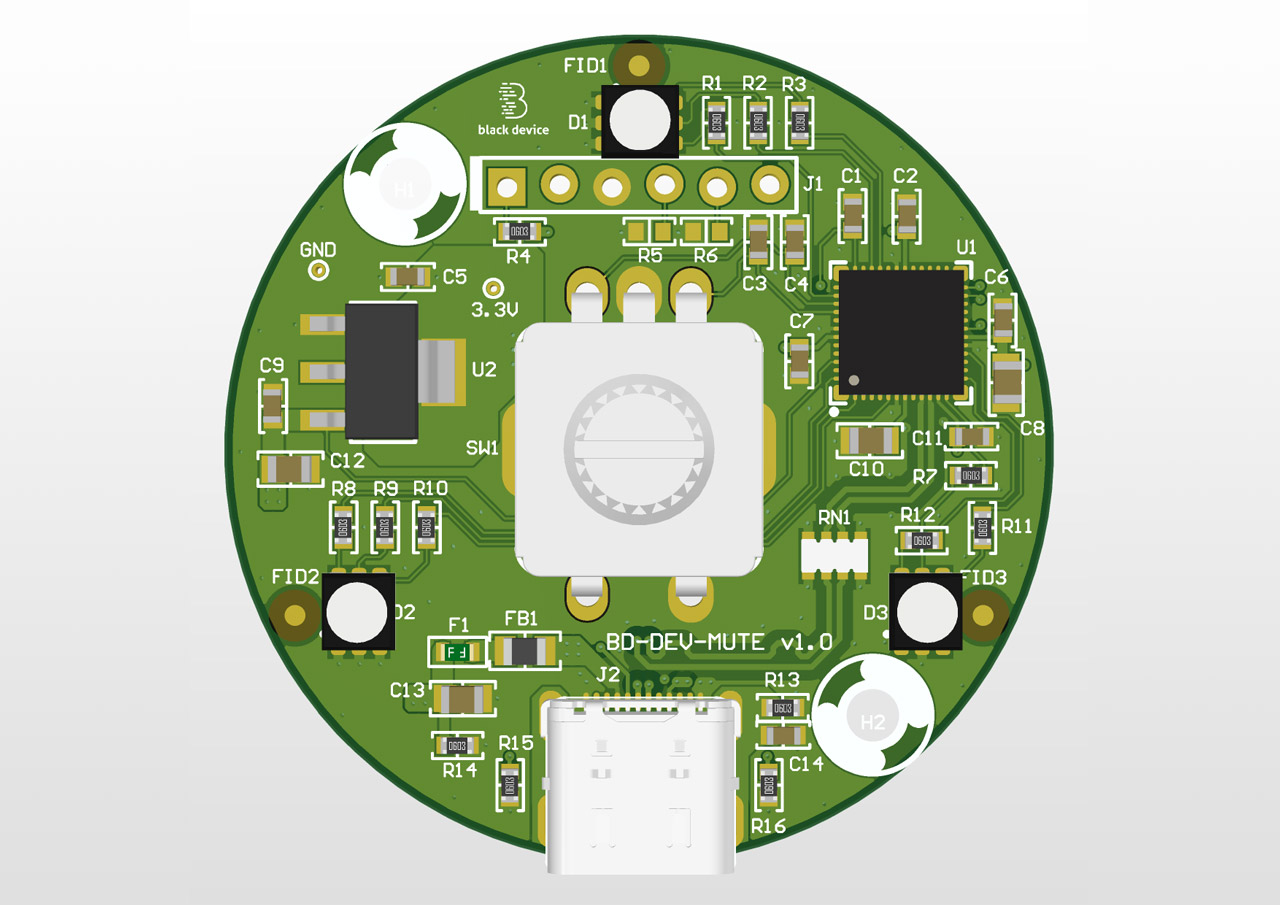
The core of the device is a custom PCB that includes:
- PIC microcontroller
- USB-C port
- Rotary encoder
- RGB LEDs
- Supporting electronic components
We provide all the necessary files to order your PCB from your preferred supplier or modify it yourself:
- BOM (bill of materials) with component references.
- Gerber files (4-layer PCB, 1.55 mm thickness).
- Assembly PDF with component placement and soldering guide.
You’ll also find a schematic and board layout to help you assemble the circuit manually if you’re into DIY soldering or even re-design it yourself.
3. 3D-printed enclosure
A precise and sturdy design makes the mute button easy to print, assemble, and durable enough for everyday use.
- Bottom piece: holds the PCB and USB-C connector. Printable in almost any filament.
- Top piece: attaches to the encoder for rotating (volume control) and pressing (mute/unmute). It also allows LED light to pass through.
👉 We recommend using transparent PLA for the top cover so the mic status (LED light) is always visible.
Files included:
.stlfiles ready for 3D printing..stepfile if you want to modify the enclosure design.
Mute button open source. File list
Hardware:
bom-mutebutton-v1.xlsgerber-mutebutton-v1.zipassembly-mutebutton-v1.pdf
Enclosure:
mutebutton-v1-enclosuredesign.stepmutebutton-v1-bottom.stlmutebutton-v1-top.stl
Firmware & software:
mutebutton-v1-firmware-microcontroller.hexmute-btn-systray_1.0.0.exe
What else will you’ll need to carry out this project
- 3D printer (or an online printing service).
- Filament: transparent PLA for the top, any material for the base.
- 2 plastic screws (2mm diameter × 6mm length) + screwdriver.
- PCB production service.
- USB-C cable to power and connect the device to your computer.
- PICkit programmer for flashing the firmware into the PIC microcontroller. (available here).
- C and Python development apps (if you want to edit firmware/software).
- Soldering kit if you plan to assemble components manually (a manual pick-and-place machine recommended).
Mute button assembly guide
01. Electronics setup
- If you ordered a pre-assembled PCB, you can skip this step.
- Otherwise, solder all components according to
assembly-mutebutton-v1.pdf.
02. Flash the firmware
- Power the fully assembled PCB via USB-C.
- Use your PICkit through the 6-pin header to install
mutebutton-v1-firmware-microcontroller.hexin the PIC microcontroller. - Disconnect when finished.
03. Install the driver
- On your computer, install
mute-btn-systray_1.0.0.exe. - This acts as the driver so your mute button can be recognized by your computer.
04. Test the connection
- Plug in the mute button with USB-C.
- Wait for your computer to confirm recognition and run some tests to verify the mute button controls your microphone.
05. Assemble the enclosure
- Place the PCB into the bottom shell, aligning the USB-C port with its cutout.
- Fix it with the two screws.
- Attach the top cover onto the encoder shaft until it clicks into place.
- Test rotation (volume control) and pressing (mute/unmute).
Final test
Try your mute button in Zoom, Google Meet, or Microsoft Teams. You should be able to:
- Mute/unmute your microphone instantly.
- Adjust your mic volume by rotating the knob.
- See LED feedback for mic status.
Customize and share!
This project is completely open source. With the files we provide, you can build, edit, improve, and adapt the mute button to your needs.
We’d love to see your ideas and contributions — share your mods with the community and let’s see how far we can take this tiny but powerful gadget!
👉 Explore more in the DIY category of our blog
👉 Subscribe to our YouTube channel for more tutorials and deep dives
👉 Join our mailing list to be the first to know about new projects, product launches, and exclusive early-bird advantages.
[…] calls, we’ve all found ourselves rushing to mute or unmute our mics in the midst of a call. This open-source Mute Button, sent in by [blackdevice], aims to take out the uncertainty and make toggling your mic […]
[…] calls, we’ve all found ourselves rushing to mute or unmute our mics in the midst of a call. This open-source Mute Button, sent in by [blackdevice], aims to take out the uncertainty and make toggling your mic […]
[…] all discovered ourselves speeding to mute or unmute our mics within the midst of a name. This open-source Mute Button, despatched in by [blackdevice], goals to take out the uncertainty and make toggling your mic […]
[…] calls, we’ve all found ourselves rushing to mute or unmute our mics in the midst of a call. This open-source Mute Button, sent in by [blackdevice], aims to take out the uncertainty and make toggling your mic […]
[…] calls, we’ve all found ourselves rushing to mute or unmute our mics in the midst of a call. This open-source Mute Button, sent in by [blackdevice], aims to take out the uncertainty and make toggling your mic […]
[…] calls, we’ve all found ourselves rushing to mute or unmute our mics in the midst of a call. This open-source Mute Button, sent in by [blackdevice], aims to take out the uncertainty and make toggling your mic […]