Home Assistant OS on Raspberry Pi 5. Smart home setup guide
If you’ve ever wanted to control all your smart devices – from lights and switches to TVs, voice assistants, and even your washing machine – from a single platform, Home Assistant OS is the perfect solution. It’s a dedicated operating system that transforms your Raspberry Pi into a powerful, privacy-focused smart home hub.
In this guide, we’ll show you how to install Home Assistant OS on a Raspberry Pi, what you’ll need to get started, and take a quick tour of its features. No advanced technical knowledge required!
What you’ll need
Before we begin, make sure you have:
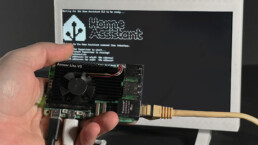
- A Raspberry Pi (We’ll be using our 8GB Pi 5)
- MicroSD card and card reader
- Monitor and HDMI cable to watch the installation process (not required)
- Ethernet cable
- A computer
Step 1: prepare the MicroSD card with Raspberry Pi Imager
To install Home Assistant OS, we’ll use Raspberry Pi Imager, the official tool to flash operating systems onto your Pi.
- Download Raspberry Pi Imager from the official Raspberry Pi website.
- Open Imager and navigate to:
Other specific-purpose OS > Home assistants > Home Assistant OS - Select the latest version of Home Assistant OS.
- Choose your MicroSD card as the storage target and click Write.
Once the process is complete, insert the MicroSD card into your Raspberry Pi.
Step 2: set up the Raspberry Pi with Home Assistant OS
- Connect your Raspberry Pi to your network via Ethernet cable.
- Plug in all necessary peripherals (power supply, monitor if using one).
- Power on the Raspberry Pi.
- Home Assistant OS will automatically install. When finished, it will display the device’s IP address and the host URL on the screen.
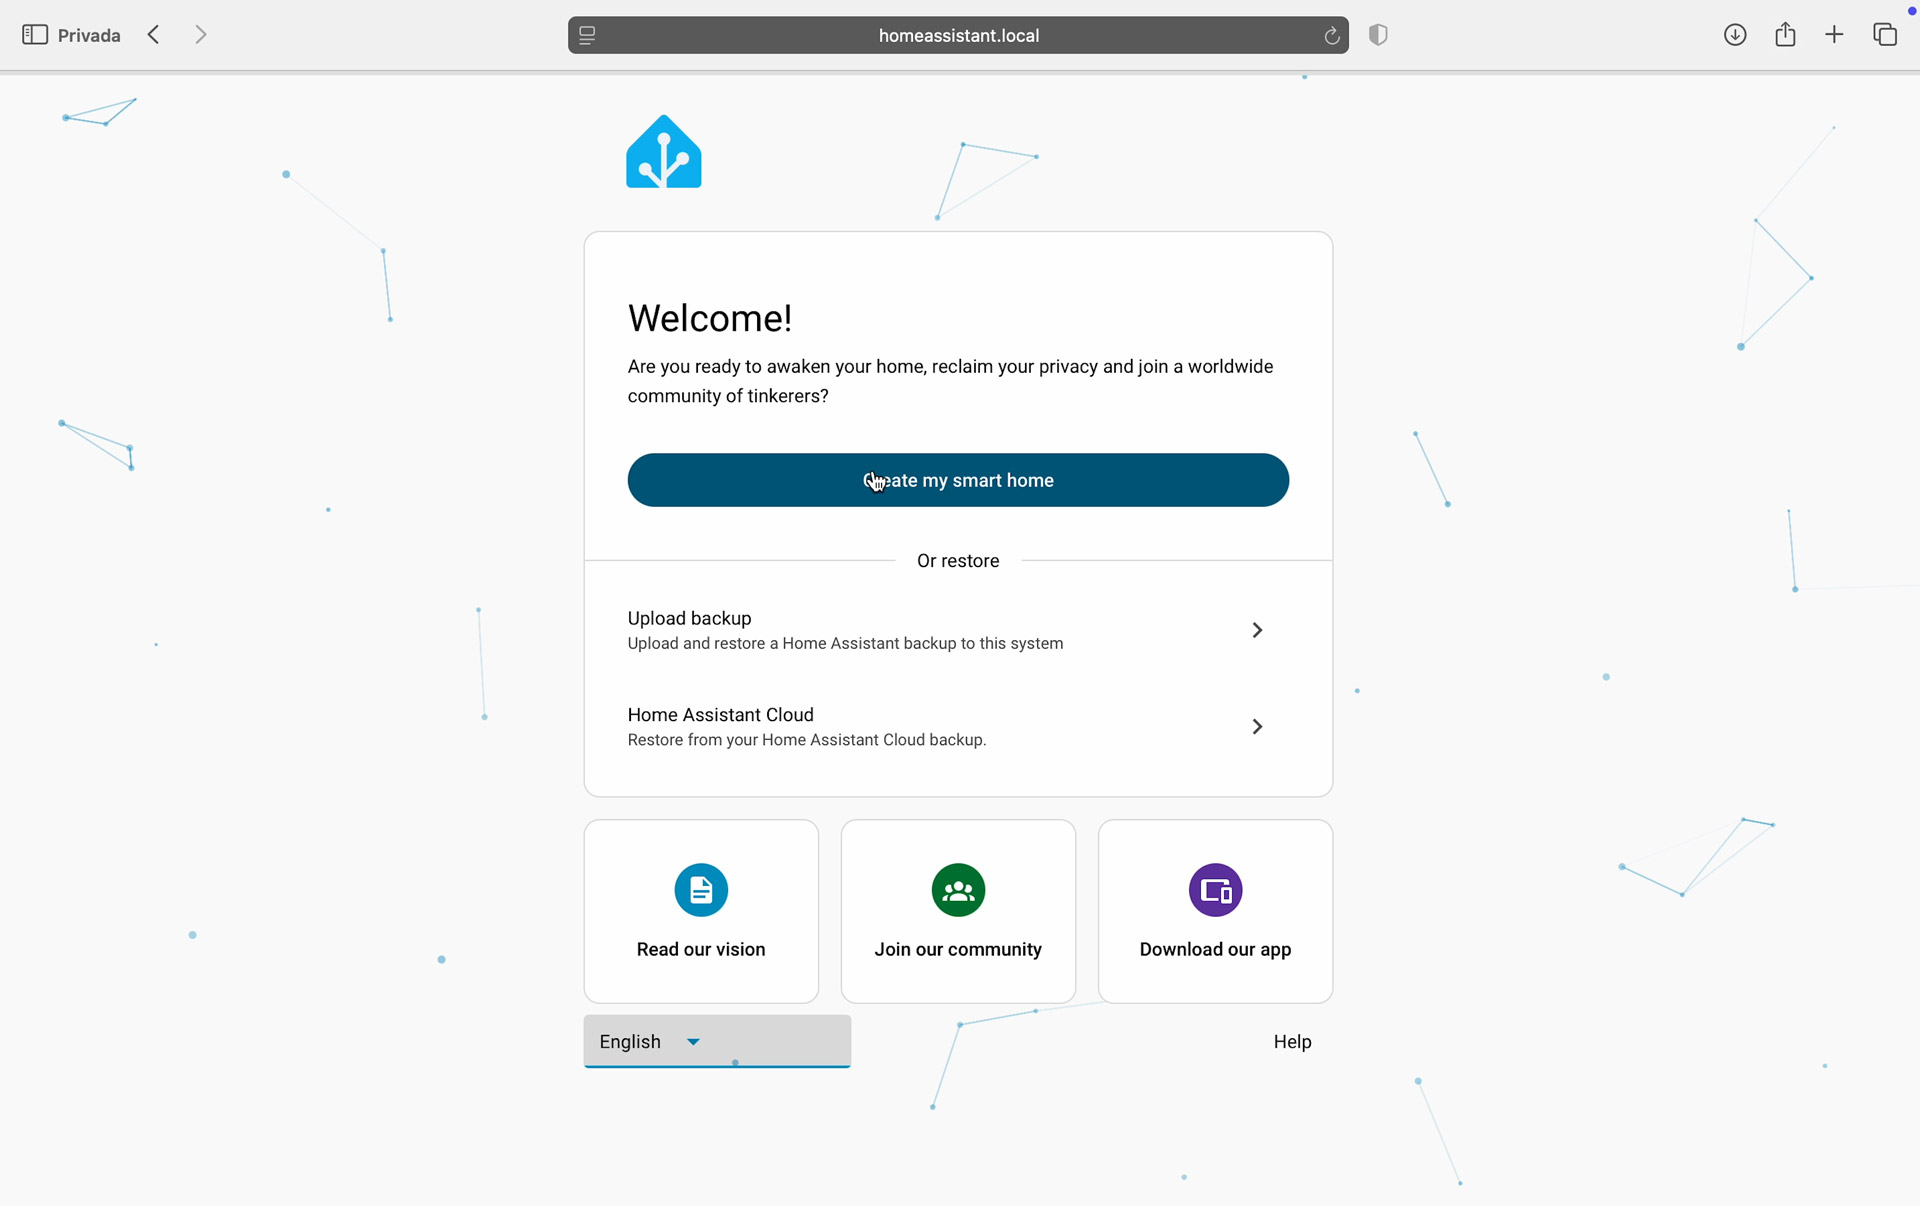
Step 3: access Home Assistant from your computer
On your computer, open a browser and enter either your Pi’s IP address with :8123 at the end or the host URL http://homeassistant.local:8123
note: make sure your computer is connected to the same network as your Raspberry Pi.
You’ll be prompted to:
- Create a user account
- Set up your home
After that, you’ll enter the Home Assistant dashboard.
Exploring Home Assistant features
Once inside, Home Assistant automatically scans your local network for compatible devices. You’ll be surprised how many smart gadgets you already own that can integrate seamlessly.
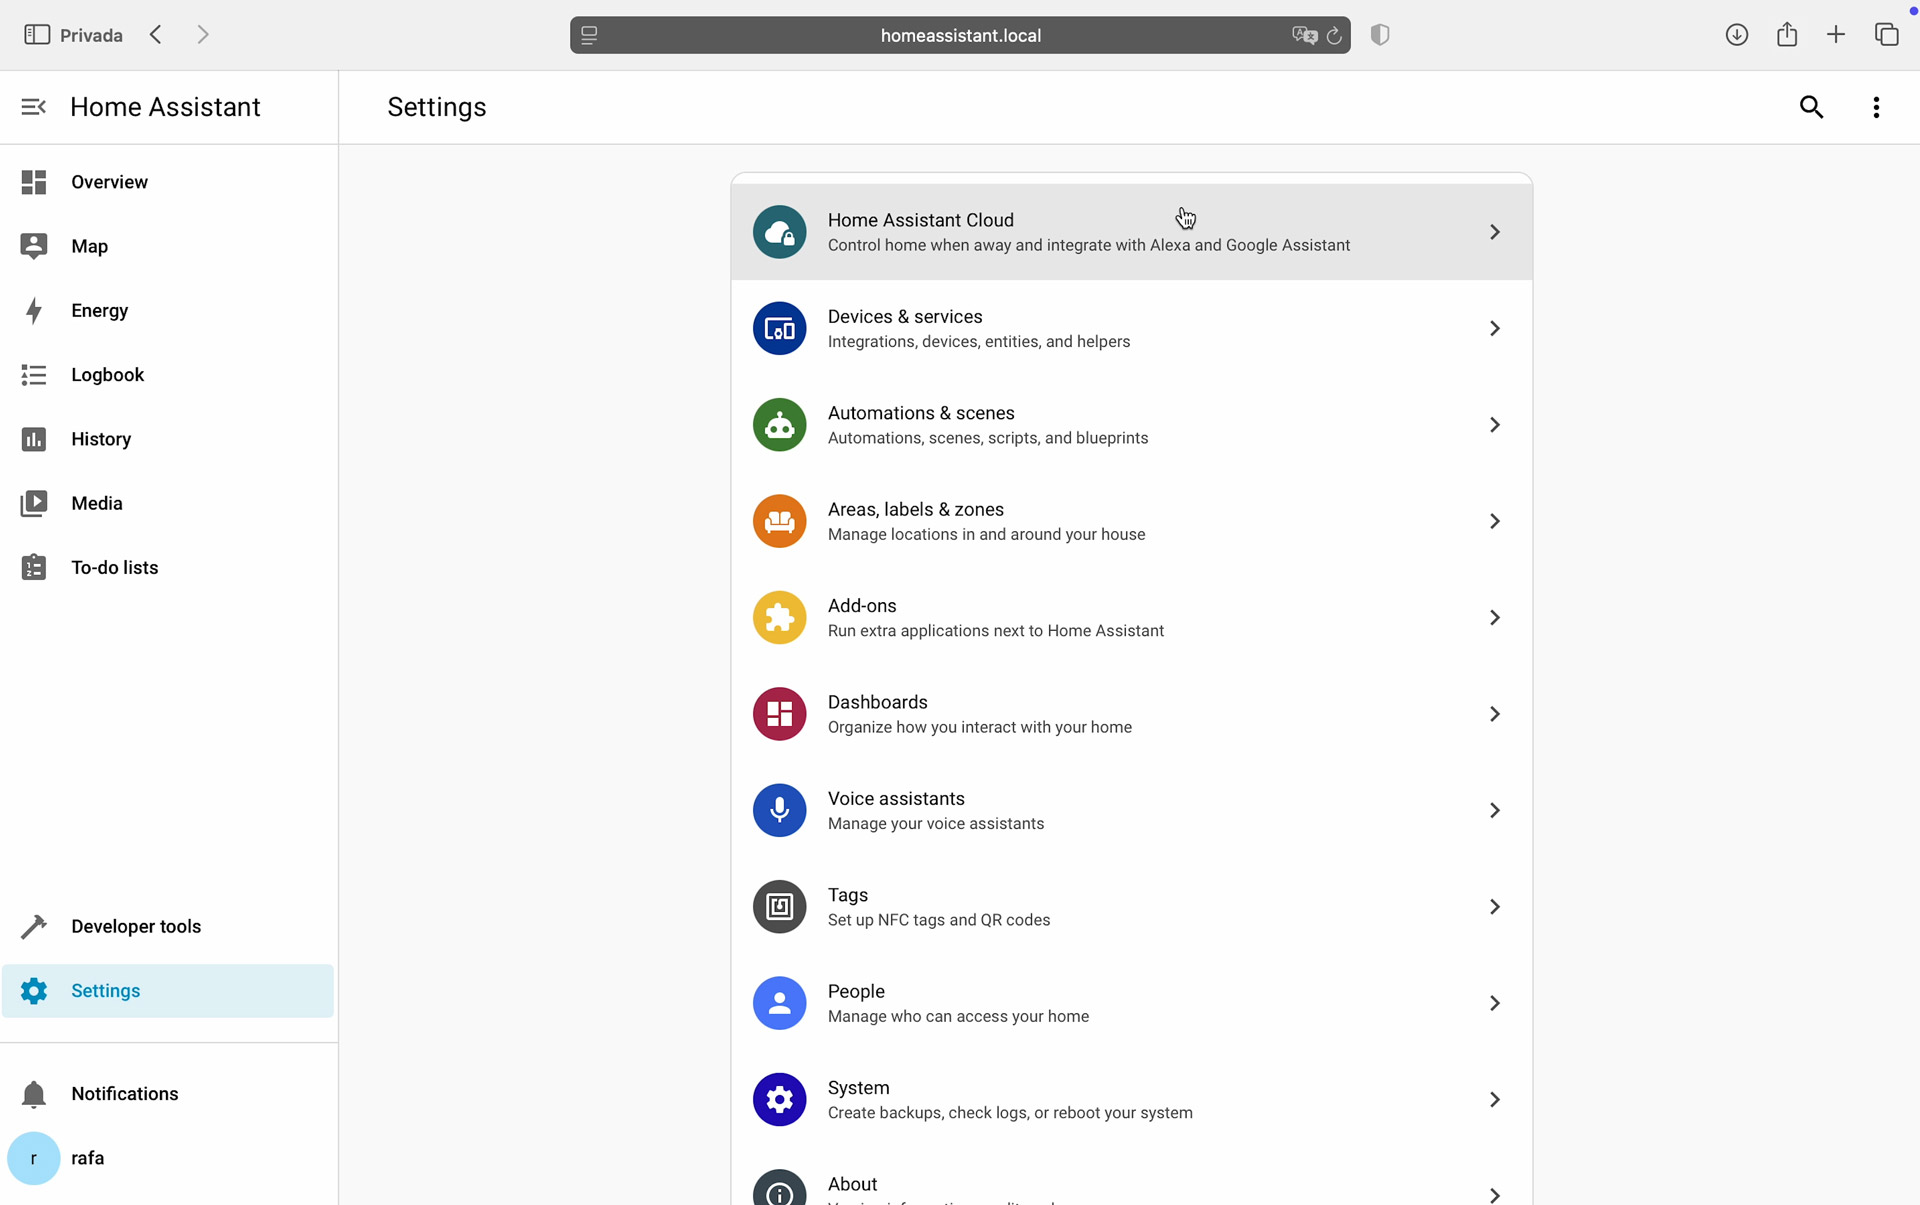
Here are some of the key areas you’ll find in the dashboard:
- Overview: displays your devices, automations, and status information in a customizable visual panel.
- Settings: the central hub for configuring Home Assistant. Inside Settings, you’ll find:
- Cloud: an optional subscription that allows remote access to your Home Assistant and integration with Alexa or Google Home.
- Devices & Services: add, configure, and manage all your connected devices and third-party integrations.
- Automations: create powerful automations – from turning on lights at sunset to triggering actions when certain conditions are met.
- Areas & Zones: organize your smart home into rooms or zones for better management and more granular automations.
- To-do lists: organize household tasks and personal reminders.
- Media & cameras: control music, videos, and IP cameras directly from the dashboard.
With these tools, your Raspberry Pi becomes the brain of your connected home. In previous posts, we showed you how to create smart relays with ESP32 and how to make your old amplifiers «smart.» These devices can also be controlled with Home Assistant.
Conclusion
Home Assistant OS on a Raspberry Pi 5 is one of the easiest and most powerful ways to build your own smart home hub. With full local control, privacy by design, and limitless customization, it’s a must-try project for any tech enthusiast.
Ready to take your Raspberry Pi skills further? Check out more projects on our blog and subscribe to our YouTube channel for tutorials and ideas.